
Autotask: Integration User & Role
Overview
This article details customization of a security role in Autotask for use with Work 365 and creation of an API user having that role. The steps outlined here are a pre-requisite to creating an Autotask connector in Work 365.
Setup connection to Autotask
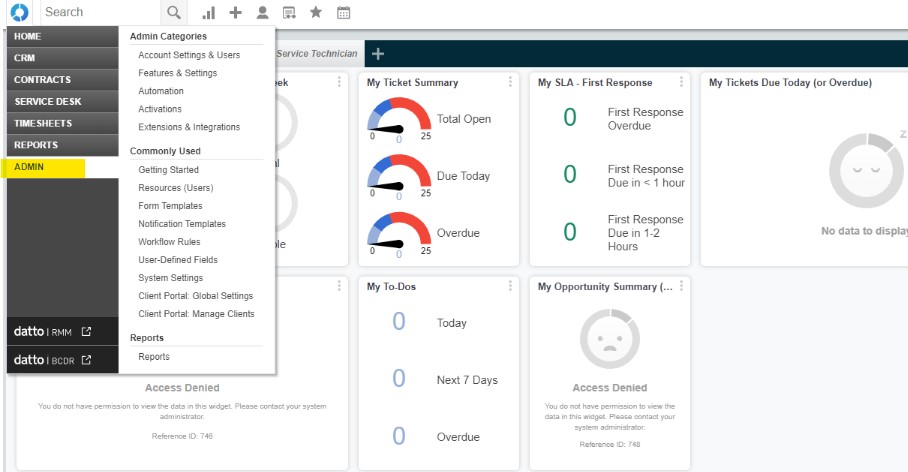
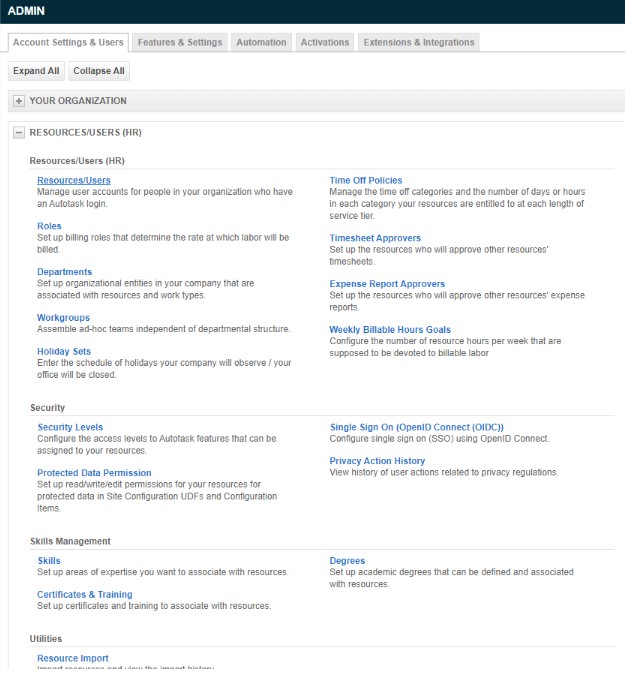
- Go to Auto Task and on the top left corner hover over the menu button. This will make a dropdown list appear. Click on 'Admin'
- Click on the first tab 'Account Settings & Users'
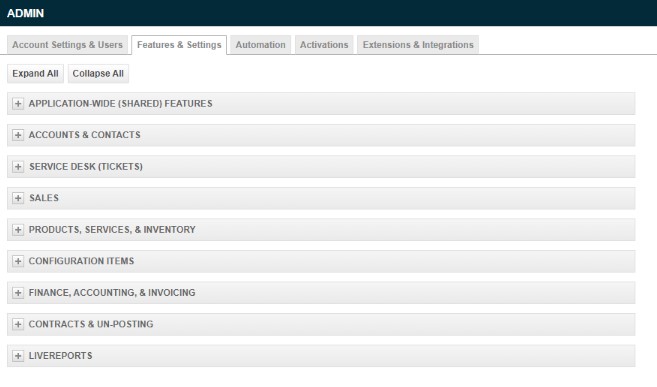
- Under 'Resources/Users (HR) click on 'Security Levels'

- Right click the Api User (system) (API-only) role and click 'Copy Security Level'
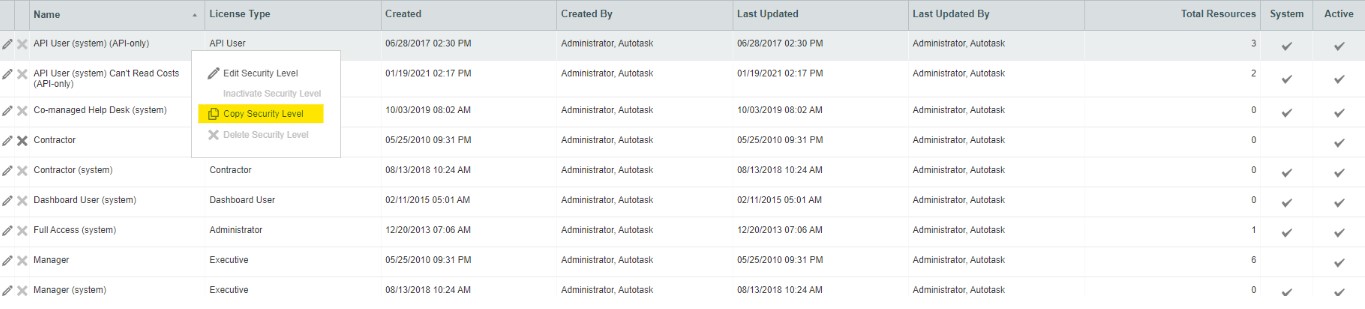
- Enter a name, for example 'Work 365 API User'
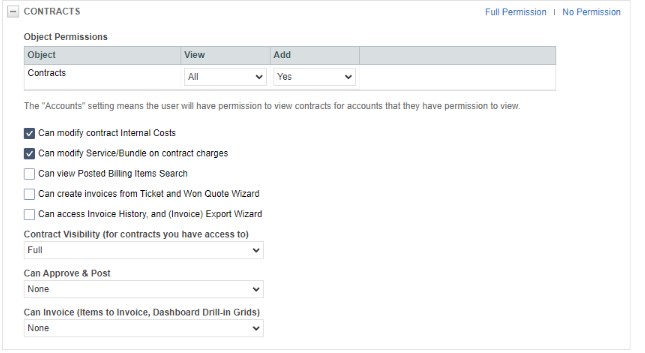
- The following settings is based on the setting group. All other settings should be set to 'No' or leave empty. You can automatically do this by clicking on the 'No Permission' button on the top right of each section.
- For Contracts section, setup as shown below.
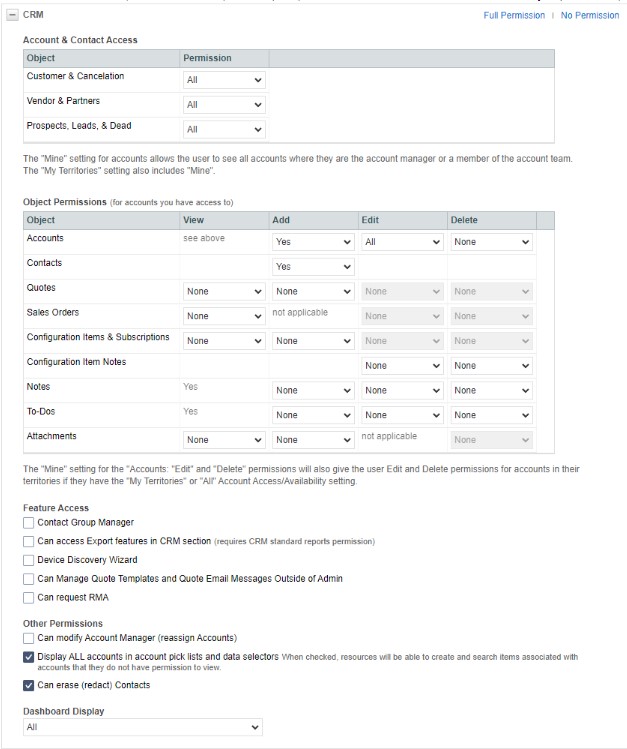
- For CRM section, setup as shown below.
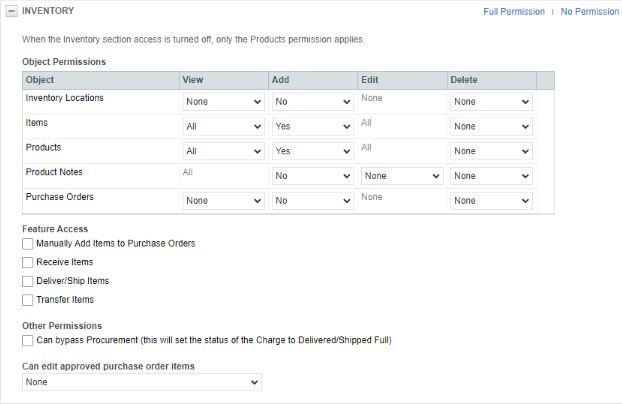
- For Inventory section, setup as shown below.
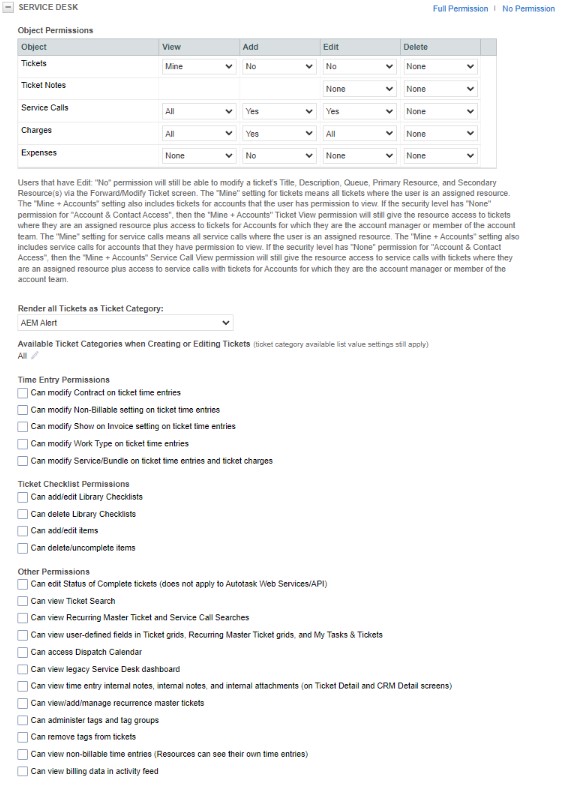
- For Service Desk section, setup as shown below.
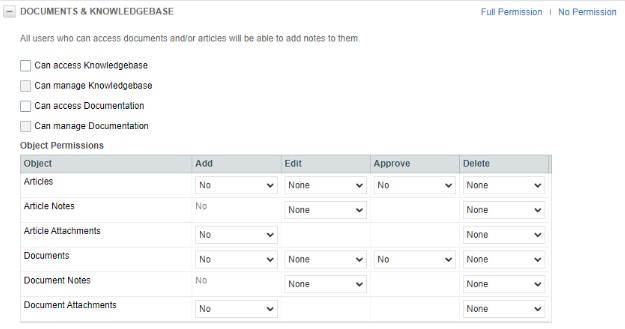
- For Documents & Knowledgebase section, setup as shown below.
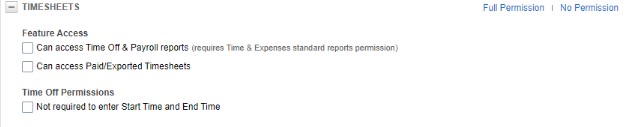
- For Timesheet section, setup as shown below.
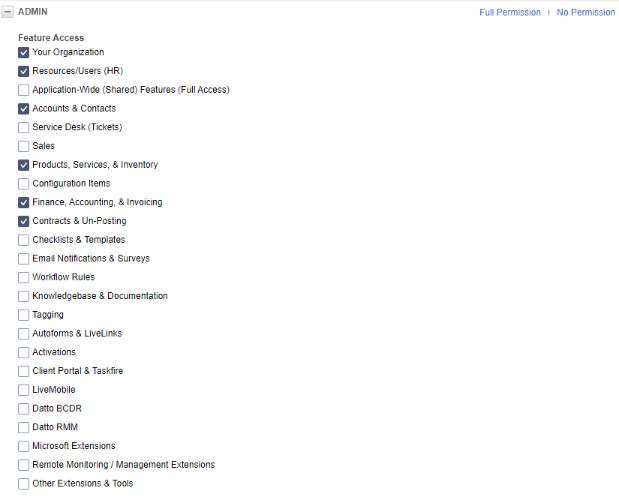
- For Admin section, setup as shown below.
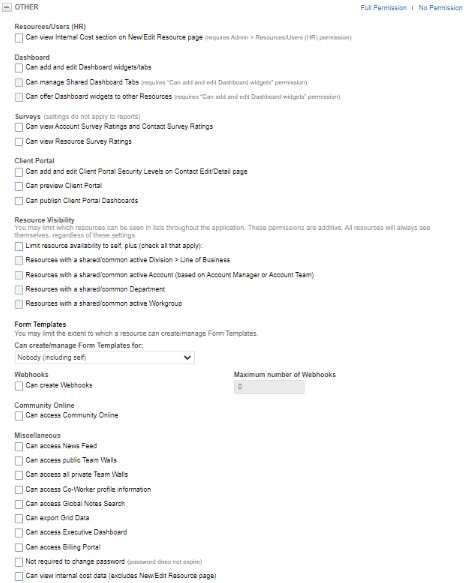
- For Other section, setup as shown below.
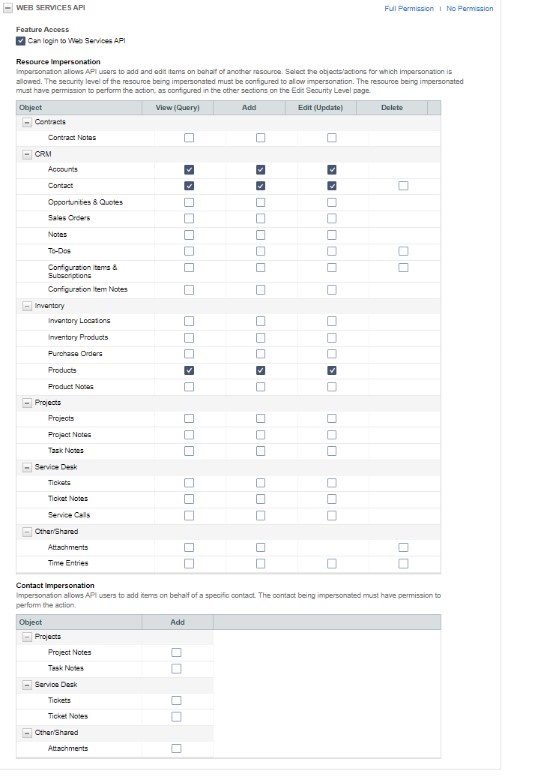
- For Web Services API section, setup as shown below.
The security role for the API account is now setup correctly with the minimum permissions needed. Now we need to create a new API user.
Creating a new API user in Auto Task
- Go back to the admin page, under the 'Account Settings & Users' tab, and under the 'Resources/Users (HR)' section. Click on 'Resources/Users'
- On the Top Left, there's a '+ New' button, hover over it and click on 'New API User'image.png
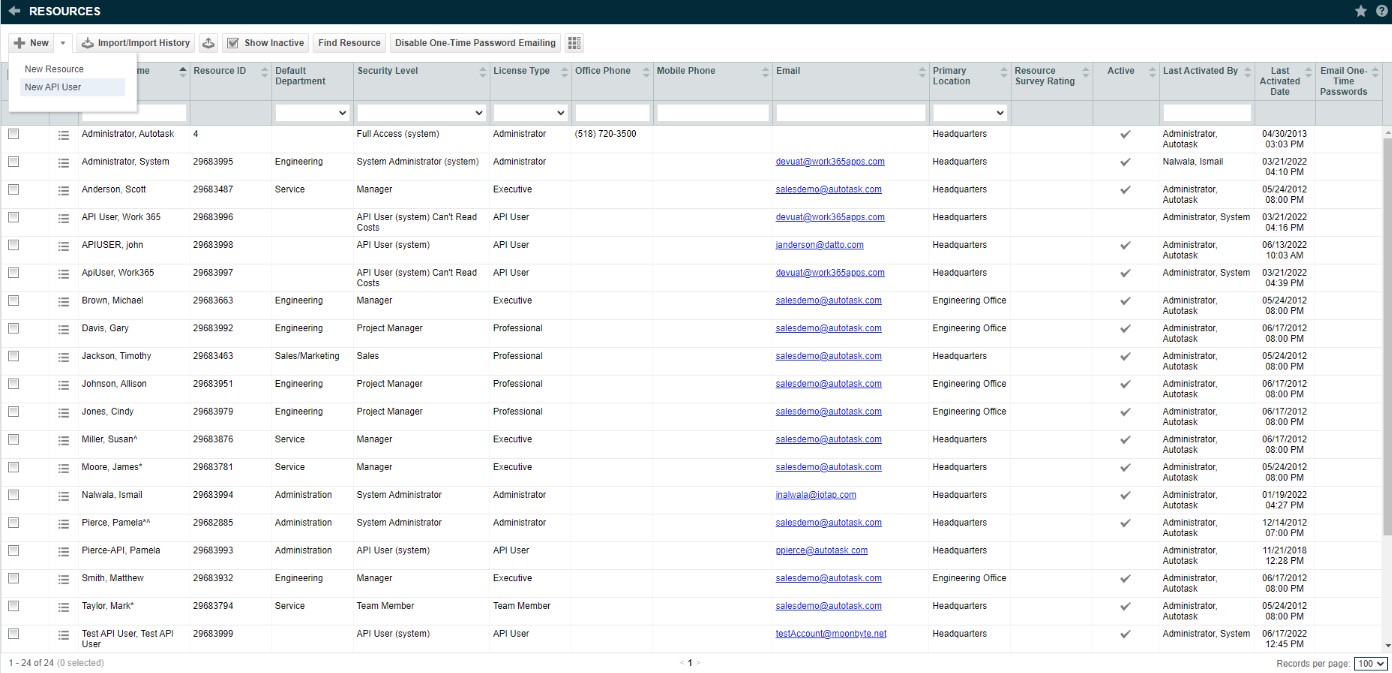
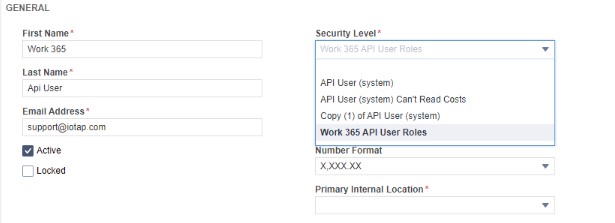
- This will open a new popup window to create a new API user. In the general tab, type in a First Name, Last Name, Email Address and select the newly created security level.
- For credentials, generate a new username and a new password. Please save them because you will use them when setting up the Work 365 integration.

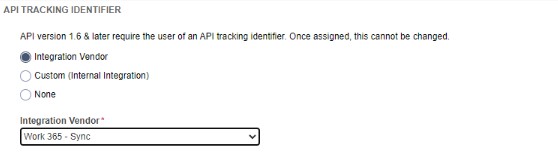
- In the API Tracking Identifier, select the Work 365 Sync vendor. Make sure the Integration Vendor button is selected.
- After that, click 'Save & Close' everything is setup!