
Agreements - Self-Service Portal
Pre-requisites
Performing this configuration will require the following:
- Portal Owner privileges
Time required
This configuration is expected to take approximately 15 minutes
Additional notes
Having customers confirm and accept agreements from the portal
Procedure
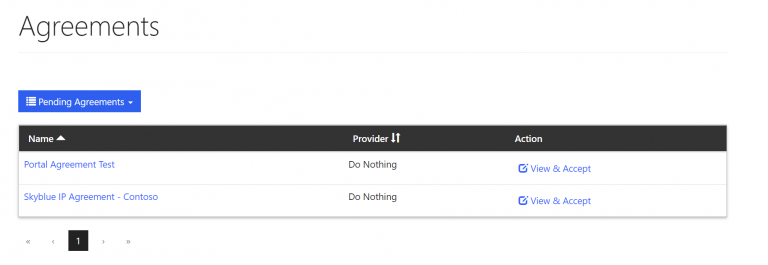
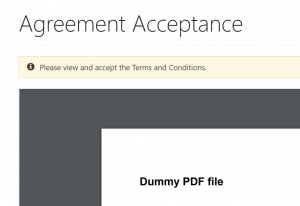
- An Agreements in a Pending(Status Reason show on the Top-right) will appear on the Portal for a customer to accept.

- When the Agreement shows on the portal, there will be a web top bar notification letting the customer know that the agreement needs to be signed.

- On the Agreement Template, ensure the following is configured
- Add an agreement link. This should either be a PDF or HTML link.
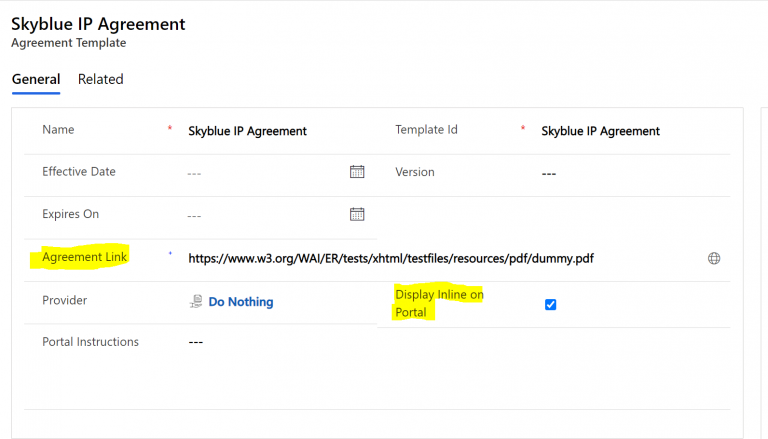
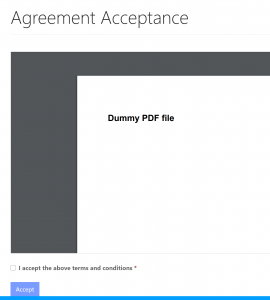
- If Display inline is checked, the above link will be directly opened on the portal page as an iframe.
- If Display Inline is not checked, the link will be displayed as a link on the page. User will need to click the link to view the agreement details (which will open up in a separate tab)

- For a better user experience the display inline should be checked; however, some links may not work in an iframe. In such cases the display inline should be unchecked for such records.
- To add additional notes to the portal agreement page when viewing the agreement, add the note to the portal instructions of the agreement template.
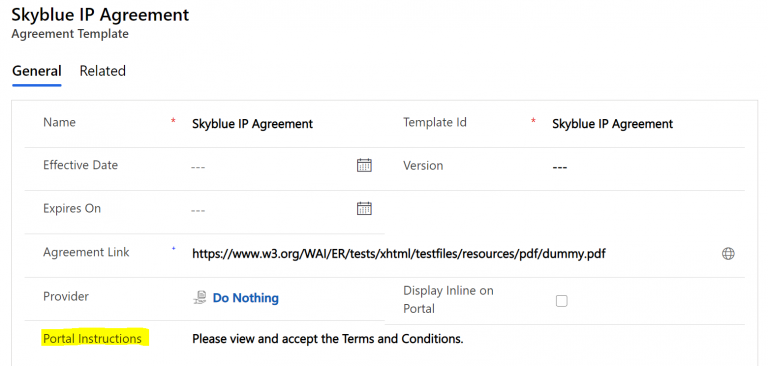
- The note will be displayed above the iframe of the document.
- After the client has confirmed the agreement, the document can be added as a note to the agreement itself.
Attaching Documents:
To display PDF documents of agreements on the portal:
- Go to the customer’s agreement in Work 365
- In the note section of the agreement, attach the PDF document.
- In the body of the note text add WEB
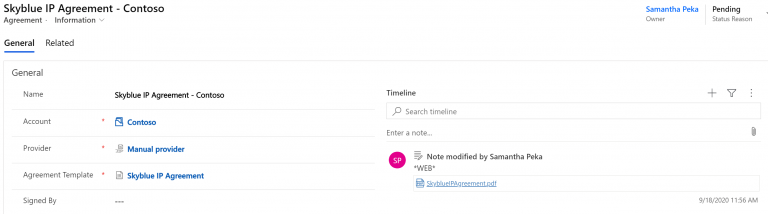
This will display the agreement on the portal.
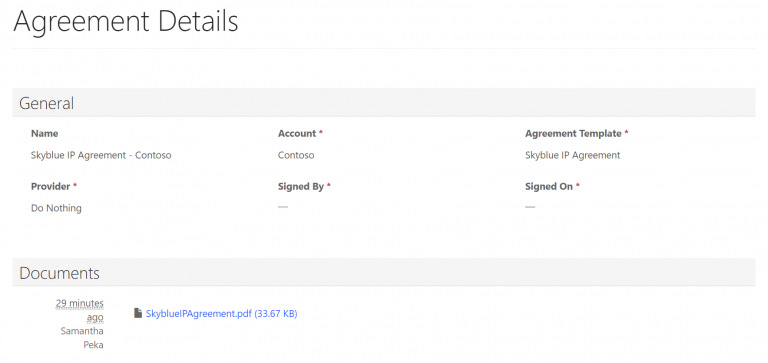
When a client adds a document to the portal directly, the system will automatically attach this document to the agreement in Work 365 and apply WEB to the agreement notes.