
Time Logs
Time Logs
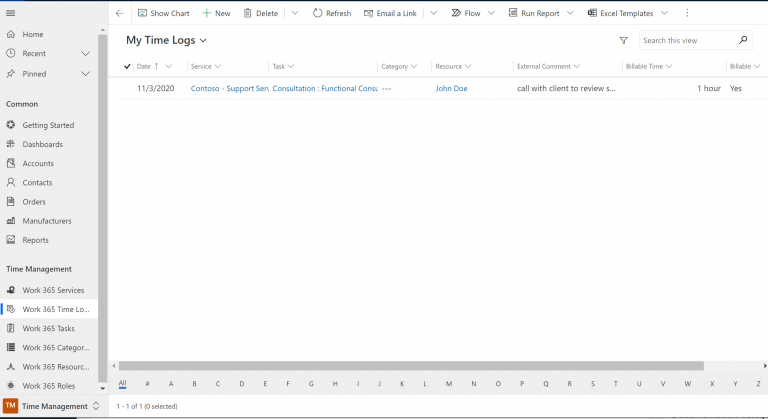
These are the time entries users will create to log time against tasks while fulfilling a Service. Time logs can either be added via the left navigation menu or they can be added directly to a Service.
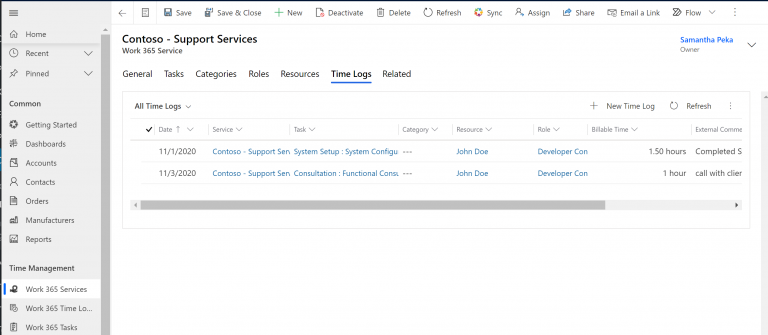
Here is an example time log. In order for users to submit time logs they must have the Work 365 CS Representative security role enabled on their user in CRM.
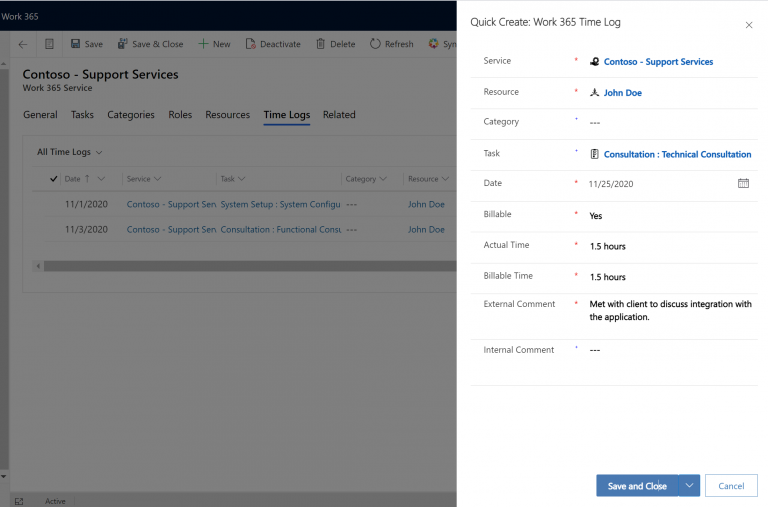
It is recommended to complete the following fields when creating a time log:
- Service: this will populate automatically if the time log is created within the service.
- Resource: the resource who completed the task
- Task: the task that was completed
- Date: Date in which the task was complete
- Billable: this can be prepopulated when the task on the service is marked as billable
- Actual Time: the total time spent completing the task
- Billable time: the total billable time spent completing the task
- External Comment: Comment the customer will see
- Depending on the invoice rollup selected on the service the external comment will either be detailed on the invoice directly, or included in the attached CSV file listing the time log detail.
- Invoice rollup
- “No Grouping” selected on the service: will make the comment appear on the invoice directly
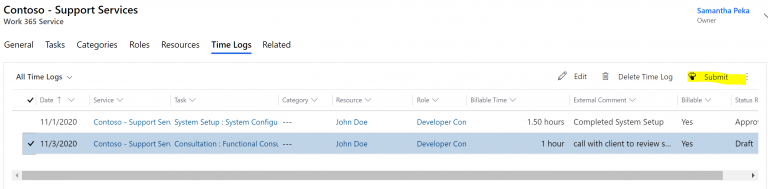
Service, Role, Resource: The comments will be included in the external CSV file attached to the invoice in the timeline. Note this attachment will not be sent to the customer automatically, but it will be visible on the customer’s invoice inside the Self Service Portal. - Once a time log is added is must be submitted for approval.
- To submit time on the service go to time logs, select the log(s), and hit submit.
To submit time on the time log view go to time logs in the left navigation menu, select the log(s), and hit submit.

Then in order for the time log to be billable it must be approved by a manager.
Managers approving time must have the Work 365 CS Manager security role
To approve time on the service go to time logs, select the log(s), and hit approve. If the time log should not approved, one can also hit reject.
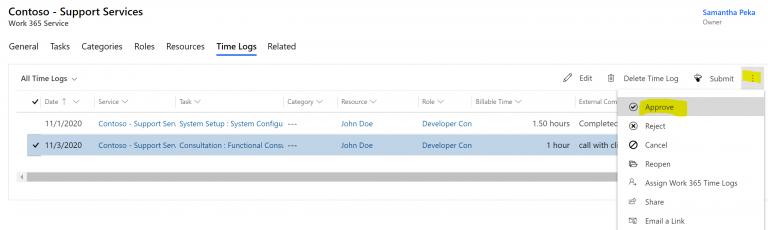
To approve time on the time log view go to time logs in the left navigation menu, select the log(s), and hit approve.

Once time logs are submitted for approval, they are eligible for billing.
Updated 5 months ago