
Azure Usage for End Customers
The sequence of steps required to enable Advance Azure for Dynamics Portal are shown in the diagram below. This document outlines the first two steps. The CRM solution upgrades can be performed via the Onboarding App.

Pre-requisites
Make sure you have Advanced Azure Feature into your current Work 365 plan otherwise this feature will not work in your Self-Service Portal
The steps outlined in this document will require high privilege accounts to complete. The user performing these steps must have Global Administrator role in Azure Active Directory and System Administrator role in Dynamics 365.
Estimated Completion Time
This procedure is expected to take 10-20 minutes for completion.
This is an interactive form
Enter the requested information in the provided data field of each step, as requested. At the end of this document, a table will automatically generate for you to copy and paste into a reply email to Work 365.
Overview
The goal of this procedure is to enable Advanced Azure capability for your Dynamics CRM portal. Upon completion of the procedure outlined in this document, Work 365 Support will enable this capability in the backend. The support team will need some information which will be gathered during the course of this document.
Information provided within this document is not saved
Fields within this page are provided as a convenience and are not saved or automatically sent on to Work 365 support. Information entered on this page will be lost upon page refresh.
Fill in some basic details about your environment in the table below. This is used to generate information that will be required later in the document.
| Name | Value |
|---|---|
| Dynamics CRM URL | |
| Dynamics Portal Language | |
| Dynamics Portal URL |
Changes to Azure AD App Registration
-
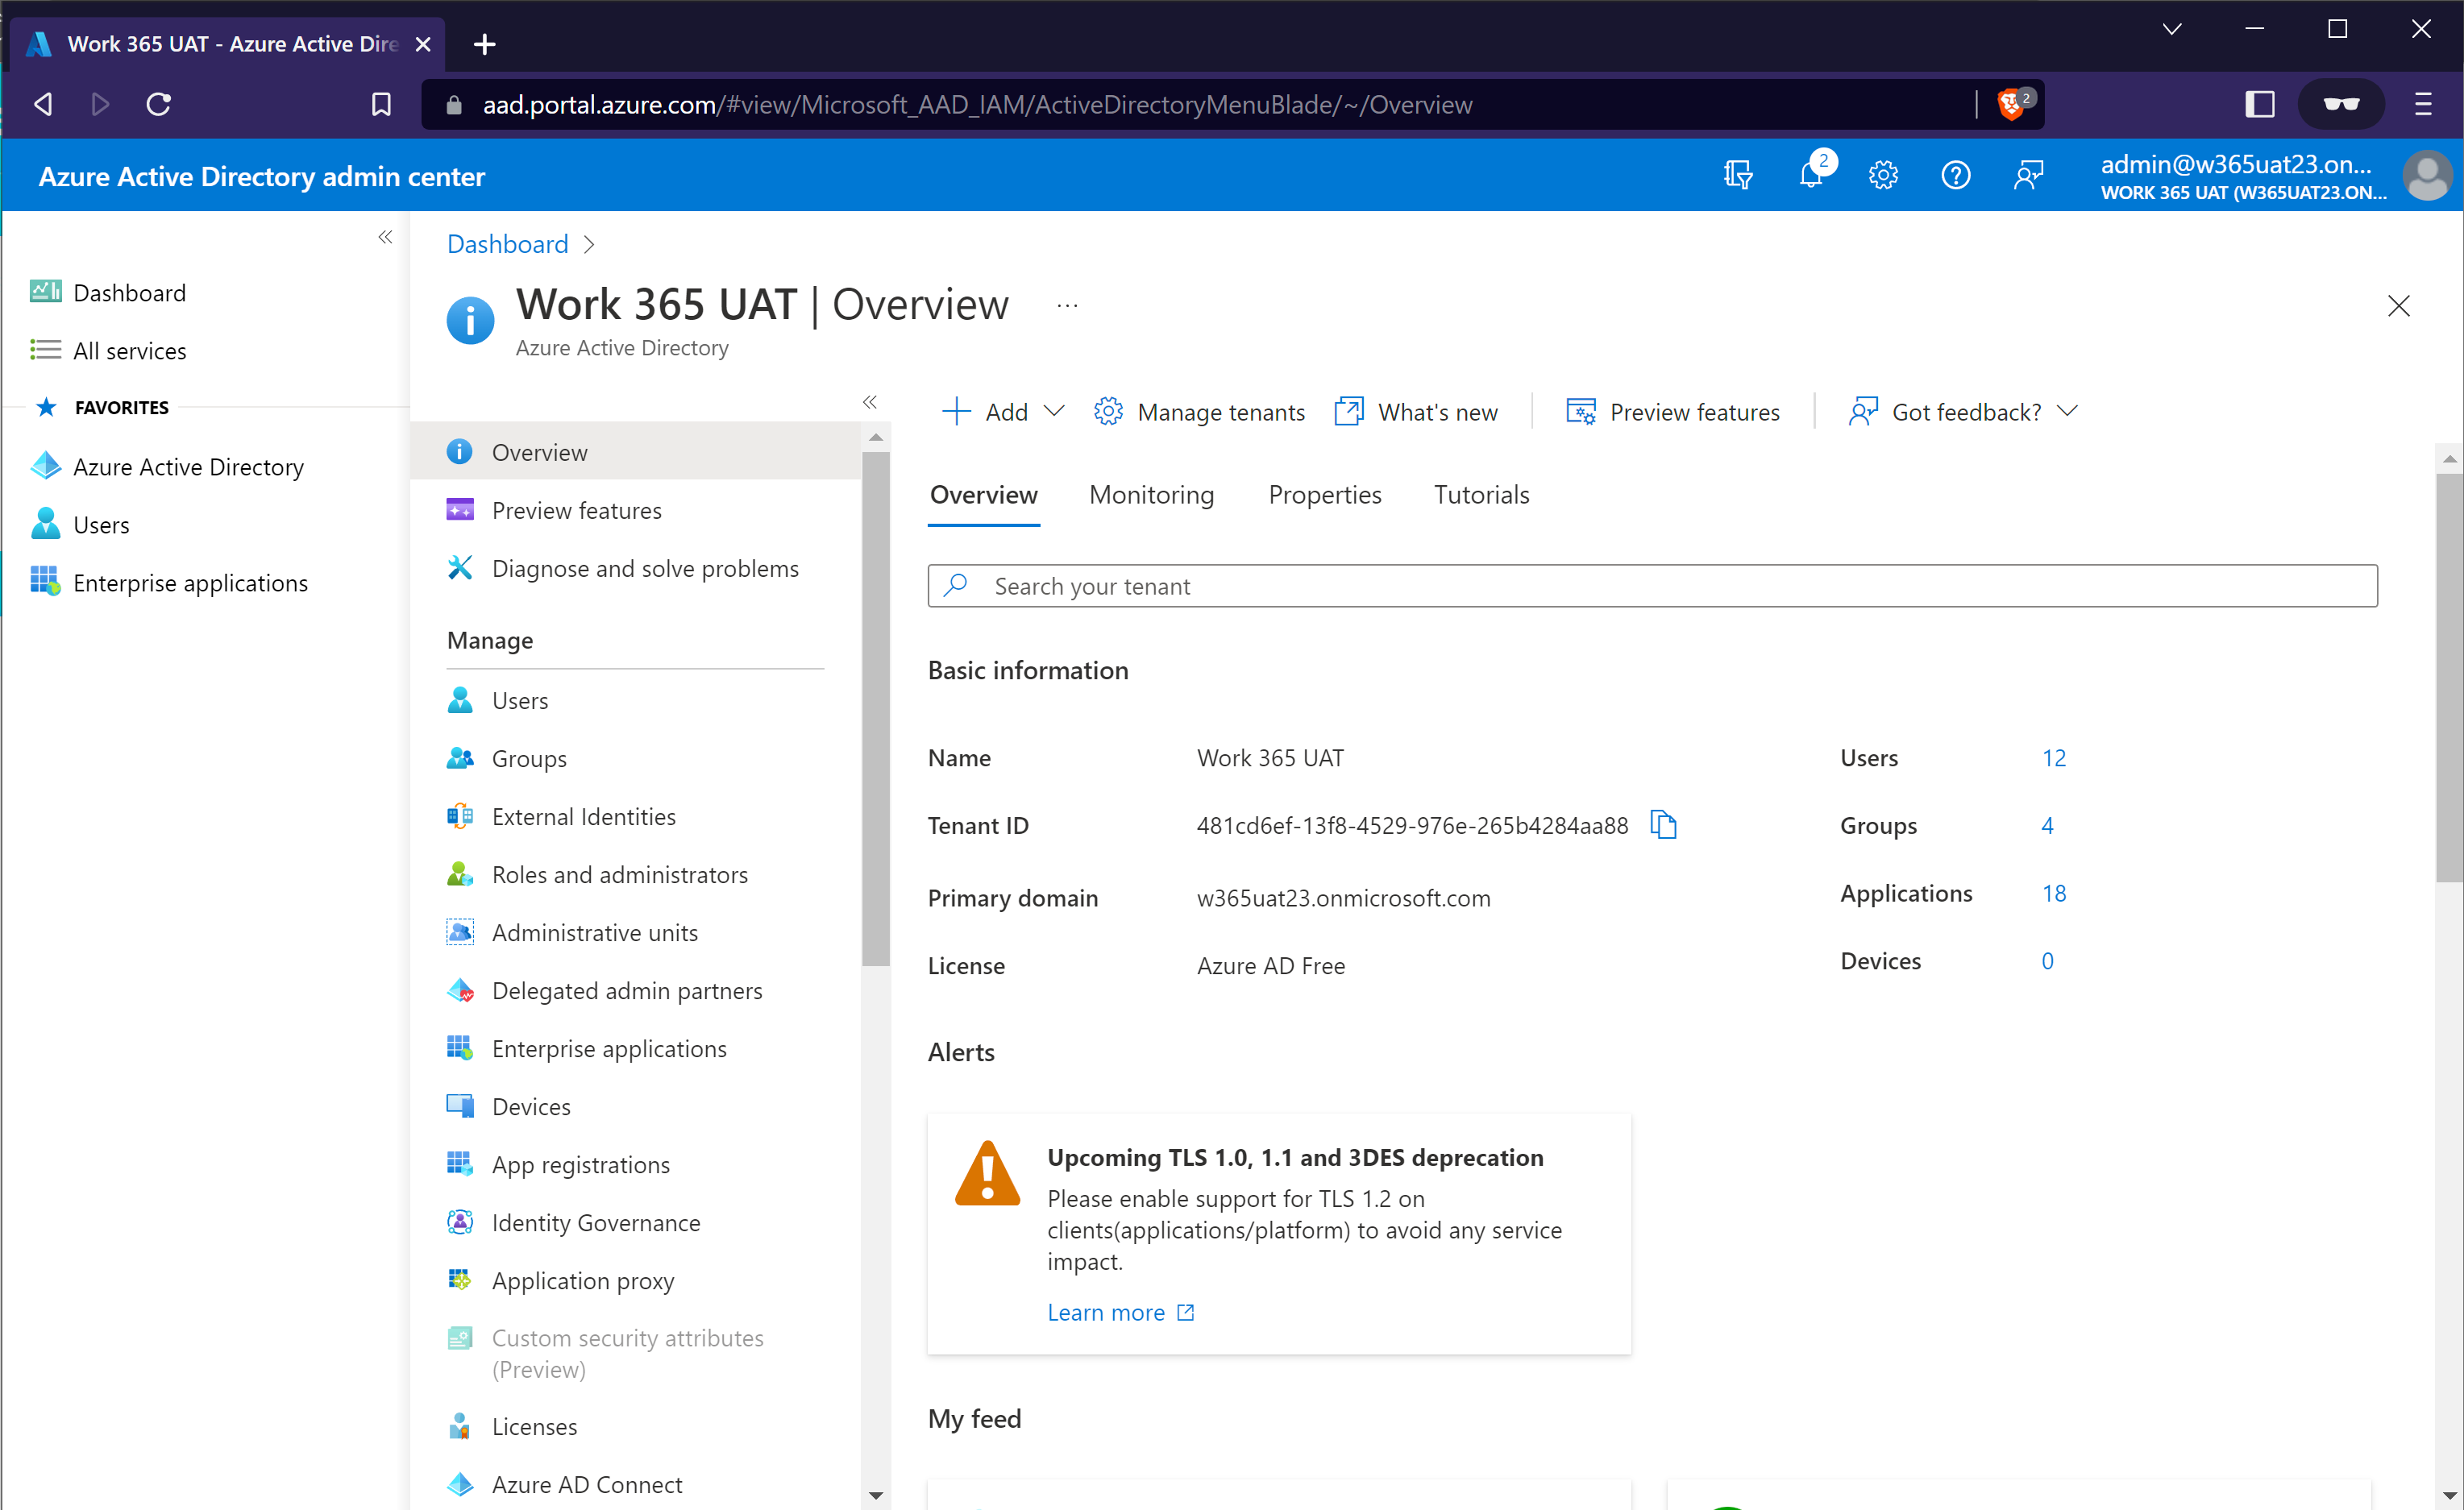
Open the Microsoft Active Directory portal by navigating to https://aad.portal.azure.com
-
Click on the 'Overview' menu. Note the 'Primary domain' in the field below.
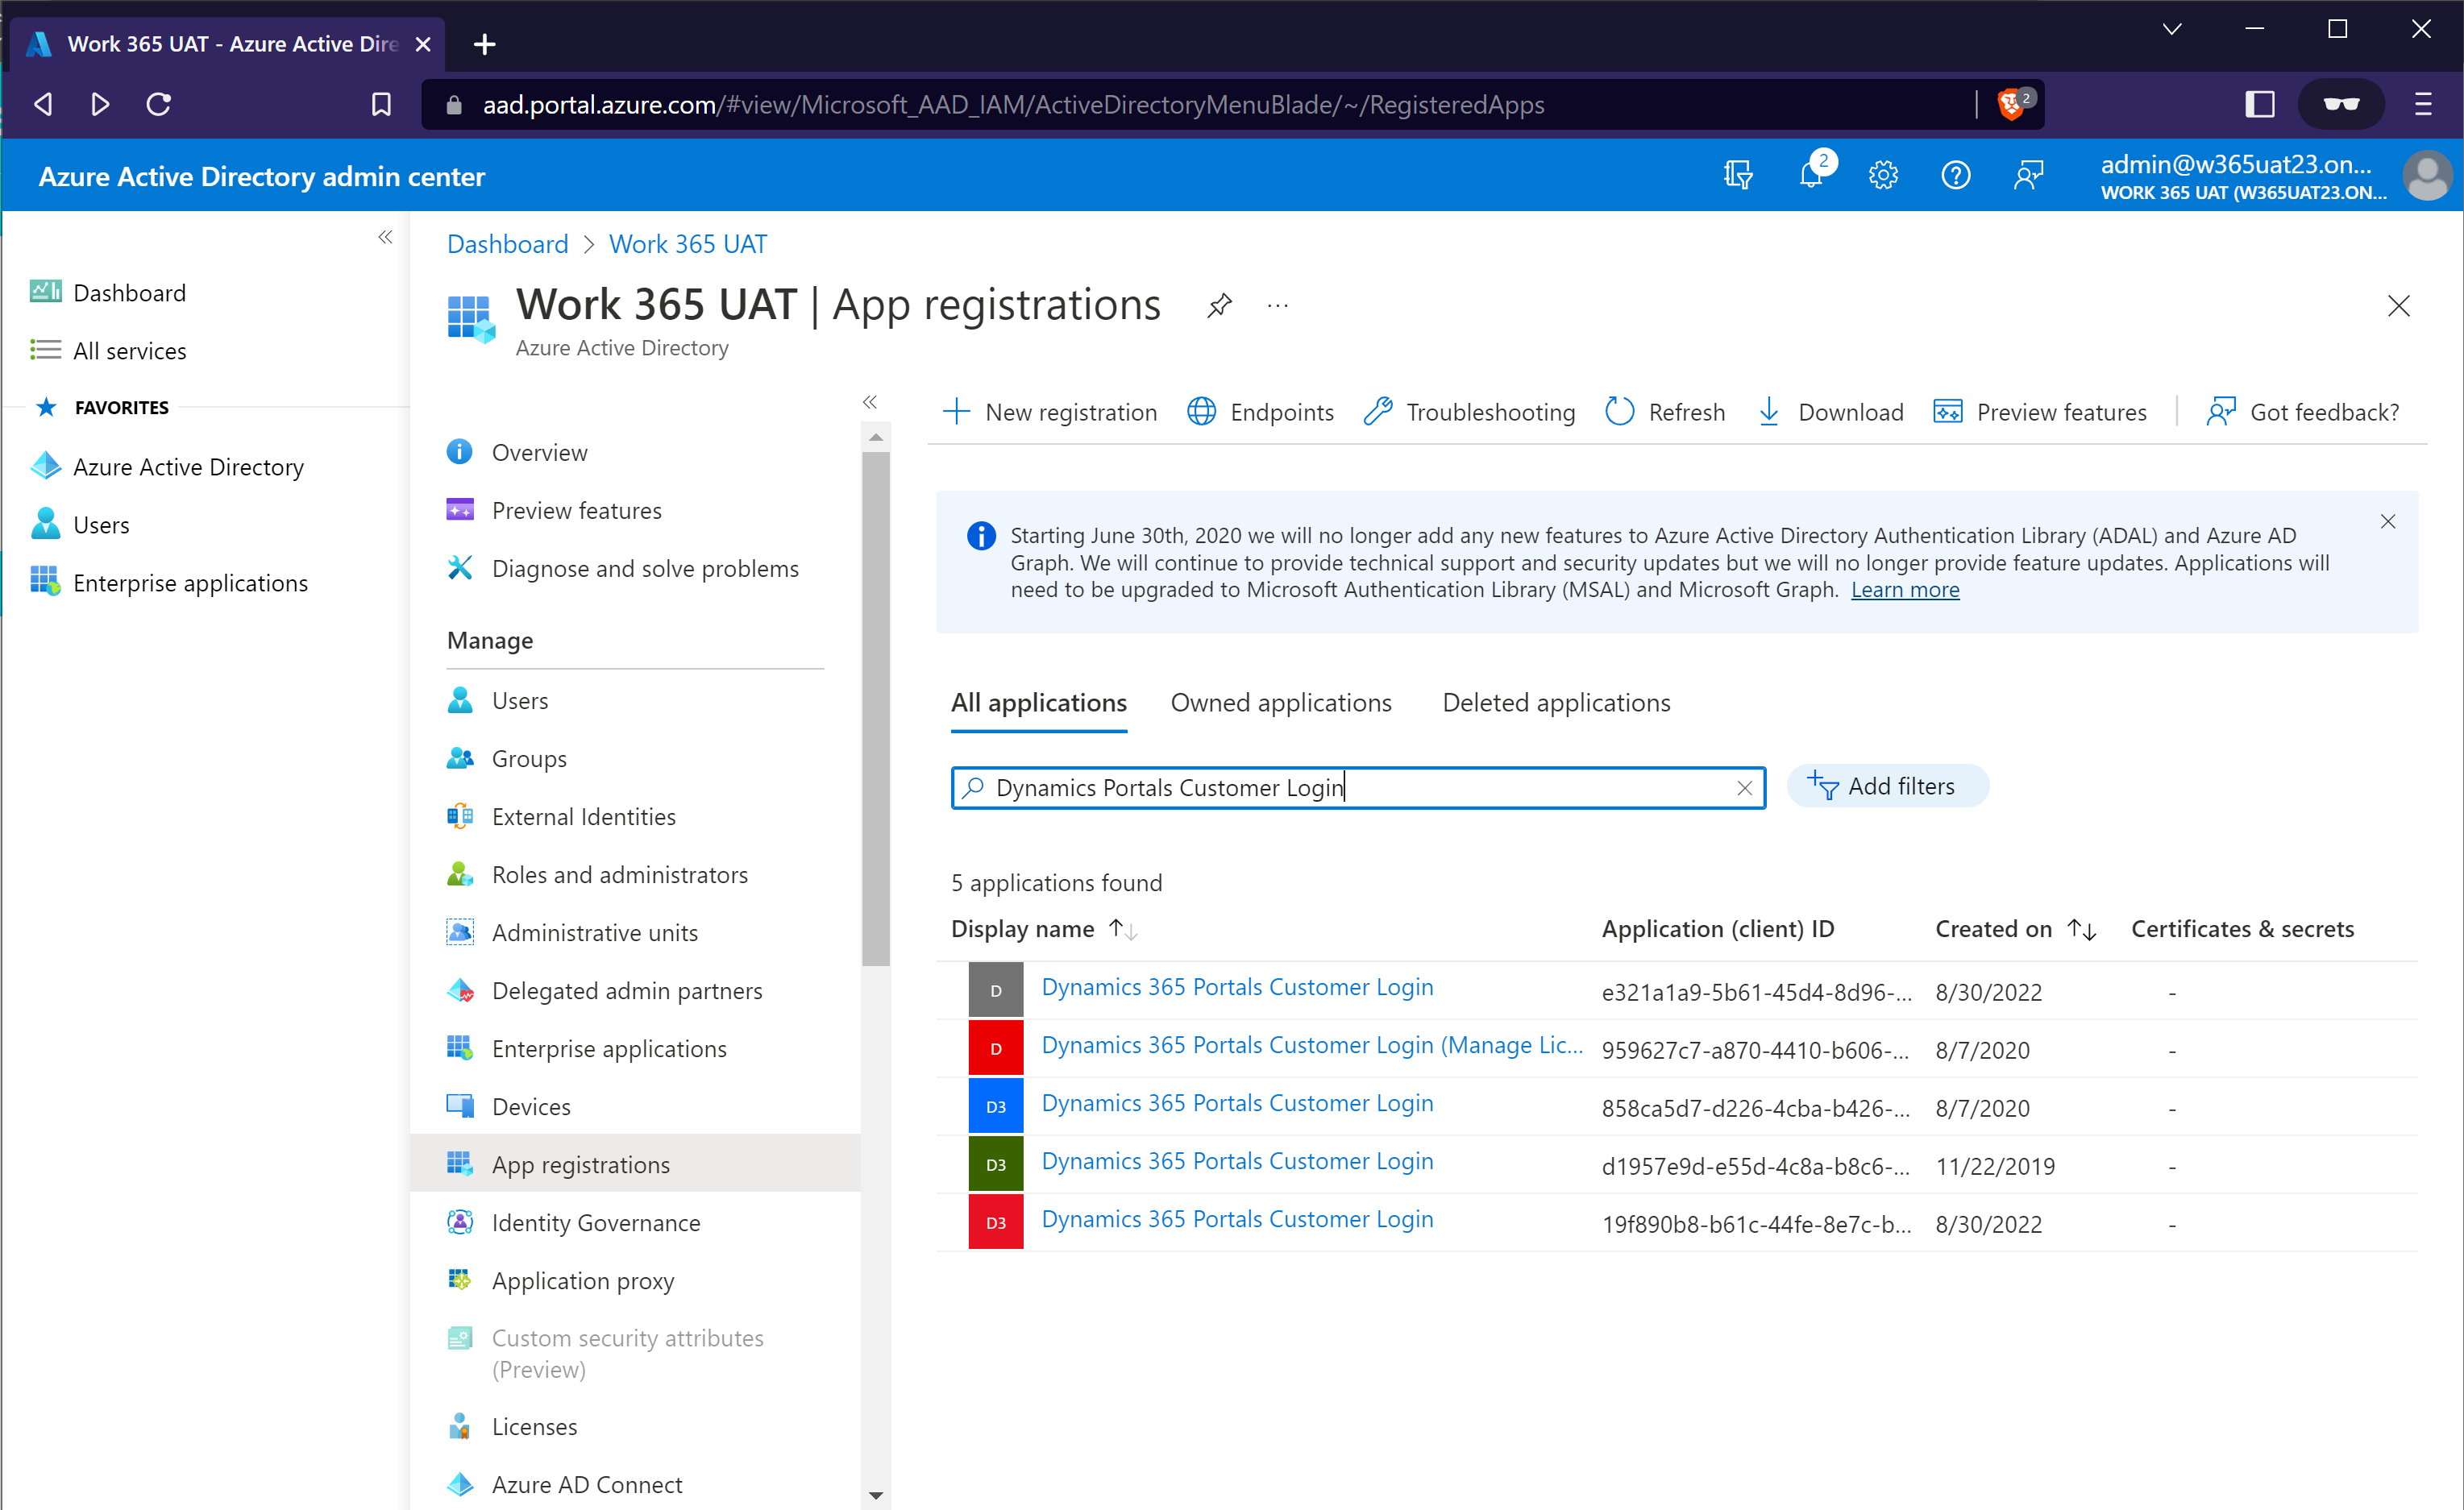
- Open the “App Registrations” menu and then locate the app being used to enable customer login to the Dynamics 365 portal. Note that this would be the same app that was created when the portal was initially setup. (Typically, this app is called ‘Dynamics 365 Portals Customer Login’).
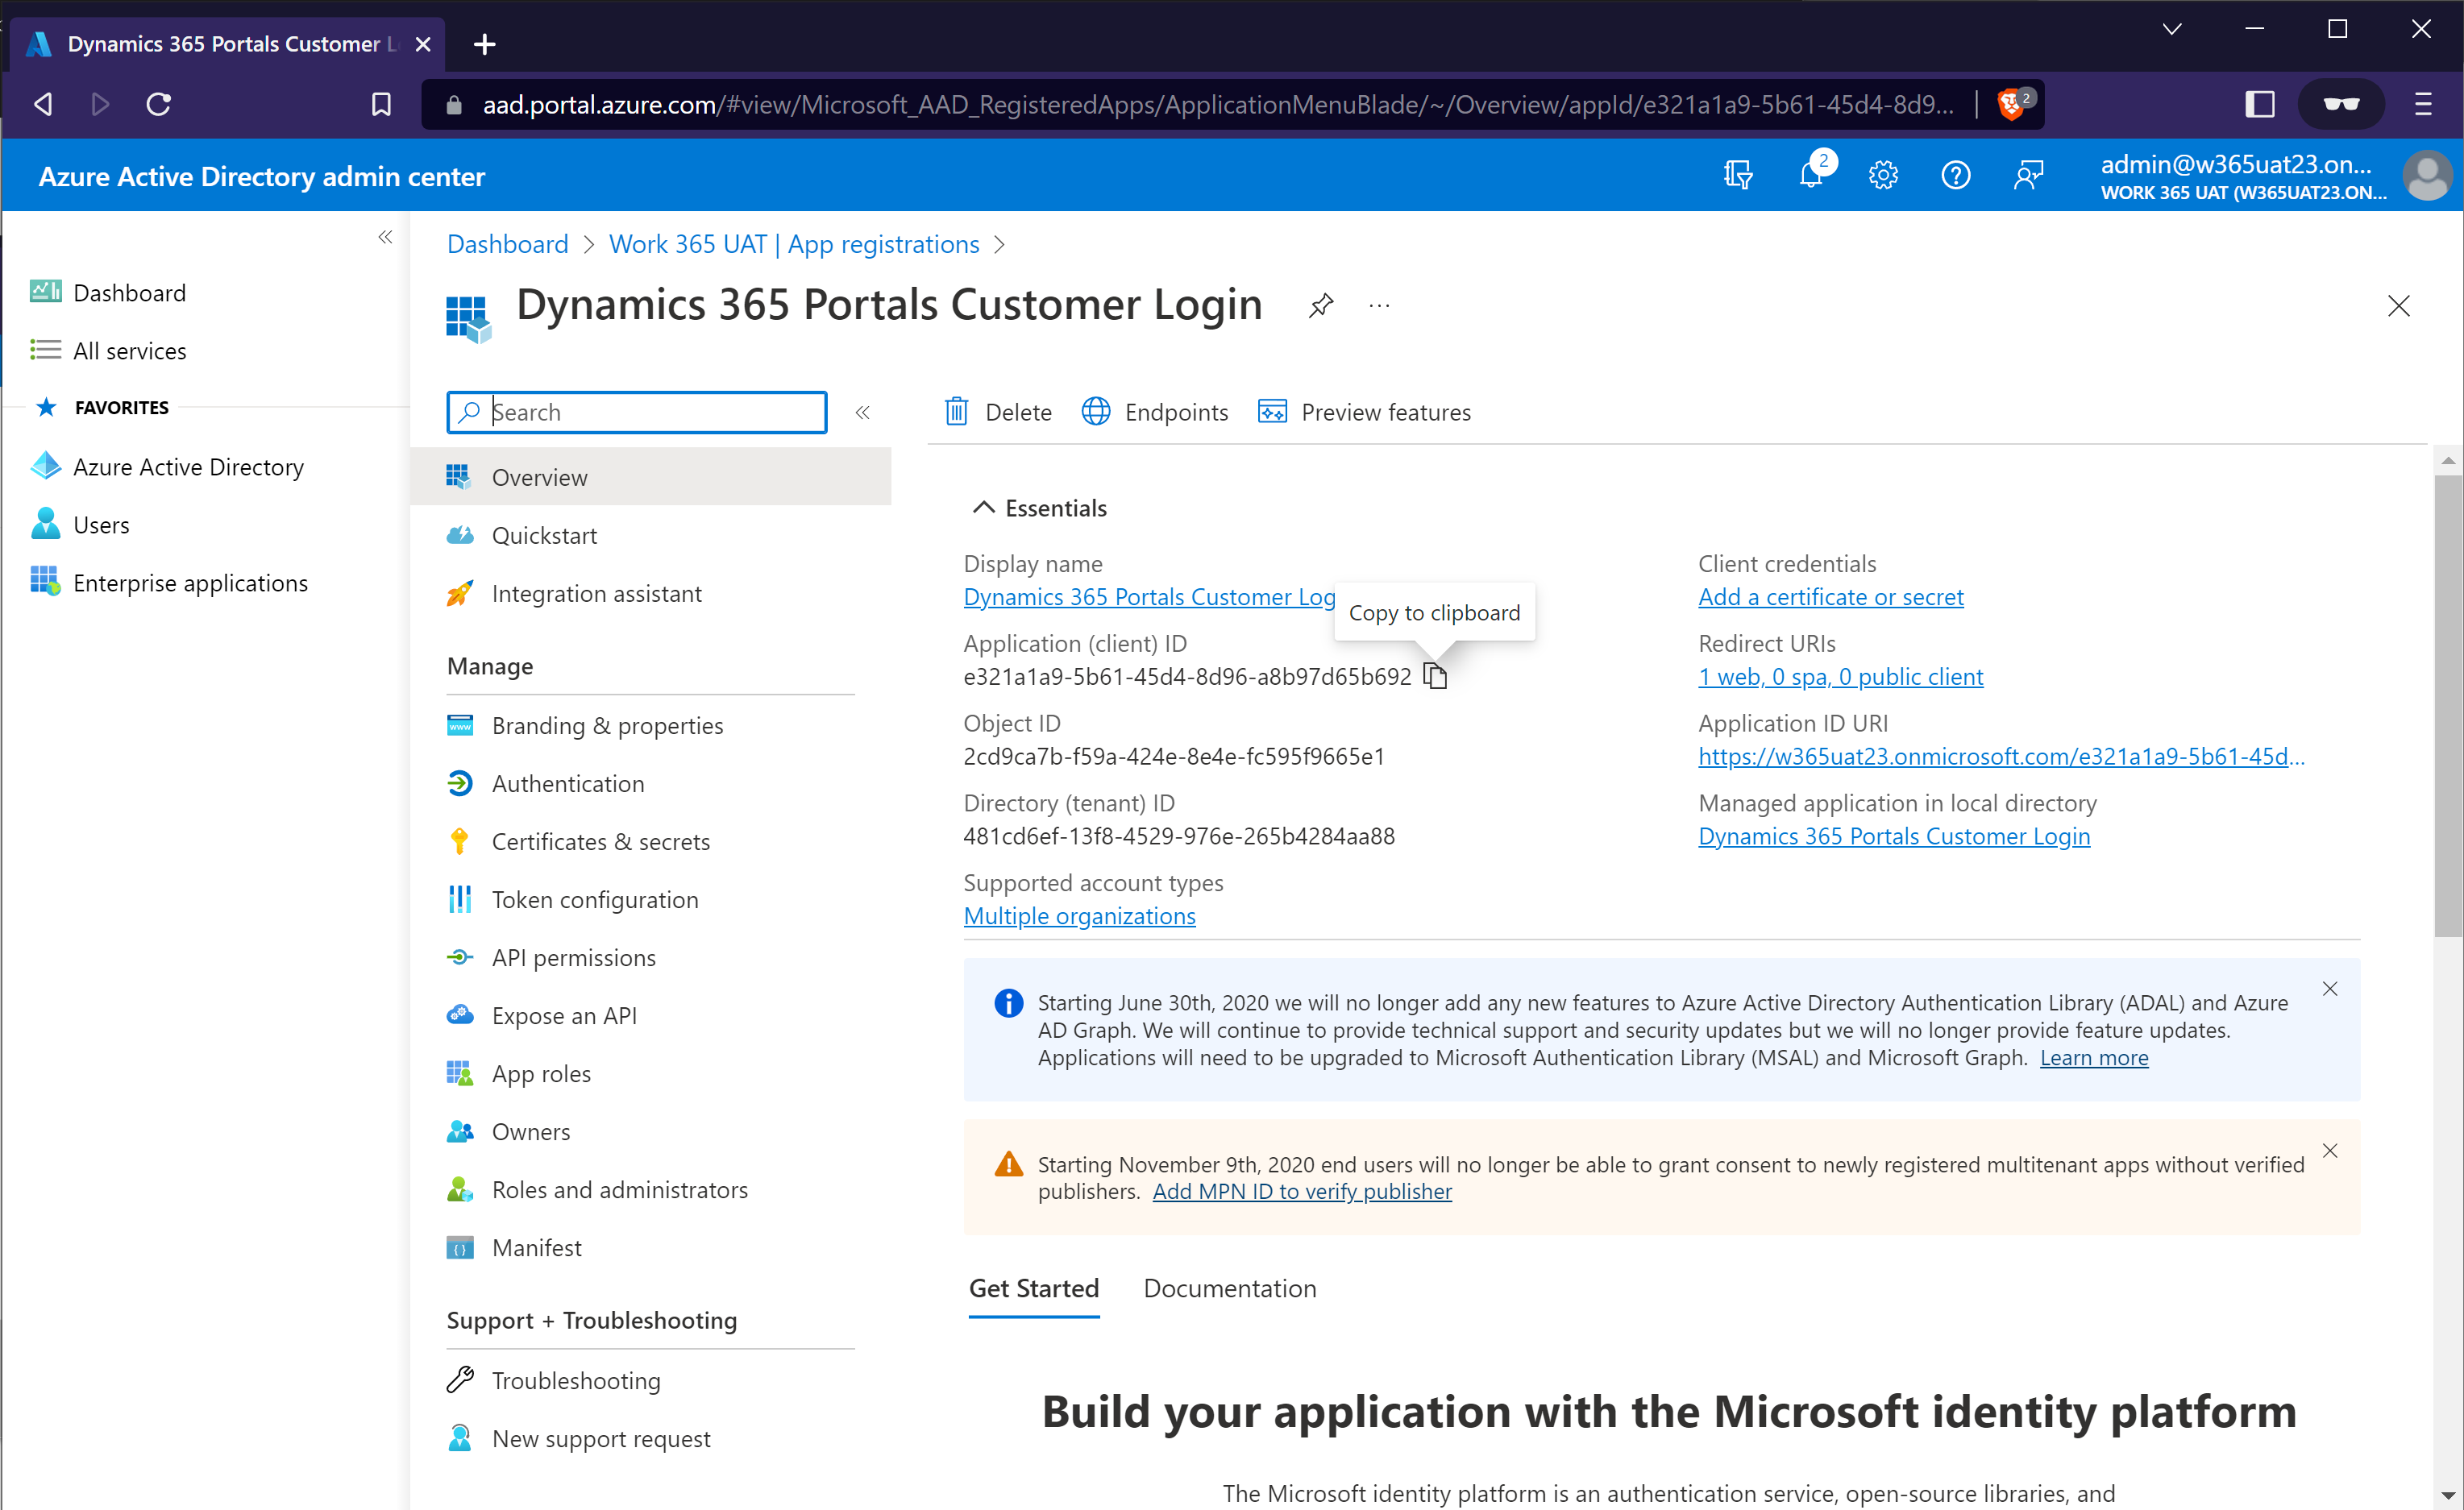
- Open the app by clicking on the ‘Display Name’ field. Copy the 'Application (client) ID' value into the field below.
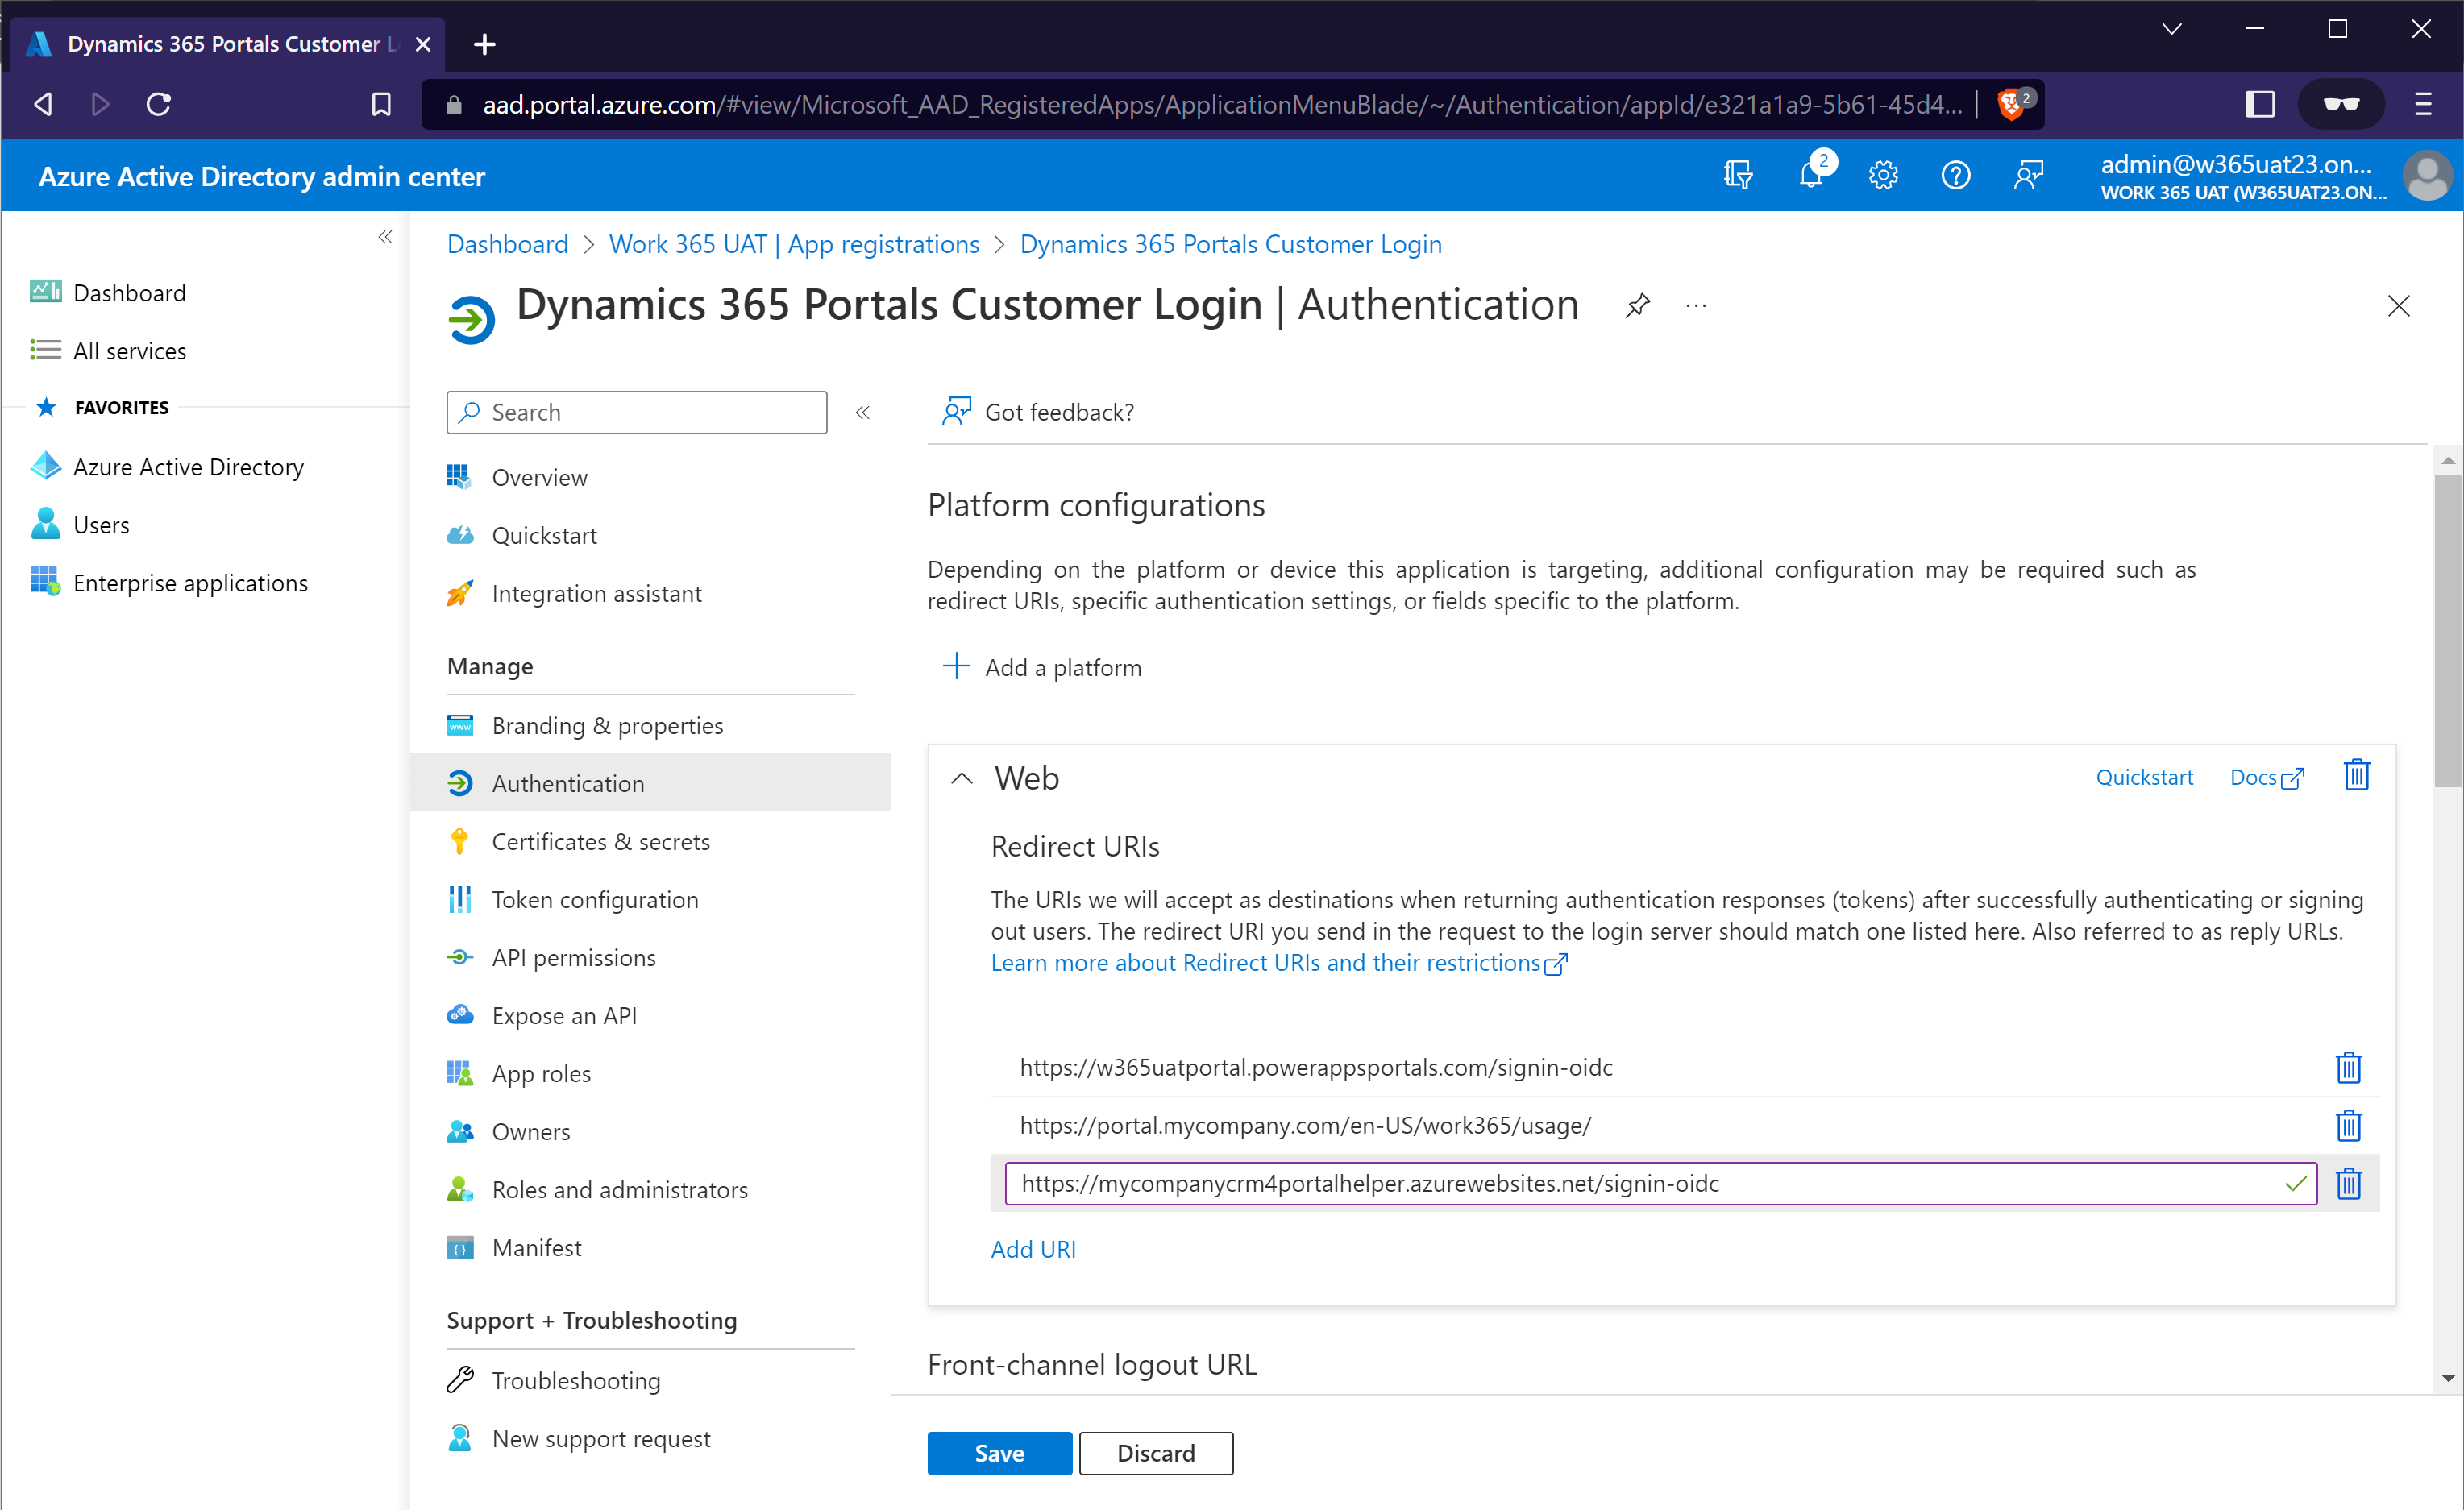
- Navigate to the 'Authentication' menu and add the Redirect URLs from the below table to this app. Note that if the portal uses more than one language, the 'Redirect URL 1' will need to be added for each language. Click 'Save' button when done. The values shown below are specific to your environment, based on the data entered on this form.
| Name | Value |
|---|---|
| Redirect URL 1 | |
| Redirect URL 2 | |
| * if your portal supports multiple languages, you must repeat 'Redirect URL 1' for each language installed on your portal. | |
- Click on the 'Expose an API' menu. If an 'Application ID URI' has not been set, it must be created. If the value already exists, overwrite it. The 'Application ID URI' must be set to the value shown below. The value shown below is specific to your environment, based on the data entered on this form.
| Name | Value |
|---|---|
| Application ID URI |
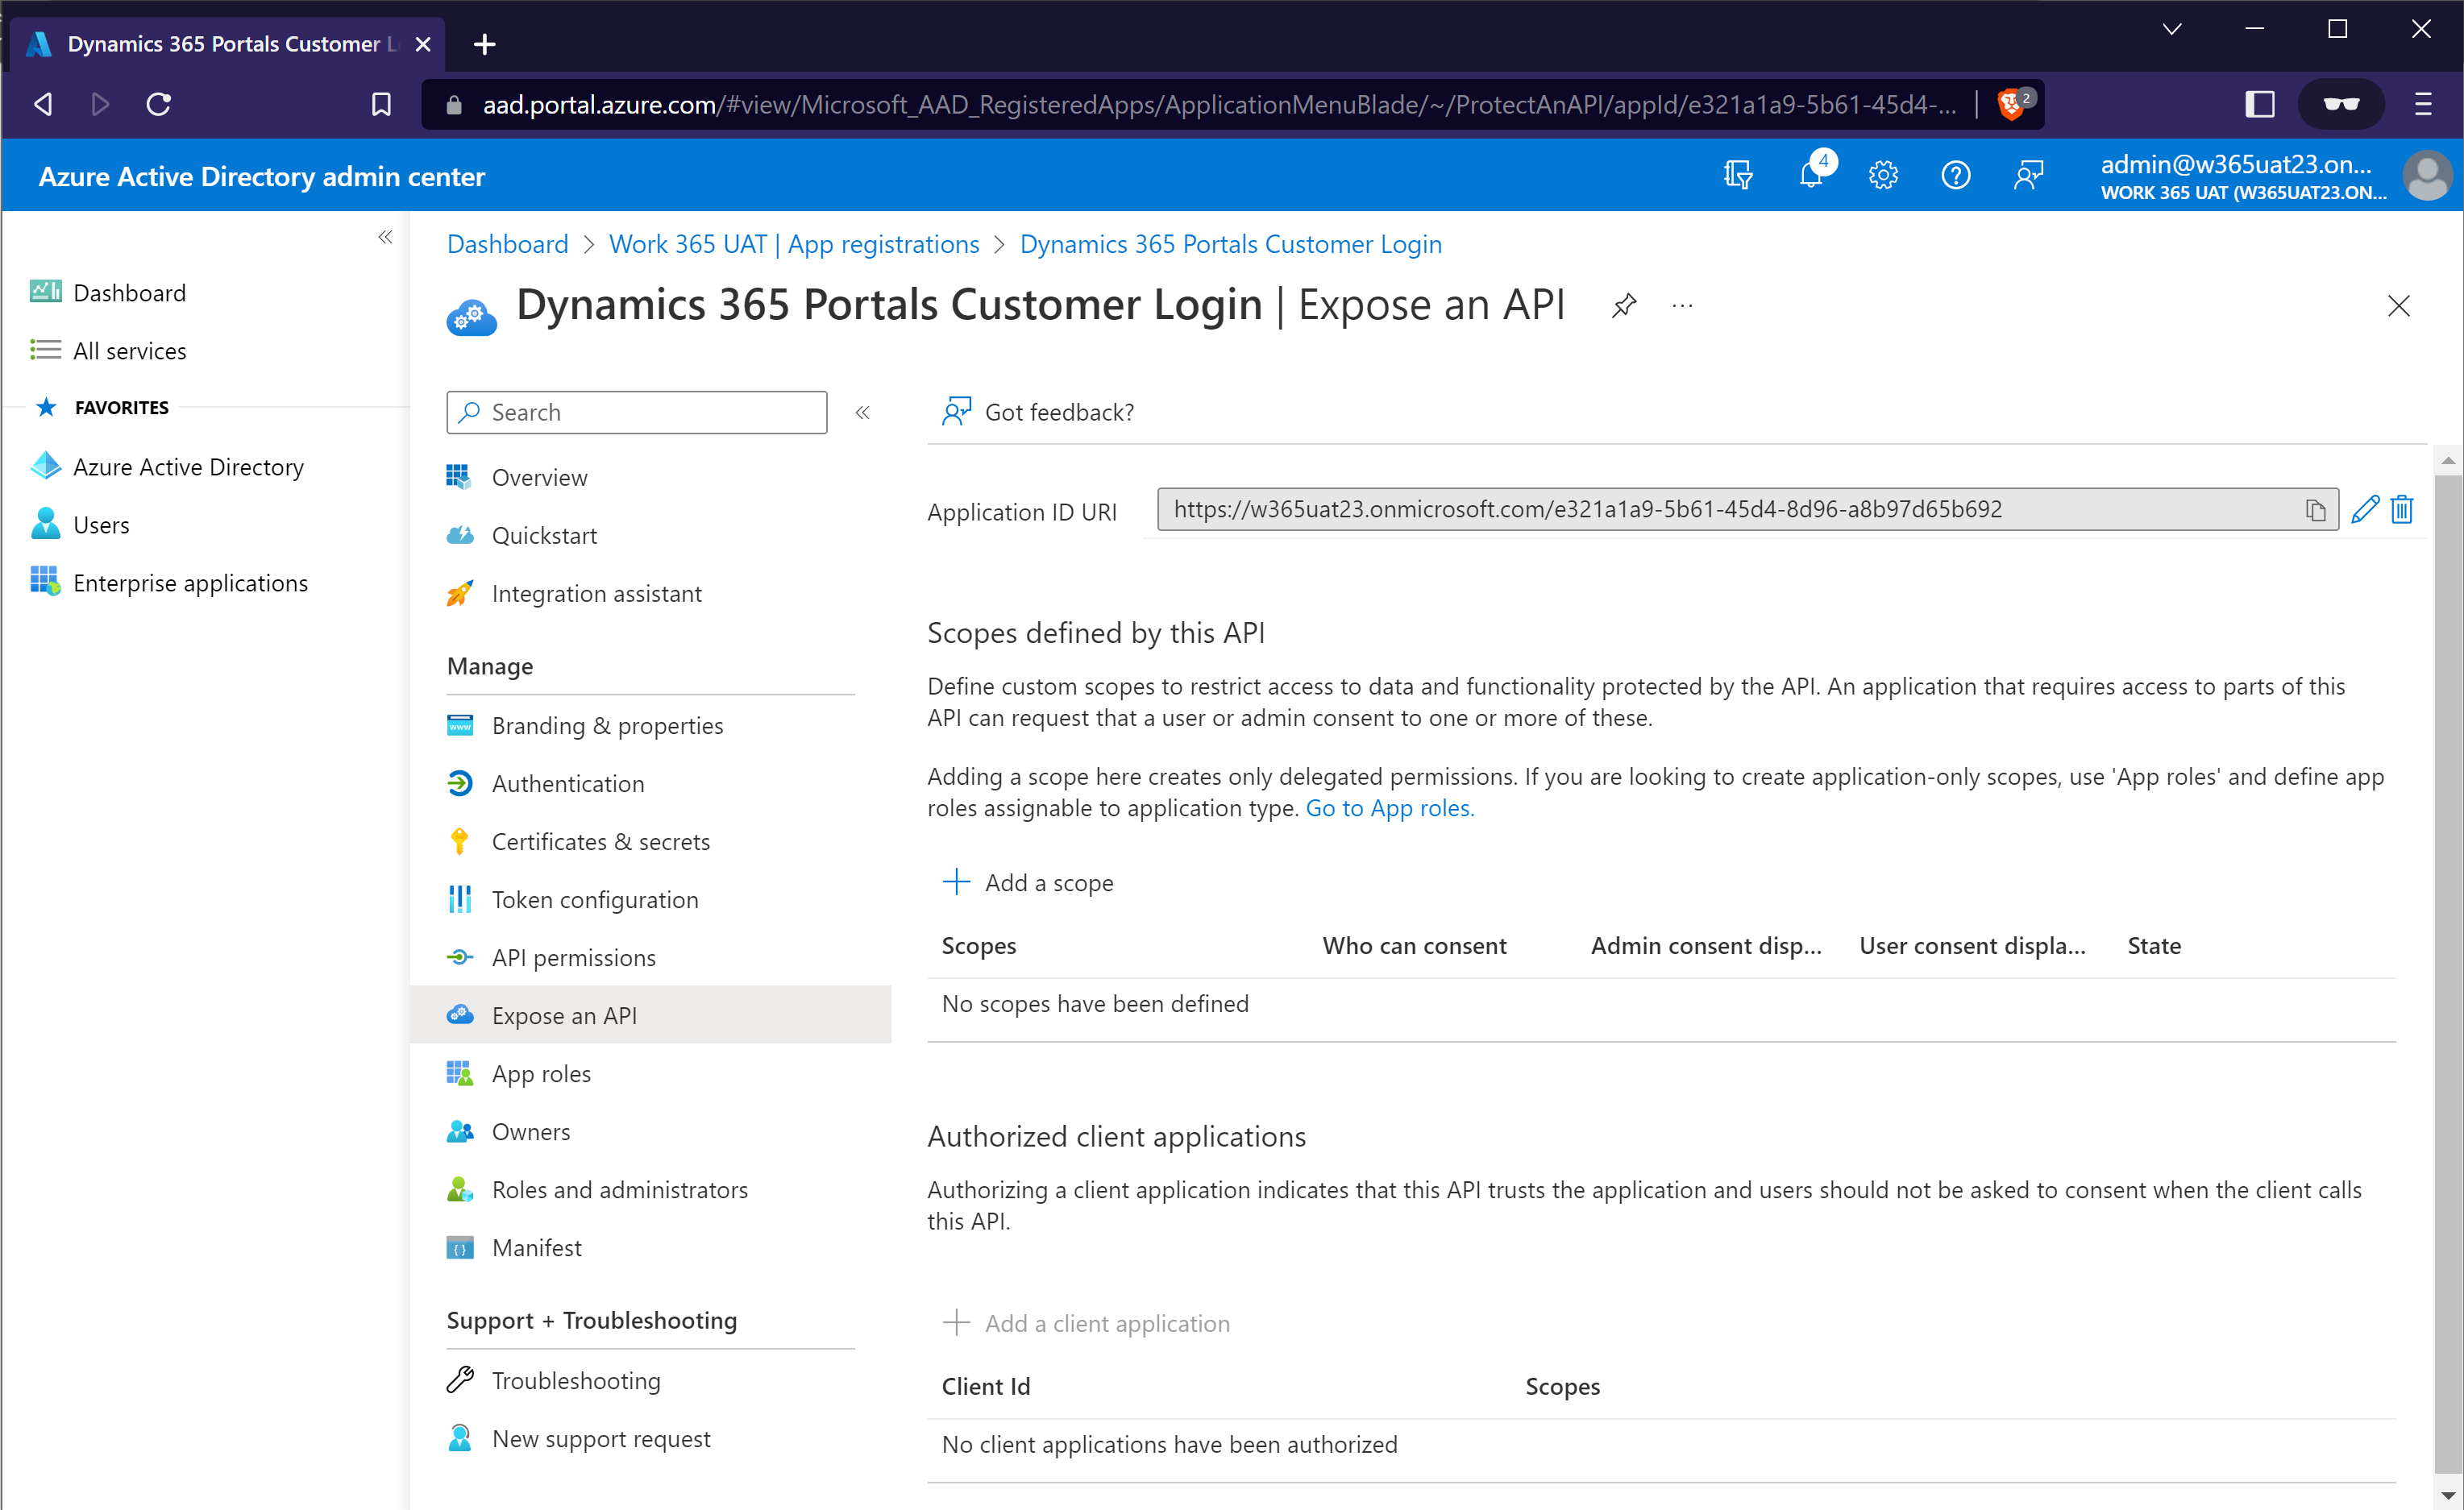
- Click on 'Add a scope'. Enter 'Scope Name' as 'user_impersonation'. Under 'Who can consent', select 'Admins & users'. Set the display names and descriptions as shown in the screenshot below. Click 'Add scope' button.
Ignore this step, If the user_impersonation scope already exists.

New Portal Site Settings
- Open the 'Dynamics Portals' app in Dynamics 365. Click on the 'Site Settings' option in the left-hand menu.
The Dynamics portals app may show as 'Portal Management' in some cases.
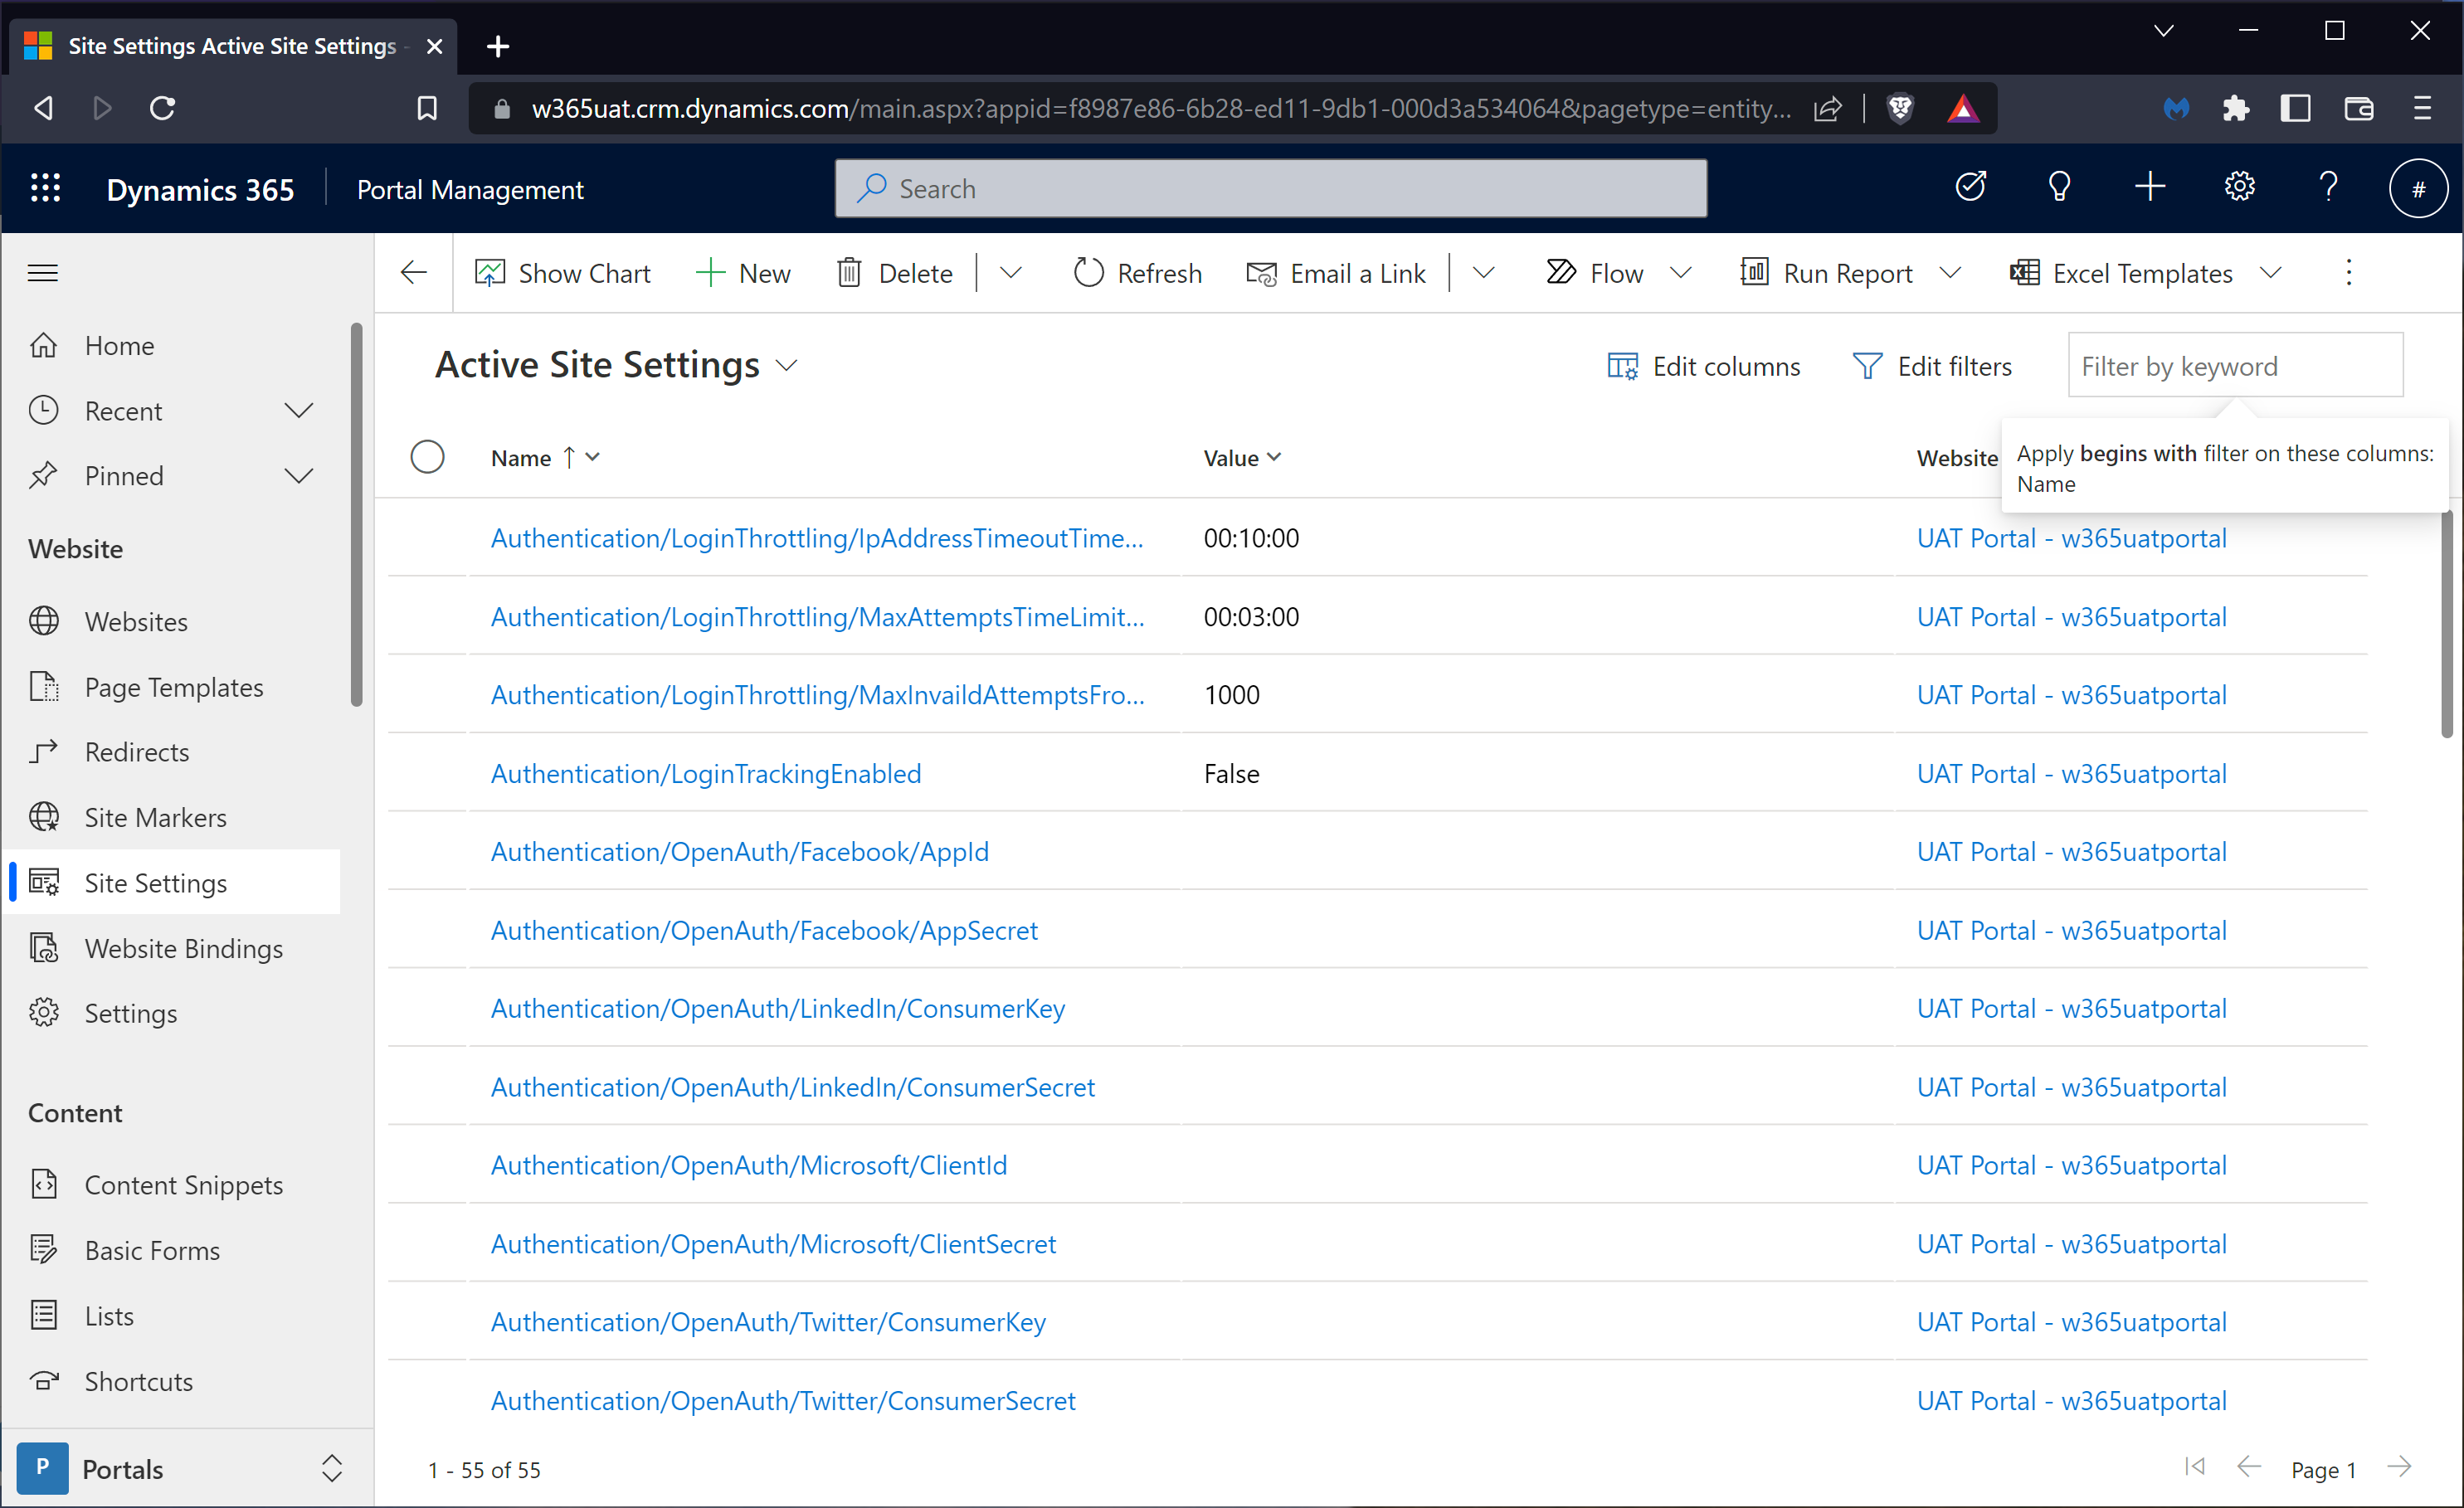
- Create new site settings based on the table below. The values shown below are specific to your environment, based on the data entered on this form.
Choose the correct Website
For each setting below, select the Website corresponding to where the Work 365 Self-Service portal is installed.
| Name | Value |
|---|---|
| Work365AdvancedUsageScopes | |
| Work365ApiUrl | |
| Work365PortalAppClientId |
Finalization
Send the table below to Work 365 support. Upon confirmation from the Work 365 support upgrade to the latest core and portal solutions.
| Name | Value (Automatically filled when above table is completed) |
|---|---|
| Application ID URI | |
| Azure AD (client) ID | |
| Dynamics CRM URL (clean) | |
| Dynamics Portal URL (clean) | |
| Portal Helper AppName |
Updated over 1 year ago