
Setting up a Billing relationship
In Work 365, billing relationships are represented by Billing Contracts. This article explains how to configure Billing Contracts to reflect the billing relationship(s) you have established with each customer.
A Billing Contractrepresents a commercial relationship with a customer. Each customer can have 1 or more Billing Contracts associated with their account, each representing different terms and conditions. For example, you might configure a Billing Contract with an annual billing frequency to invoice in advance for all of a customer's annual subscriptions, and a second Billing Contract with a monthly billing frequency to invoice in arrears for the same customer's Azure usage.
Before you begin
You must be a licensed Work 365 user with the Work 365 Admin or Work 365 Sales security role assigned to you to create new Billing Contracts.
Create a Billing Contract
-
From My Work 365 Page
- Click on Create Billing Contract button in the Workflow
-
From An Account:
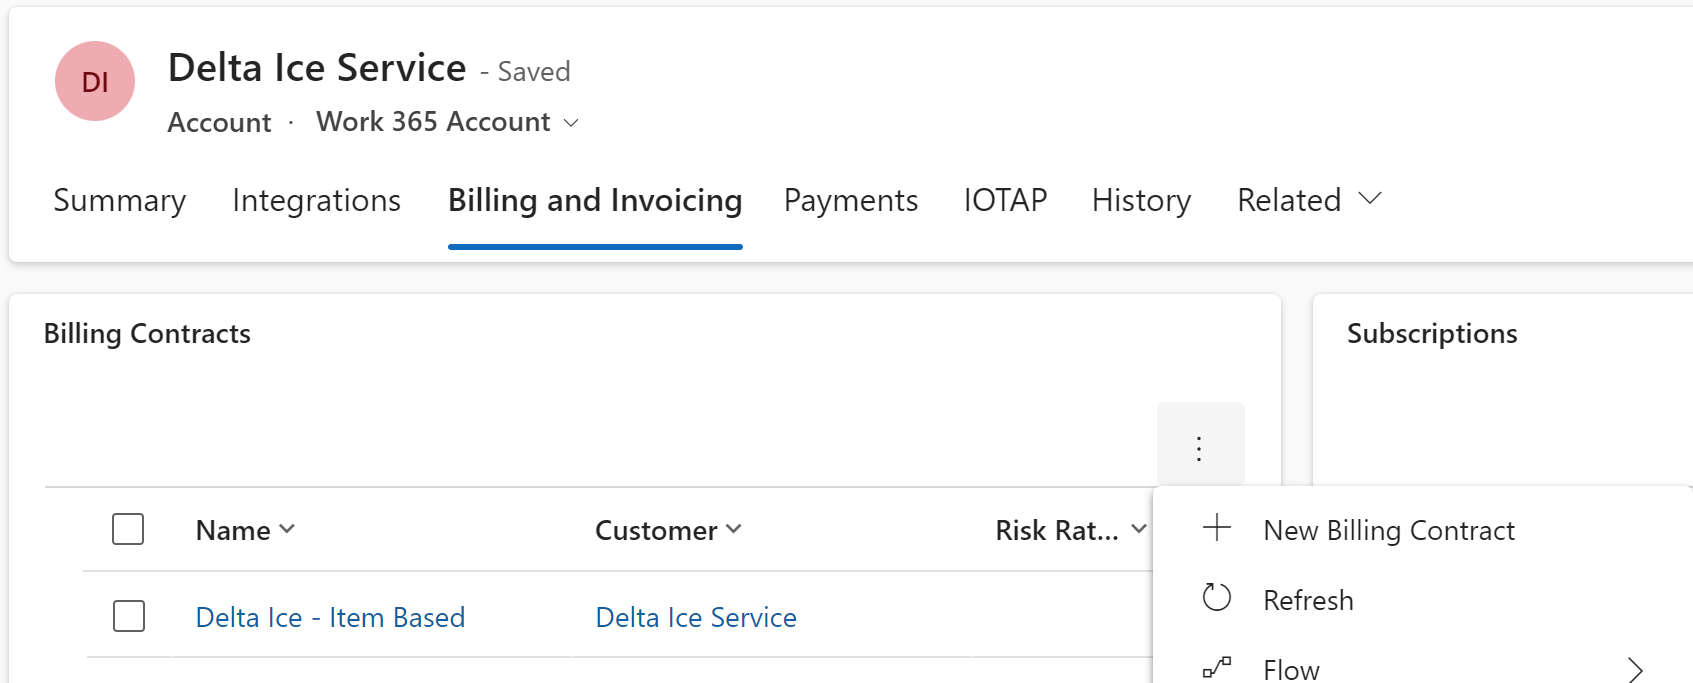
- Switch to the Work 365 Account Form
- Navigate to the Billing and Invoicing Tab
- Click on three dots(ellipsis) in the Billing Contracts Grid
- Click on New Billing Contract
-
From the Billing Contracts Grid
-
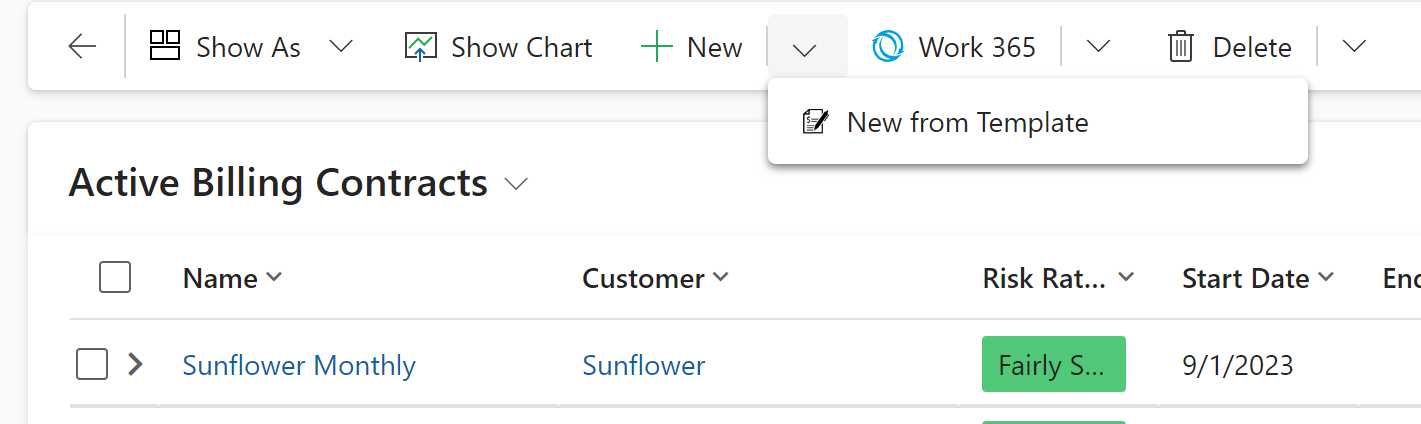
Click on New from Template
-
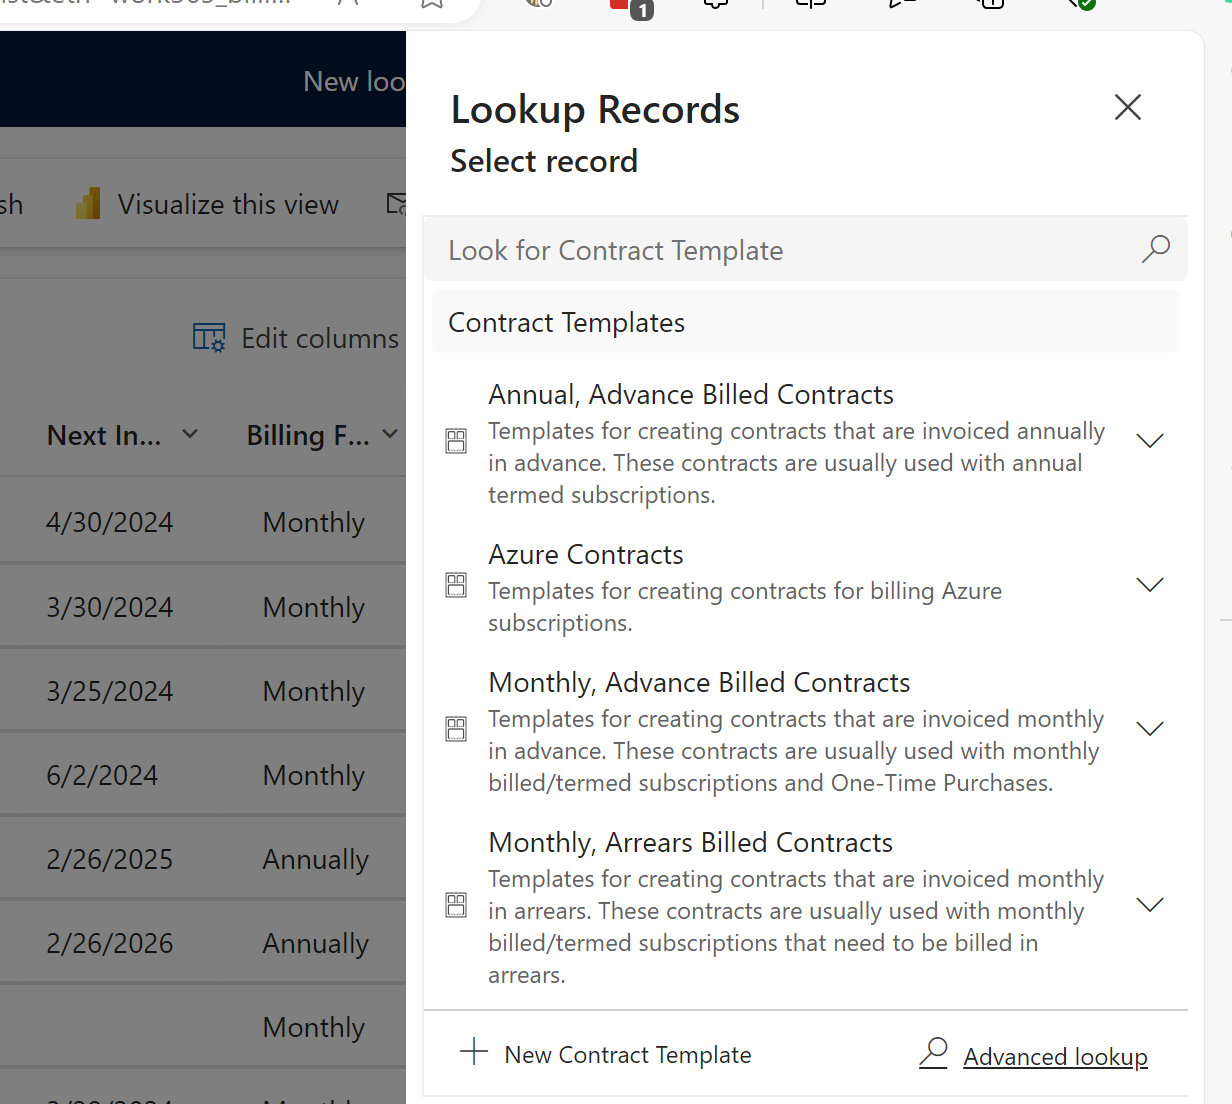
Side Panel appears and click on the magnifying glass to search for existing templates
-
-
Updated almost 2 years ago