
Rest Based Provider
Overview
The Work 365 Rest Provider allows building of custom provisioning engines and for integrations with providers which Work 365 does not support natively.
The Rest Provider needs to be paired with a corresponding REST based API. The API should be built to the Work 365 Rest Provider specification and acts as a bridge between the custom provider and Work 365.
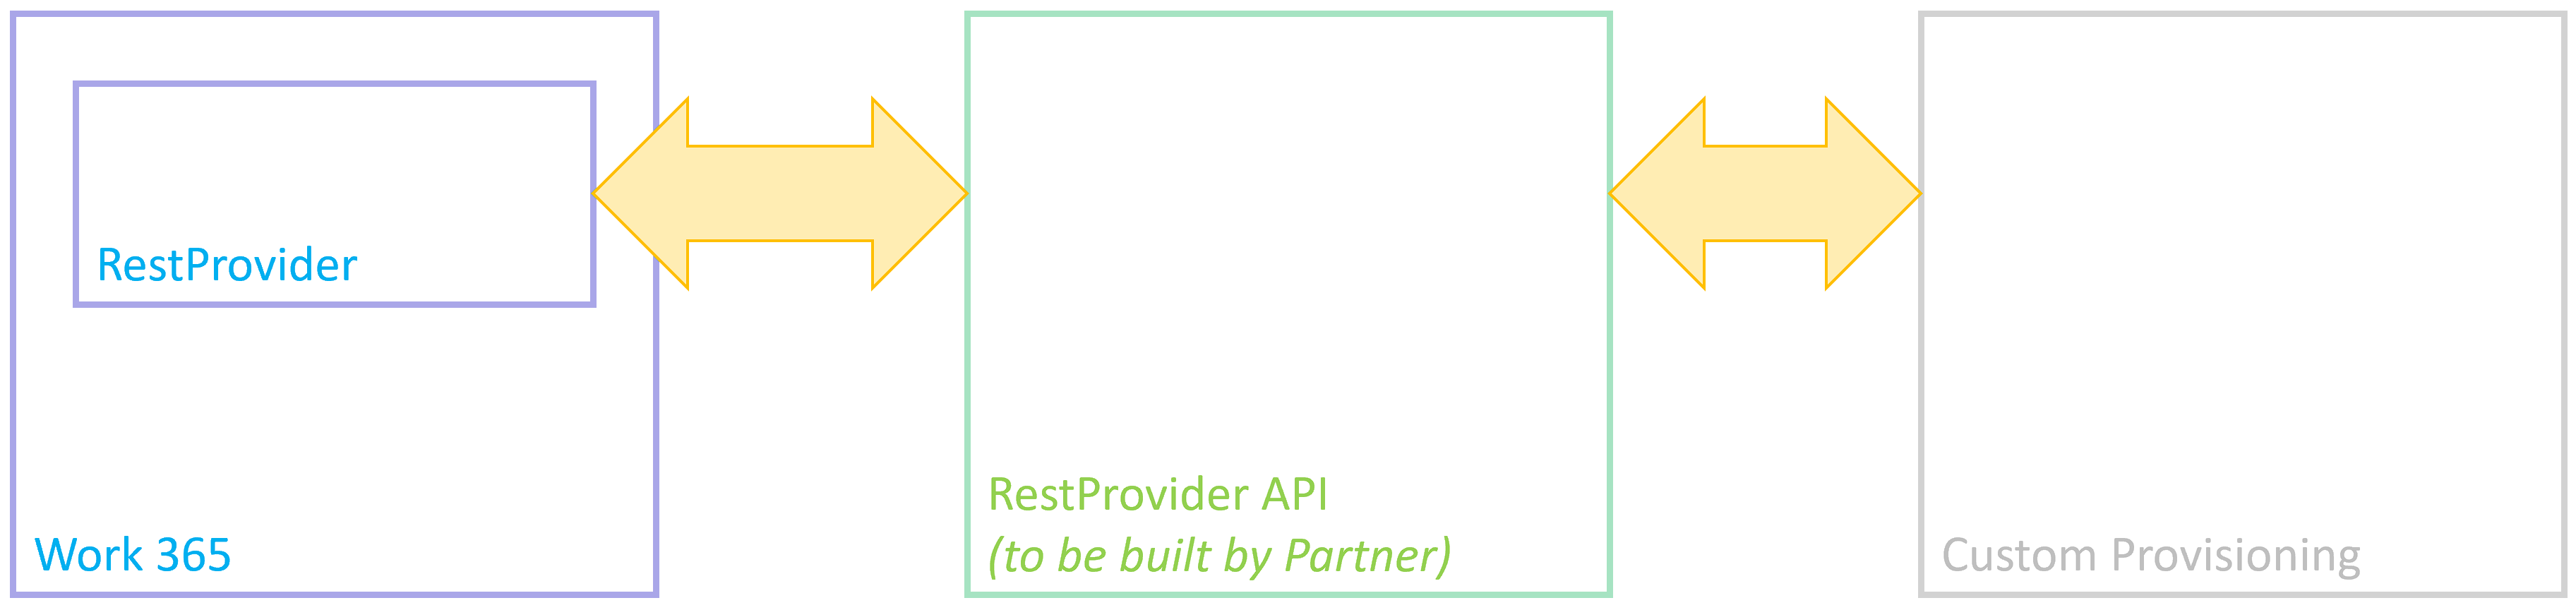
The RestProvider provides a hook for Work 365 to call the custom API which in turn drives the custom provisioning integration.
A starter ASP.net MVC (C#) project is available for the RestProvider API development and is provided upon request. Reach out to your account manager for assistance.
Configuring the RestProvider
- Go to Work 365, “Administration” in the bottom-left menu. Next click on “Admin Hub” in the left menu.
- Under “Configuration” at the top of the screen, click on the “Integrations” tab.
- Click and open the existing “Rest Provider” provider by clicking on the gear icon on the right.
- After opening the provider complete the details on the form as given below:
| Field | Description |
|---|---|
| Name | A friendly name for the Provider instance. |
| Password | The secret that the API will use to authenticate connections. |
| Reconfirm Password | Reconfirming the password field data entry. |
| EndPointUrl | The base path to your API |
| Country Code | The country for which this provider is configured. |
| Currency Code | The currency for which is provider is configured. |
- Click Save after completing the form.
- Hit the gear icon on the Rest provider that was just created and click on the “Verify Connectivity” button. If the settings are correct, you should receive a successful confirmation; if the connectivity fails, check the settings and try again.
Updated over 2 years ago
Did this page help you?