
Autotask/Datto
Steps to setup Autotask in Work 365
- Setup connection to Autotask
We need to create a new API user with the correct minimum permissions - Setting up Autotask connector in Work 365
Setup the user and role in Autotask as described here before continuing the steps on this page.
Setting up the Autotask connector on Work 365
Now that everything in Autotask is setup, we now need to create the integration in Work 365.
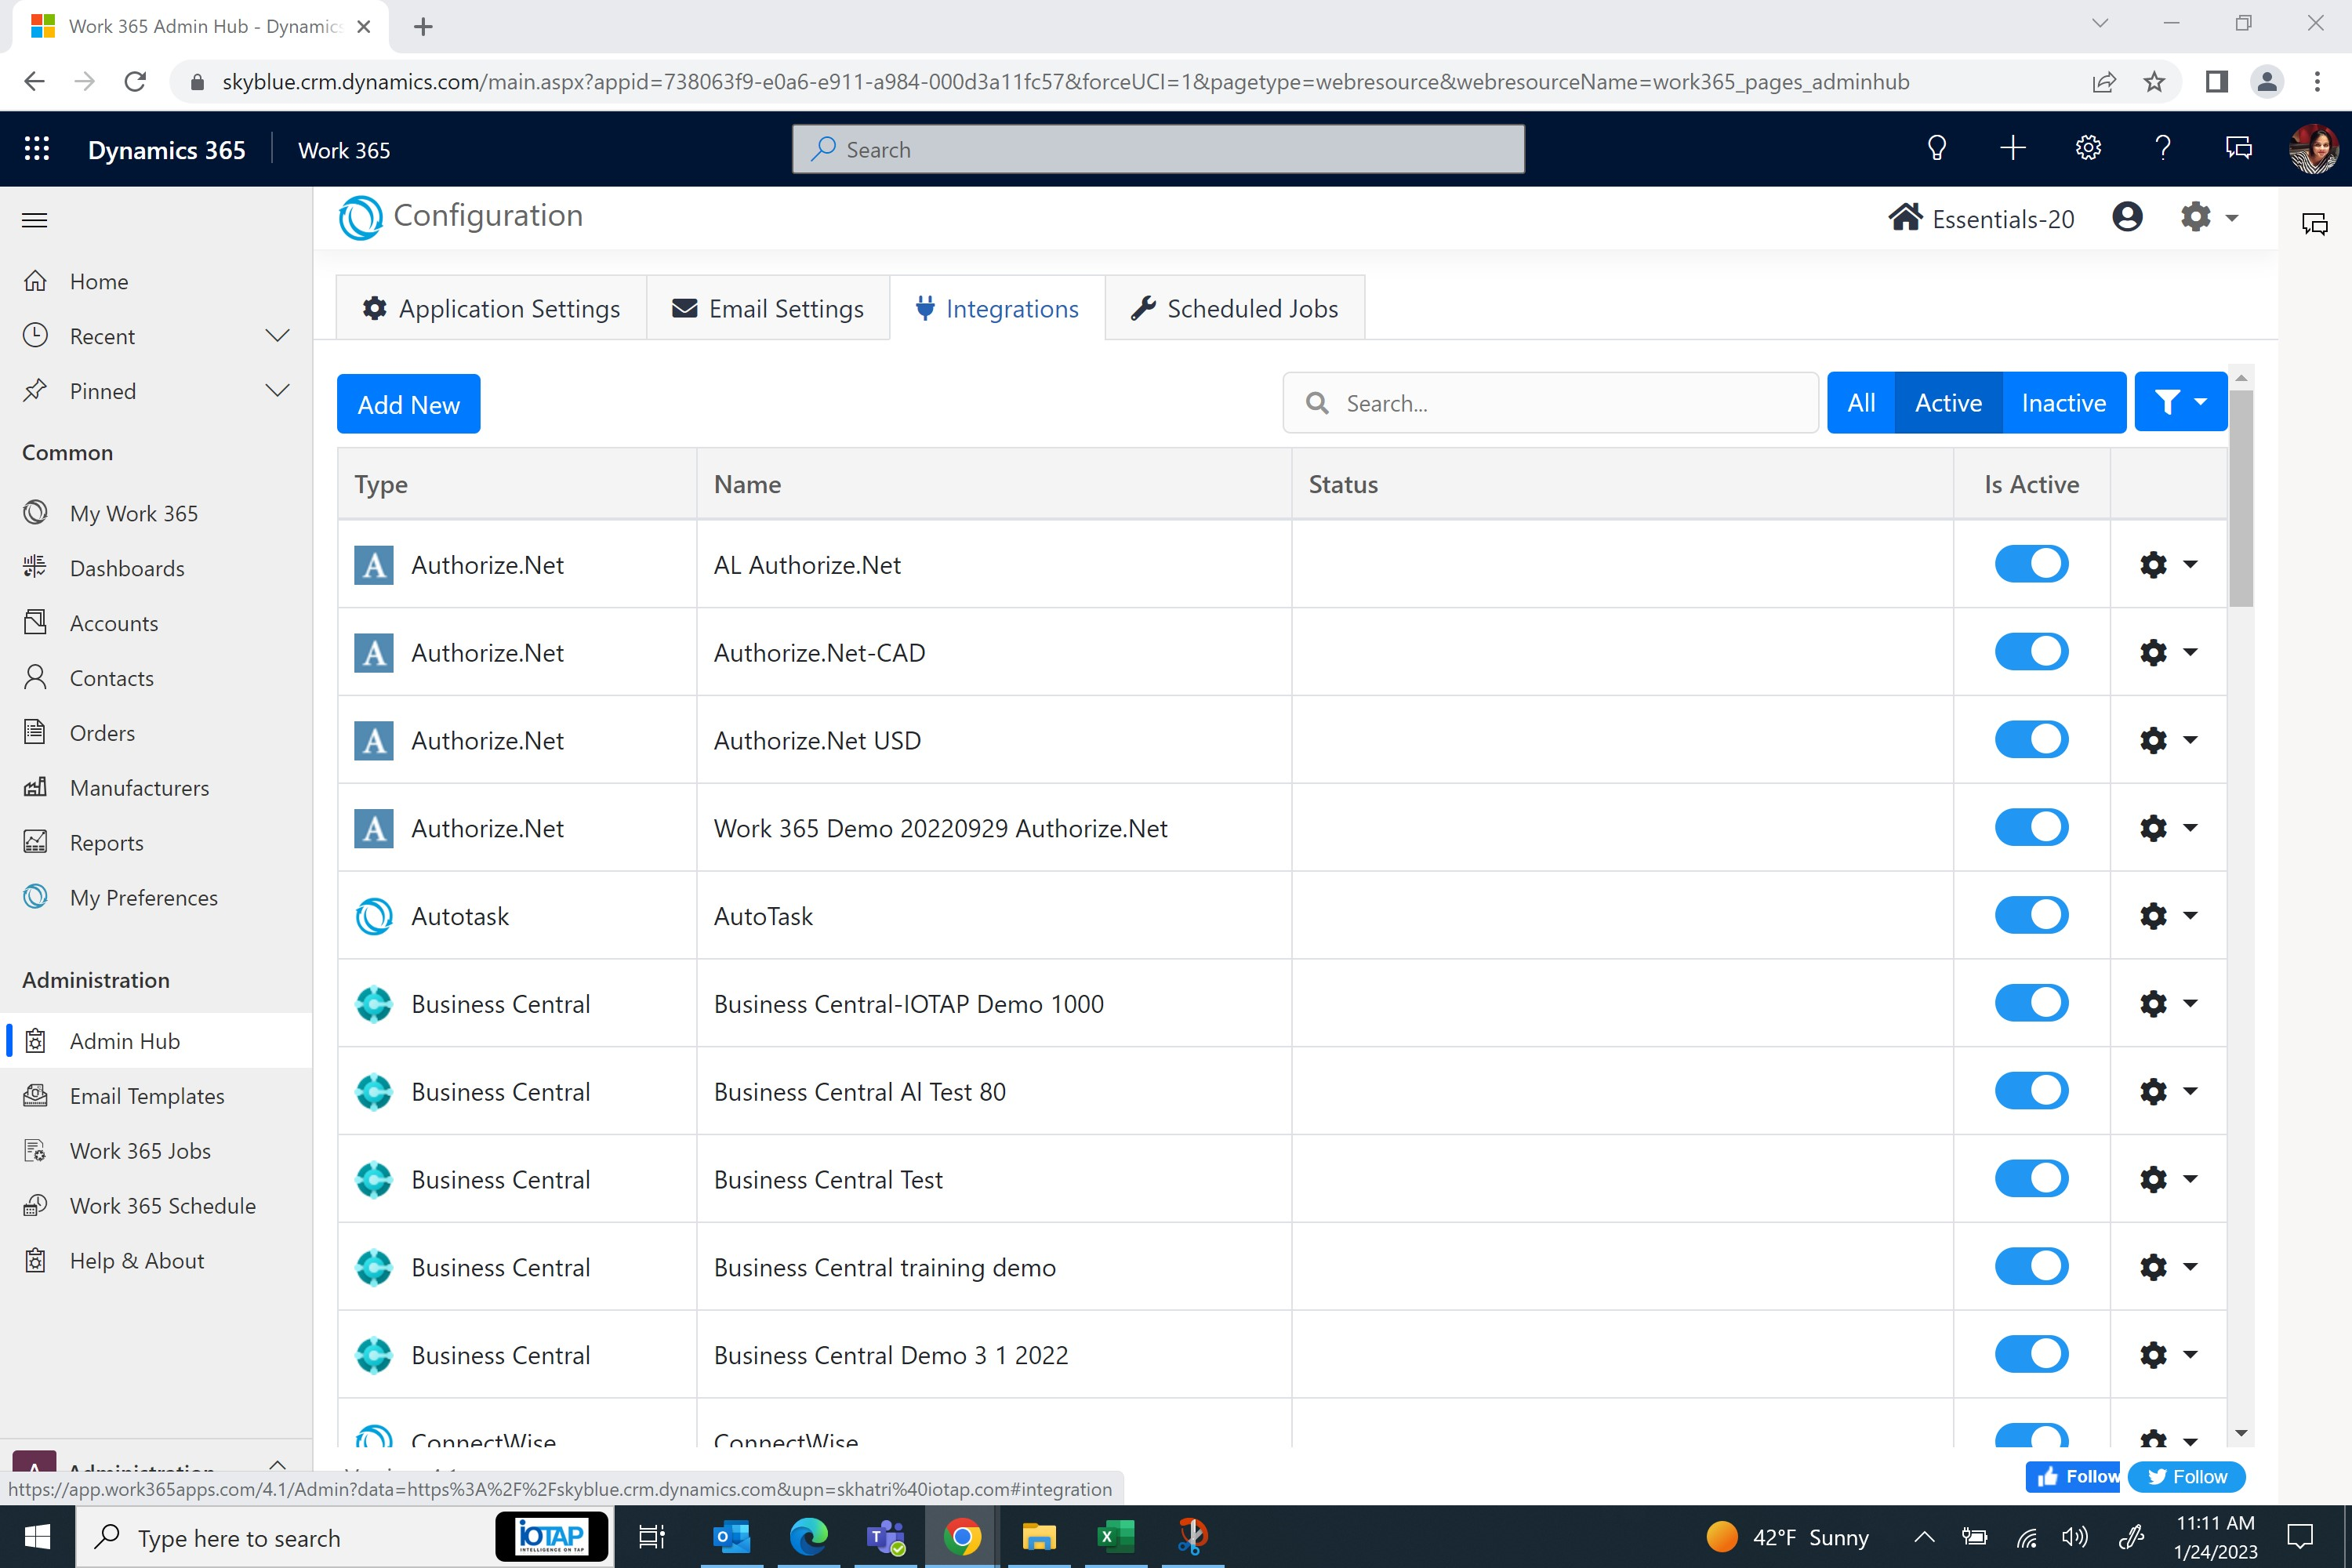
- Head over to the Admin Hub in Work 365. Click on the integrations tab and click on 'Add New'
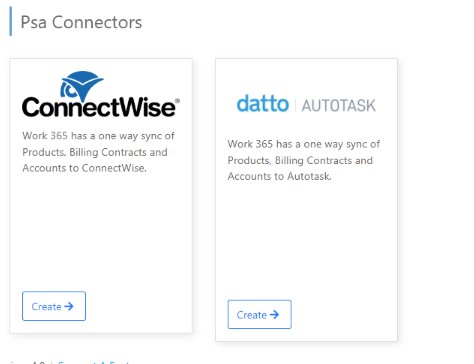
- Scroll down to Psa Connectors and click on the create button under datto | Autotask
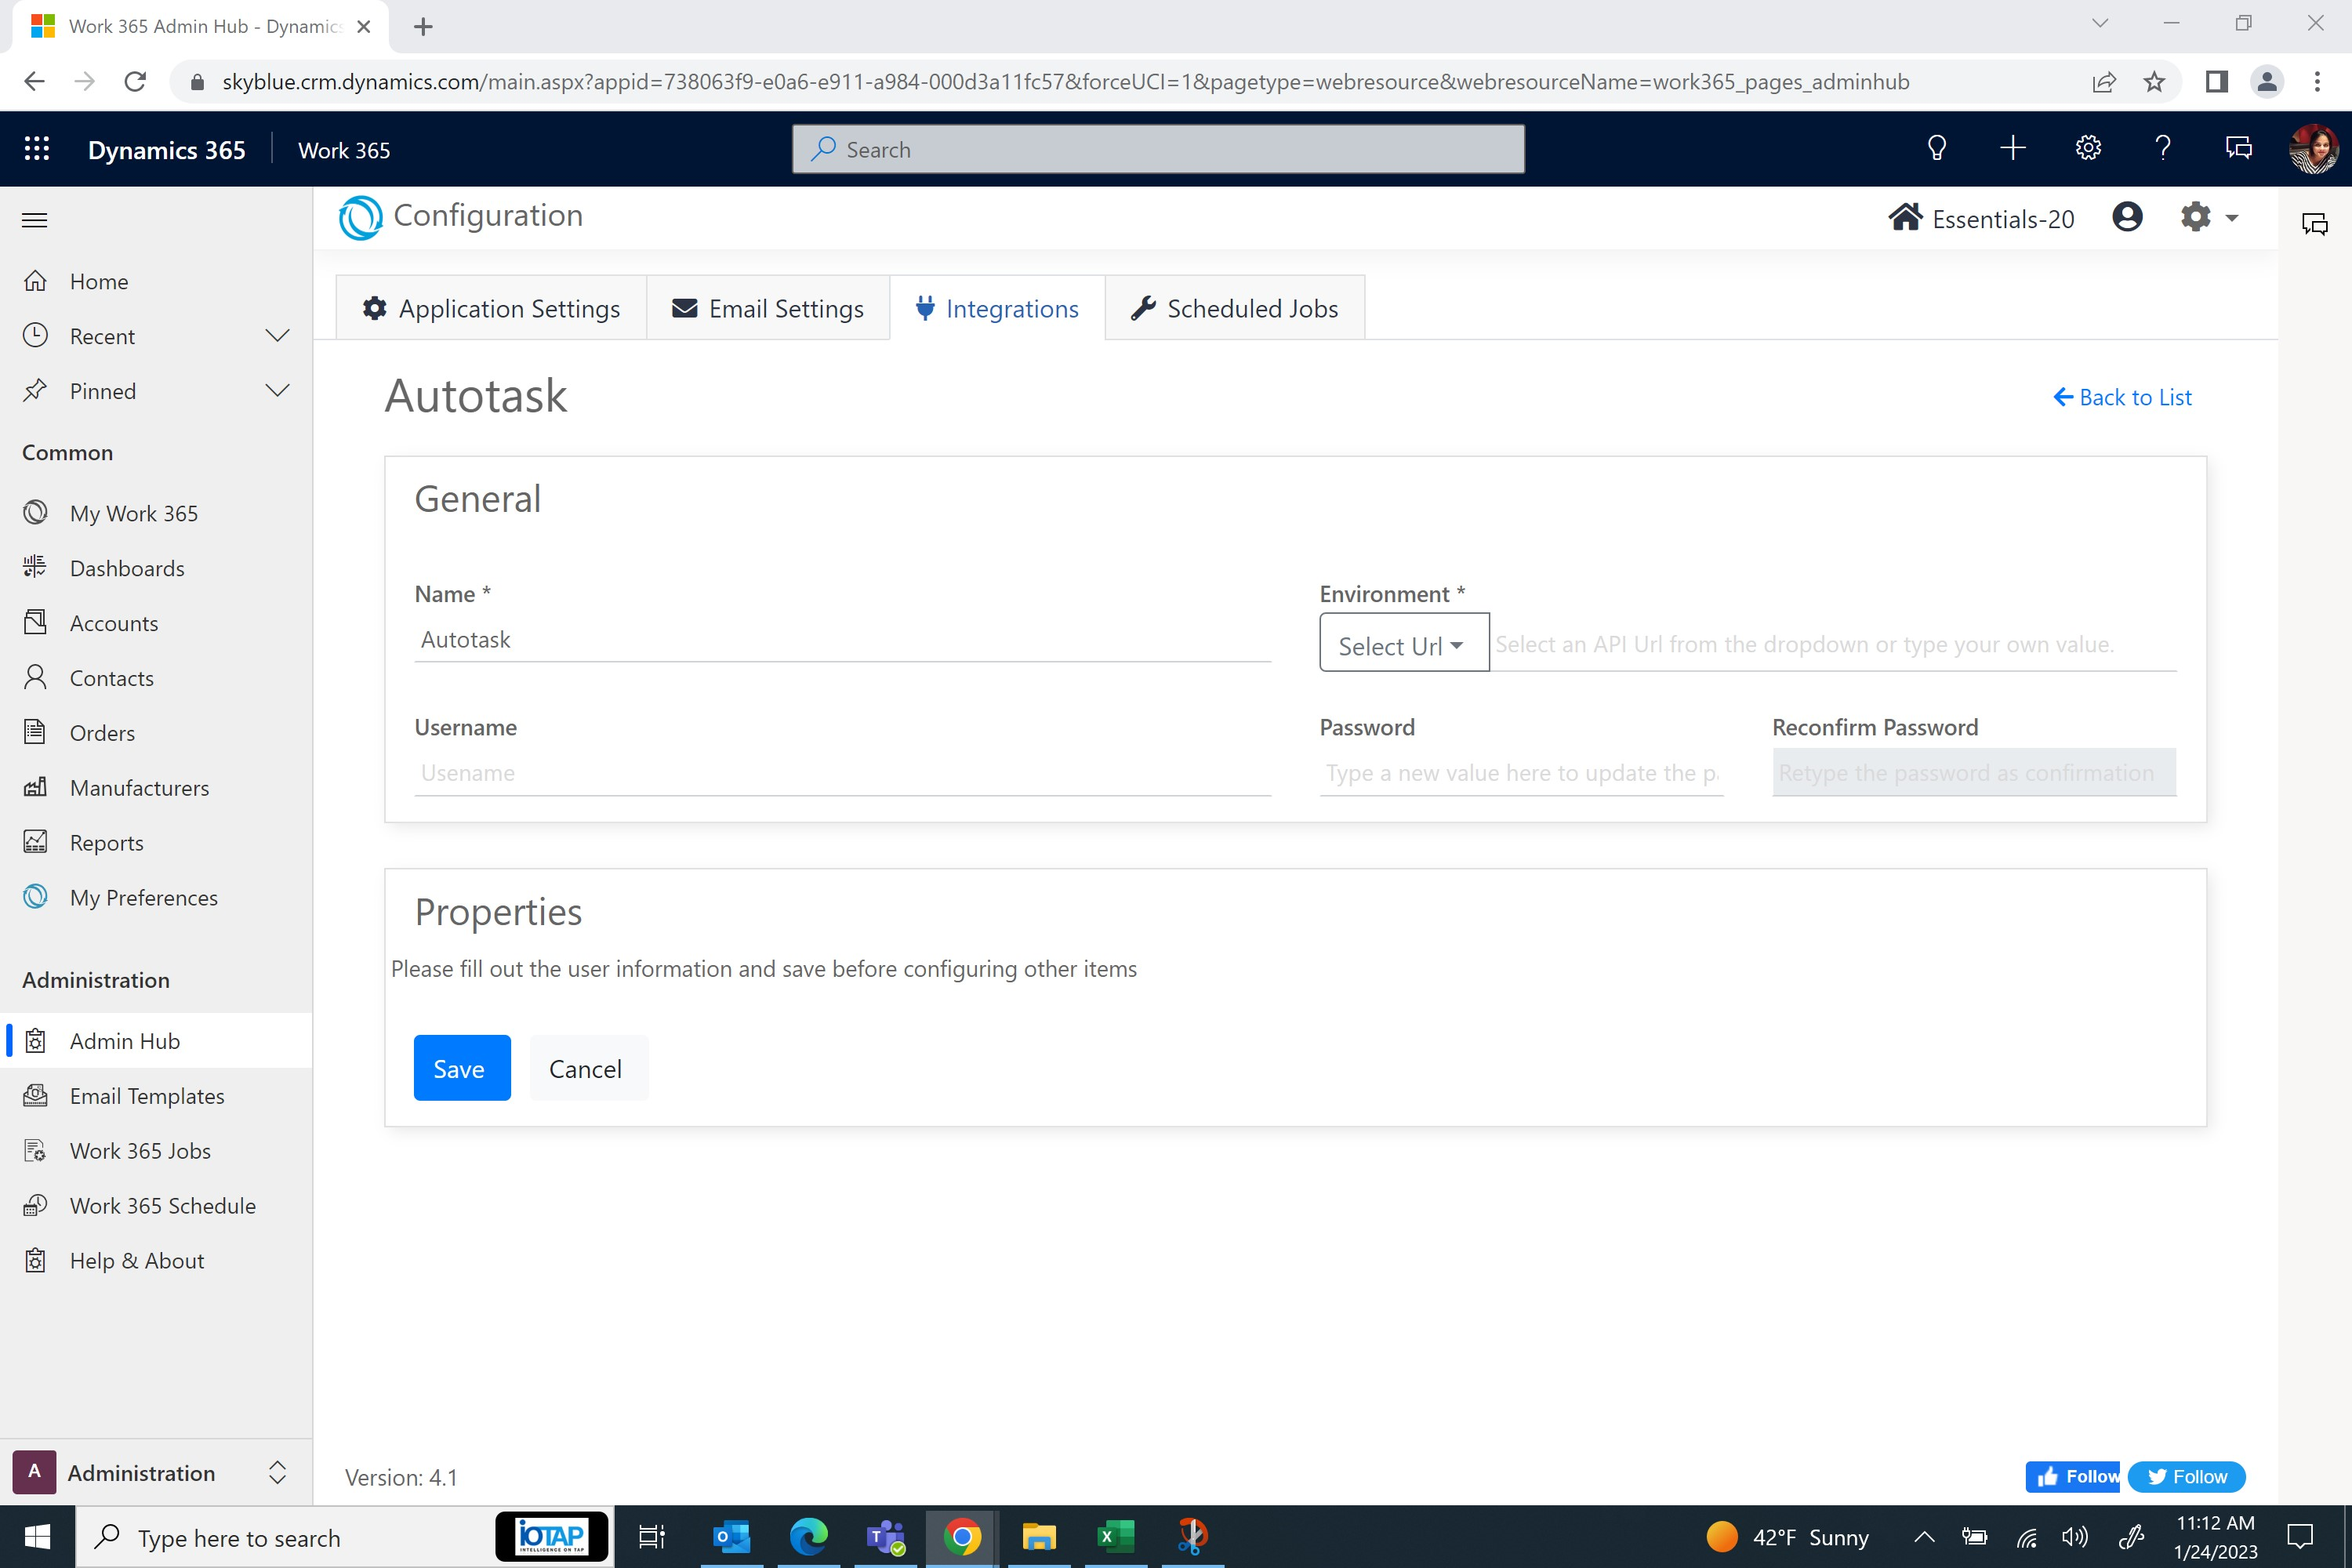
- Enter a Username, Password and confirm the Environment.
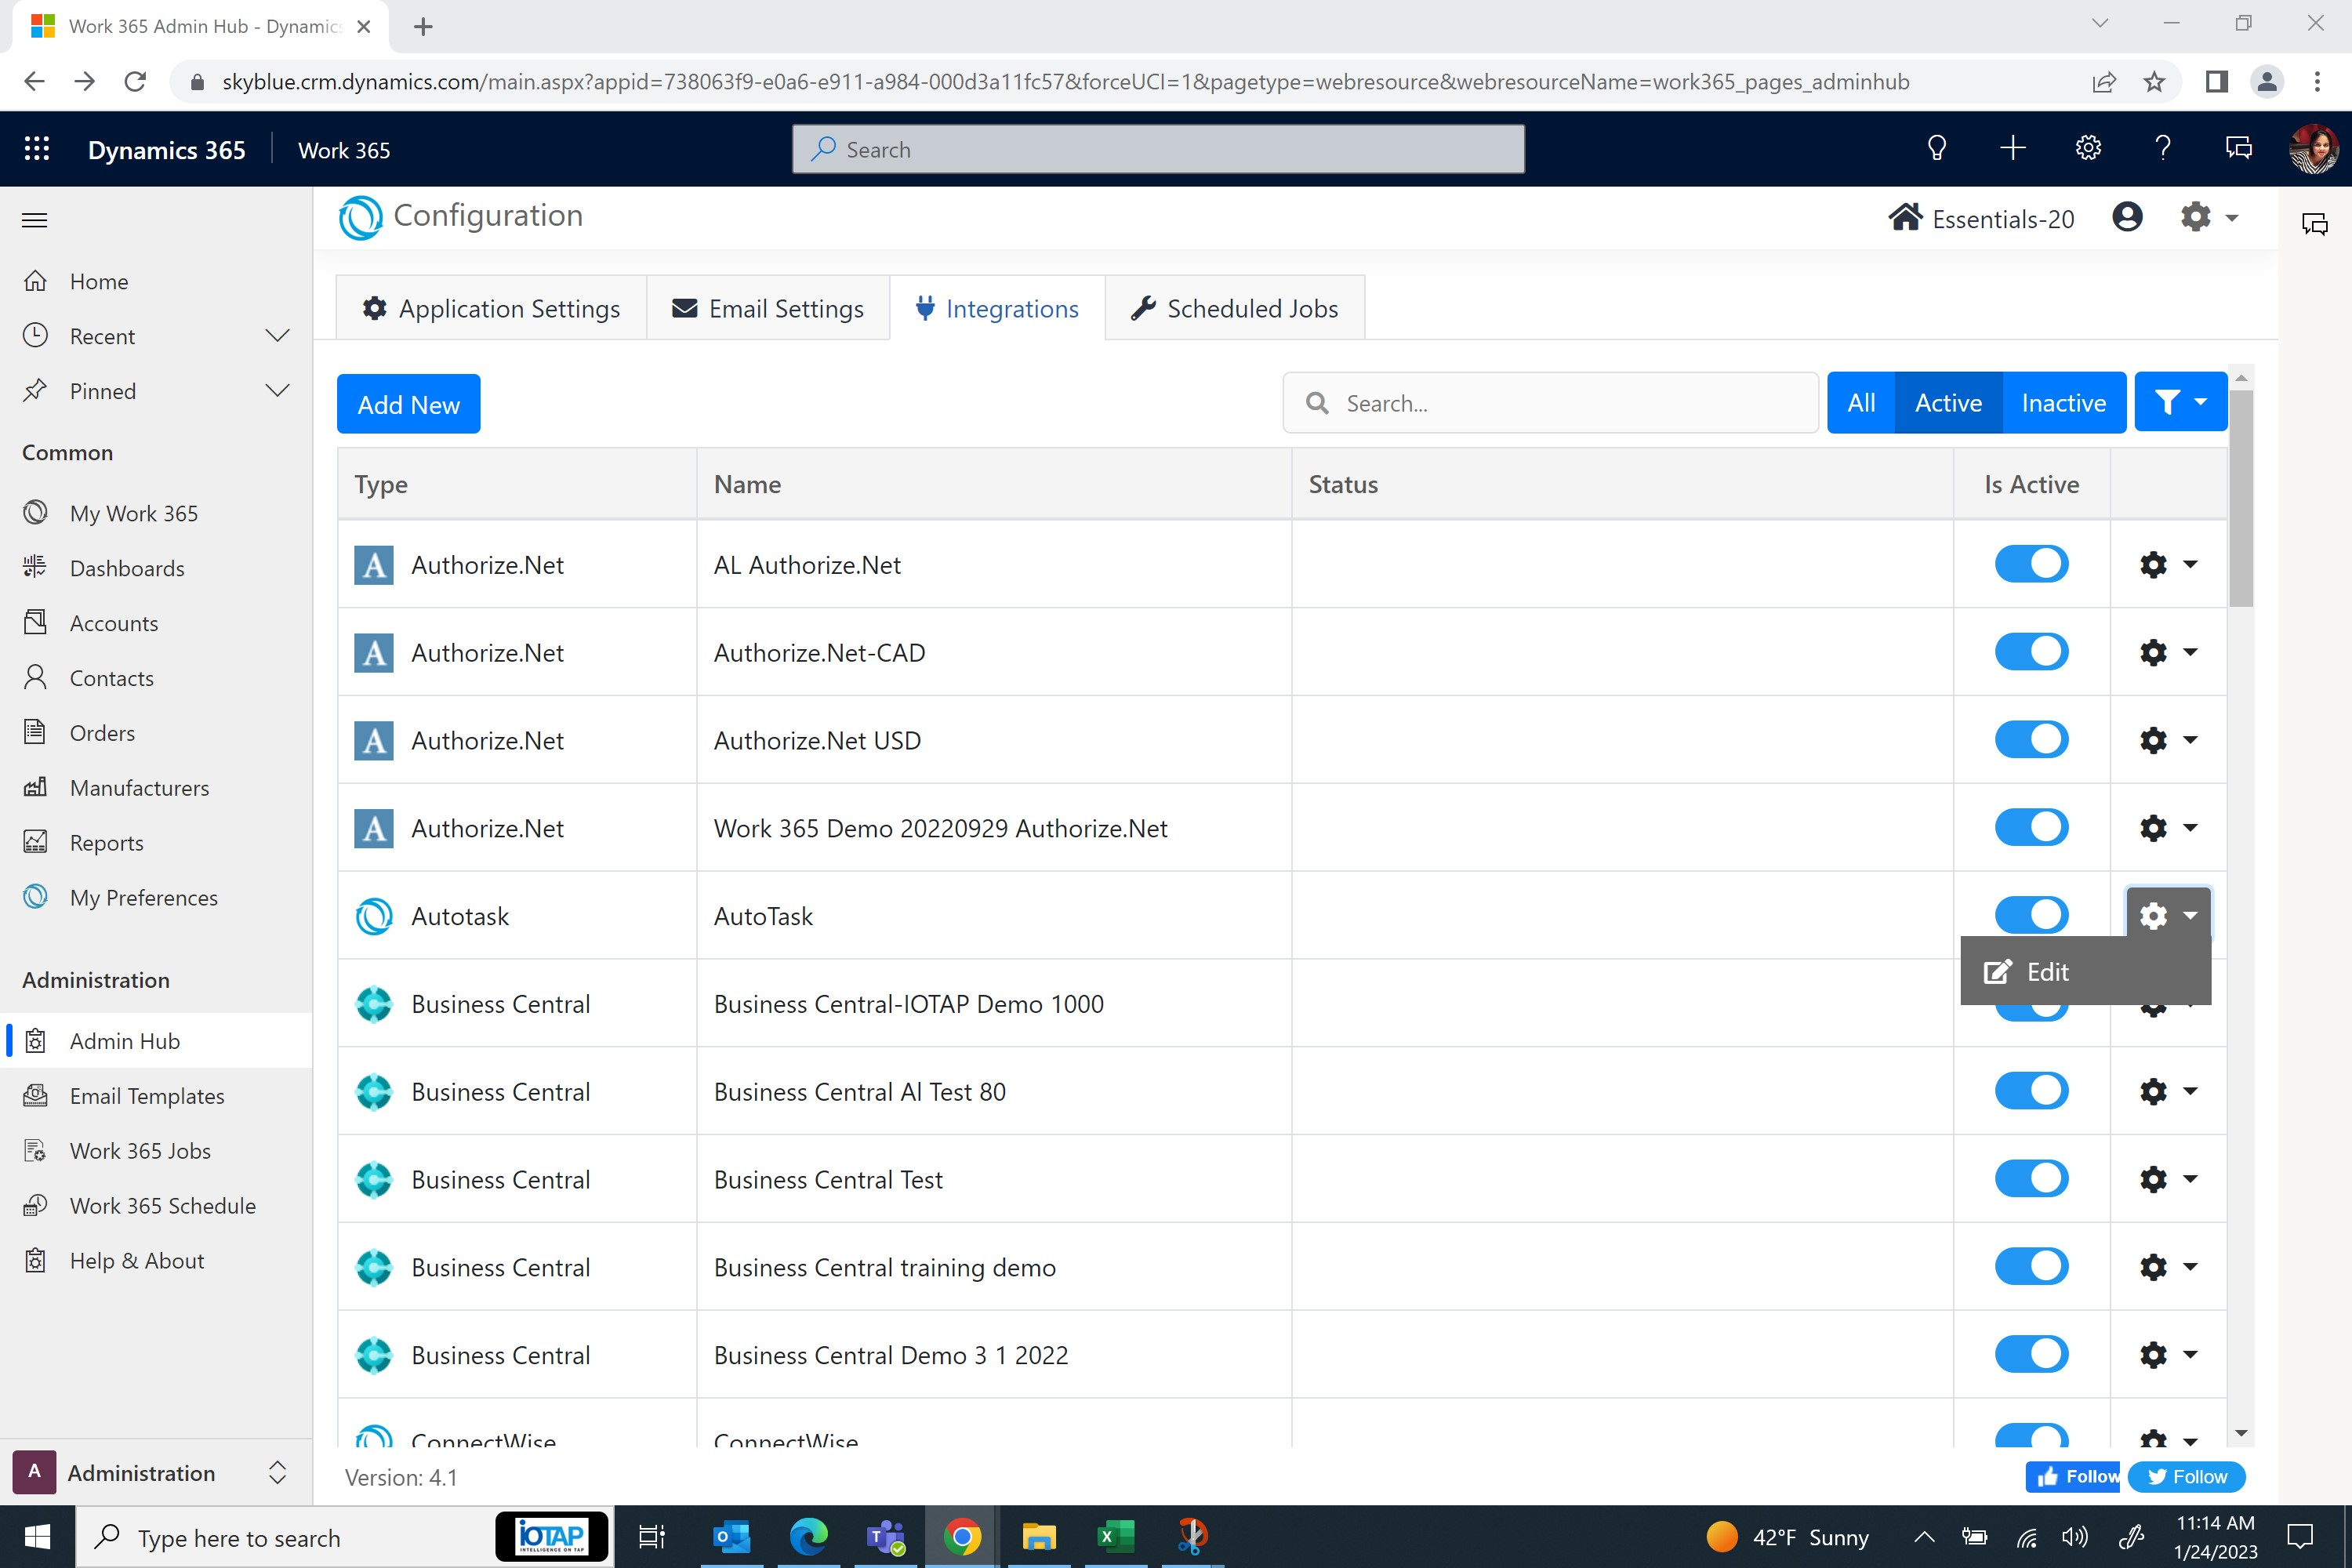
- Click save, and then re-open the connector.
-
Fill out the following sections.
- Allow Duplicated Services - Allows duplicated services (subscriptions) on the billing contract. Set this to 'Yes' when if billing contracts will have multiple subscriptions of the same product.
- Time Reporting Requires Start and Stop Times - Work 365 does not support time billing, but for recurring billing contracts it is needed to create new billing contracts.
- Setup Fee - Charges the customer when creating a new Billing Contract
- Default Charge Type
- Default Company Type - Recommended to set it to 'Customer'
- Default Billing Preference - Sets the Default Billing Preference for a contract in Auto Task
- Default Contract Type - Currently it is recommended to be 'Recurring Service'
- Default Vendor Type - Currently it is recommended to be 'Vendor'
- Default Owner Source - The default owner source when creating the contract
- Default Refund Product - Sets the default refund product
- Billing Codes for Products
- Billing Codes for Services
- Billing Frequencies
You might notice that the Manufacturers dropdown is disabled. It is disabled if the Default Vendor Type is null. After you fill out the Default Vendor Type and save the form, then re-open the connector it will become enabled and editable.
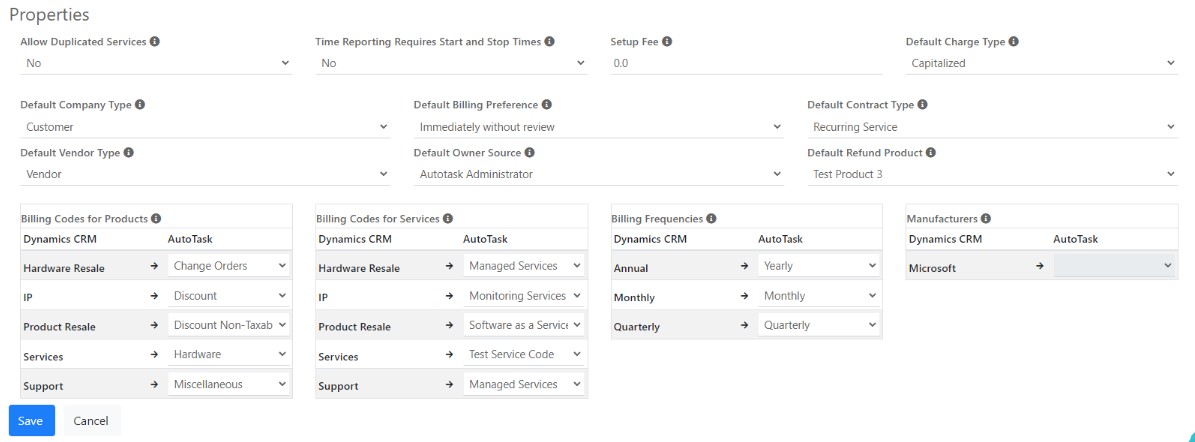
- At this point, all we have to do is save, then open the connector again to setup the Manufacturers.
Auto Task connector is now setup with Work 365!
Updated over 2 years ago
Did this page help you?