
Setting Up a Custom Domain and SSL Certificate
This article provides the steps to setup a custom domain instead of the default Self-Service Portal URL
Pre-requisites
Performing this task will require the following:
- Global Administrator
- Edit Privileges on your domain provider (GoDaddy, Namecheap, Google, etc.)
- Your preferred URL created as a CNAME record, pointing to xyz.microsoftcrmportals.com, where xyz is your portal-specific identifier (e.g. skyblue.microsoftcrmportals.com)
- A public SSL certificate that will support your portal's custom URL (in .pfx format)
Time required
This configuration process is expected to take 15 minutes.
Additional Notes
After completing the steps outlined in this article, your portal will still continue to work on the old base URL in addition to working on the custom URL that you will configure.
You can only have one custom domain name for a portal.
Procedure
- Open the Portal Admin page- https://admin.powerplatform.microsoft.com
- Select Resources->Power Pages Sites
- Select the Site (click into the site)
- Click on Connect Custom Domain
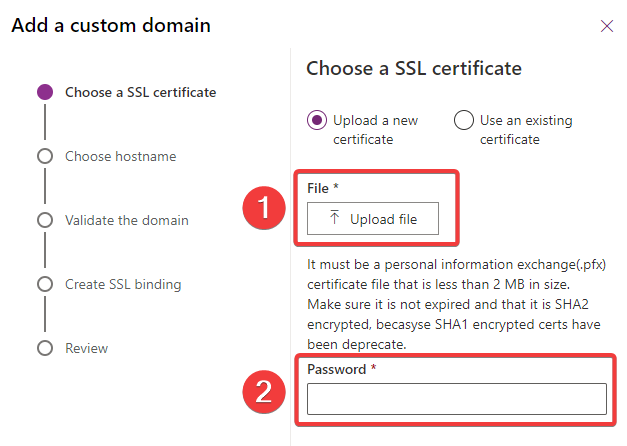
- Upload the .pfx file and enter your .pfx password and click on next
- On the Choose a host name page
- Type your custom URL
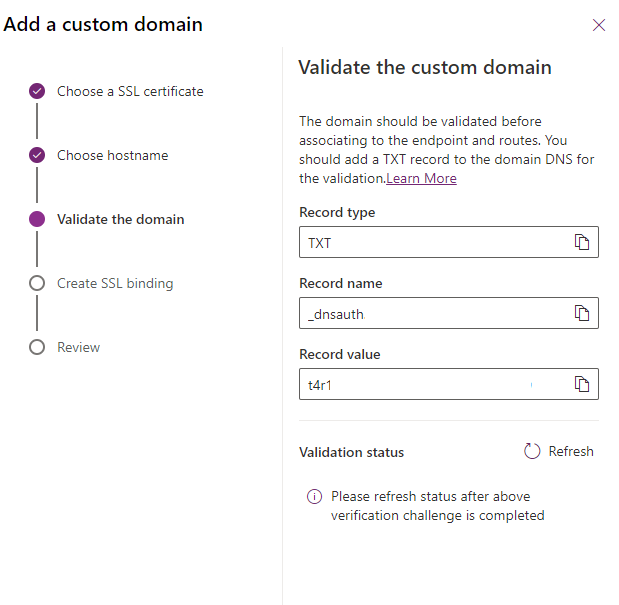
- Validate the domain
- Create SSL binding
- Create your new binding and click on 'Next'
- Once this is completed you'll see the following message. Click 'Close' to finish the wizard.

-
Go back to the Work 365 Application and access Admin Hub>Portal > Portal Website URL and paste the new custom URL including the https://
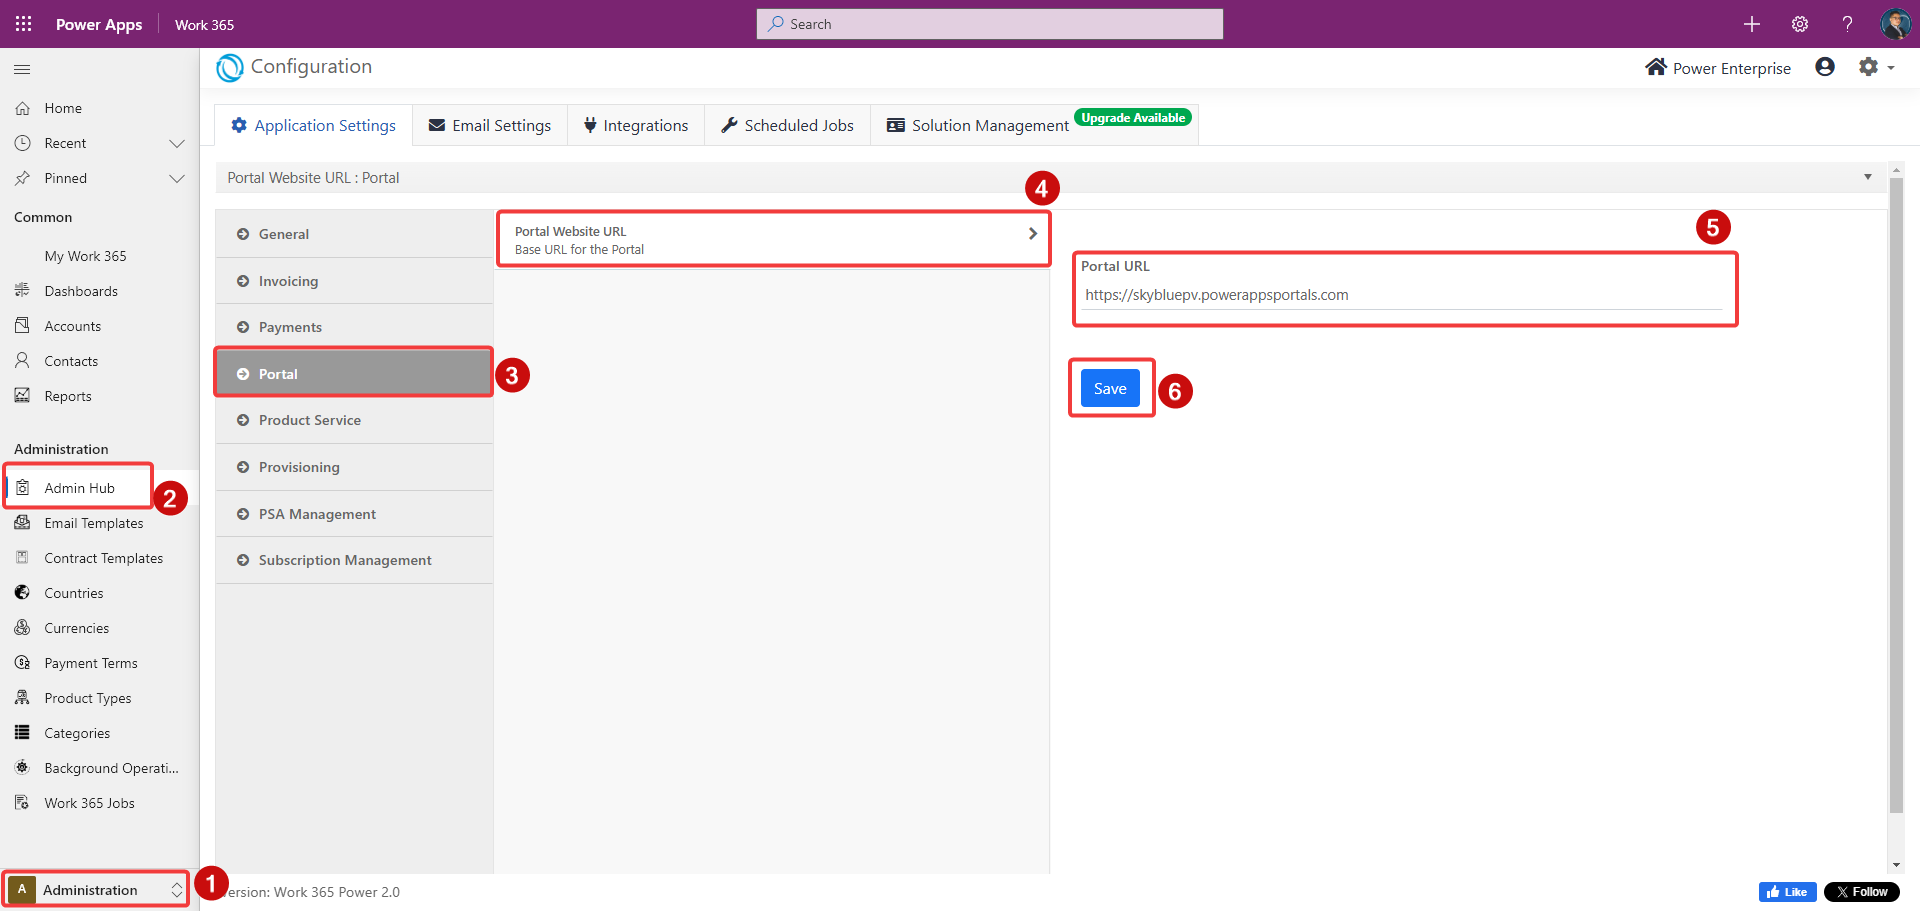
Your custom domain has been successfully applied.