
Importing Accounts to CRM
This article provides the steps to import account into Dynamics 365
Pre-requisites
Performing this provisioning will require the following:
- Access to Dynamics 365
Time required
The provisioning process is expected to take 15 minutes.
Additional Notes
Make sure to add any Custom required filed
- Red fields are mandatory for import, the other ones are optional
- Relationship Types is recommended to be "Customer"
- Recommend entering data for: "Address 1: Country/Region"
- Do you have custom-required fields? If so, add them
- Please erase these red text cells when preparing your file
Procedure
- Populate the Excel template. Add the Account names to the “Company Name” column in the “Account Details Import” Excel template.
- Optional: Add data to the remaining columns in the Excel template (Ex: Main Phone, Company Email, etc…
- Relationship Types is recommended to be "Customer"
- Recommend entering data for: "Address 1: Country/Region" (Ex: Unites States, Canada, etc….)
- Remove any columns that do not contain data. Ex: If data is not required in the “Email” column, remove the “Email” Column.
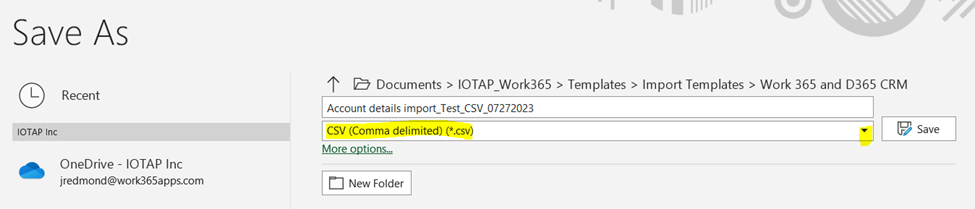
- Save the file as a “.CSV” file (CSV (Comma Delimited) (*.csv)
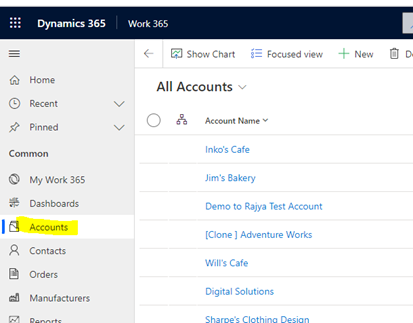
- Navigate to D365 CRM/Accounts
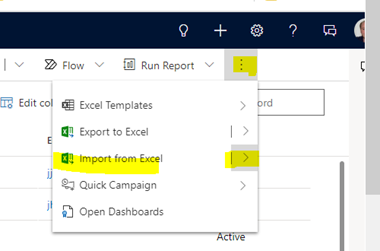
- From the top right of D365 CRM select “Import from Excel” and select the arrow, select “Import from CSV”. This function may also be found by clicking the 3 vertical dots on the top right
- Choose the CSV Excel file to be imported by clicking “Choose File”
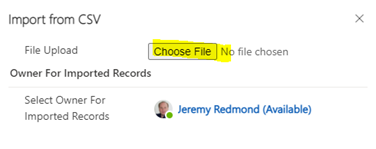
- From the bottom of the pop-up window, click “Next”
- The next window should be set up as follows:
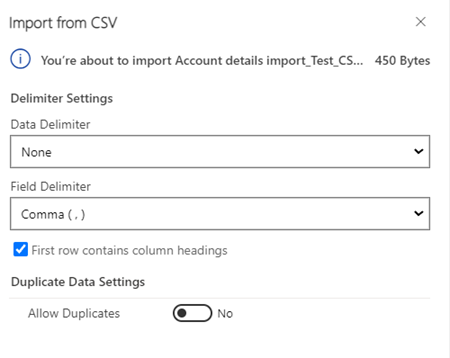
- From the bottom of the pop-up window, click “Review Mapping”. The view will change to the following. NOTE: You may need to adjust the “Primary Fields/Account Name = Company Name”. Review the mapping and make mapping adjustments if needed.

- From the bottom of the pop-up window, click “Finish Import”
- From the bottom of the pop-up window, click “Track Progress”
- Click “Ok” if a pop-up appears mentioning “Leave this page”
- The following import progress tracker will appear. Note: Click the “Refresh” button to refresh the “Status Reason”. The goal is to have the number of “Total Processed” to equal “Successes”
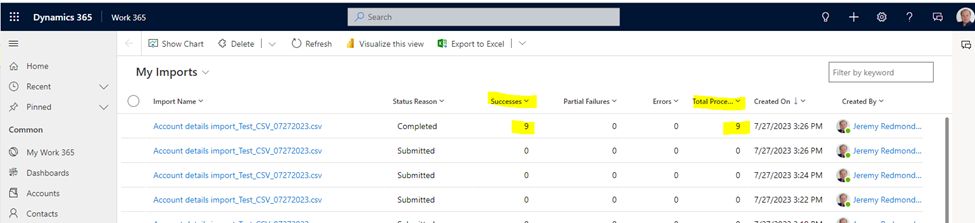
Your accounts have been imported
Updated over 2 years ago
Did this page help you?