
Import Contacts and connect to an existing Account in D365 CRM
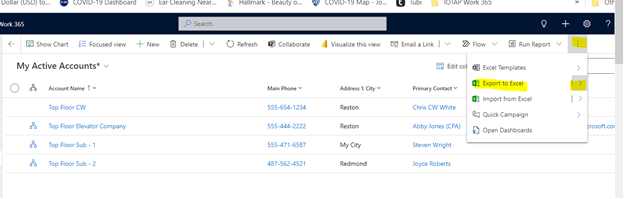
Navigate to D365 CRM Accounts
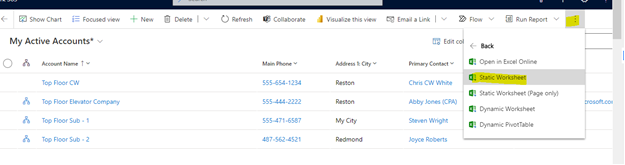
Export Accounts to Excel (Static Worksheet)
Open the exported worksheet
Rename the “Account Name” column to “Company Name” and delete the other columns
Remove any “Accounts” that do not require a contact.
Add Columns to the worksheet:
First Name
Last Name
Any other contacts columns you would like (Ex: “Job Title”)
Fill in the data fields with desired data

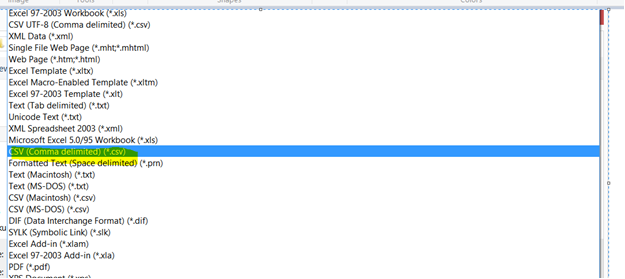
Save file as a .csv file “CSV (Comma Delimited (*.csv)”
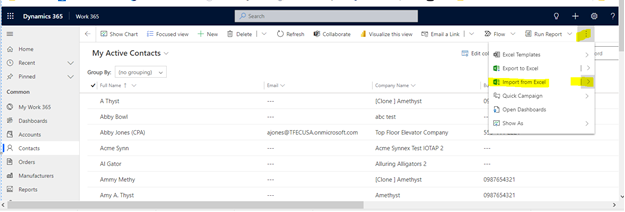
Navigate to D365 CRM/Contacts
Select “Import from Excel”
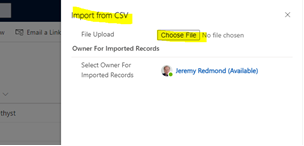
Select “Import from CSV”

Choose the file to import
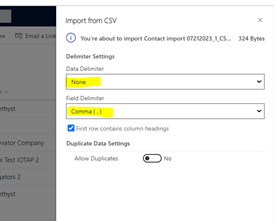
Click “Next” from the bottom of the pop-up window
The next window should look like the following:
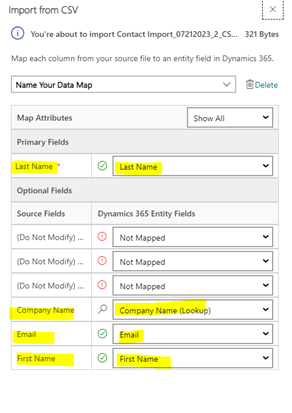
Click “Review Mapping” from the bottom of the pop-up window. Make sure the mapping looks correct (image below).
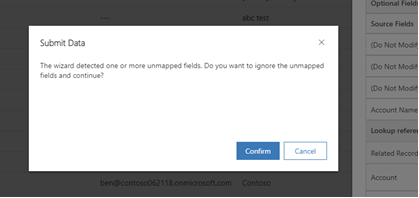
Click “Finish Import” from the bottom of the pop-up window
Click “Confirm”
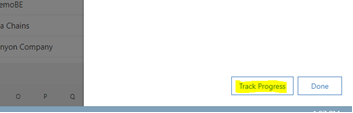
Click “Track Progress” from the bottom of the pop-up window
You will be able to see the progress and the result. Click “Refresh” to view the updated “Status Reason”
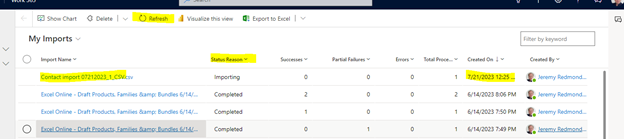
The goal is to have the same number of “Successes” as “Total Processed”
