Avalara Tax Service
Add Connector for Avalara
-
Go to Administration ➔ Admin Hub ➔ Integrations ➔ Add New.

-
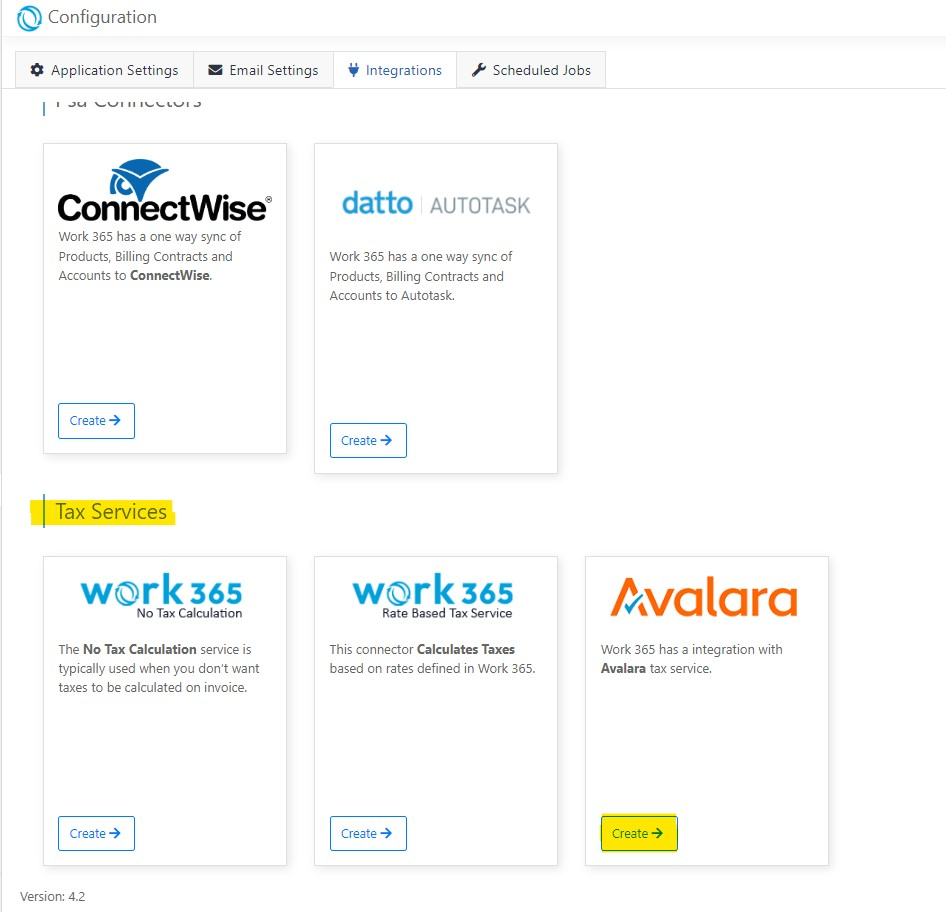
Under Tax Service Integrations, locate Avalara and click Create
-
You will be redirected to the Avalara connector page:
- Provide a Name and select the desired Environment.
- Retrieve the following information from the Avalara portal: Account ID, License Key, and Company ID.
The Company ID is available in Avalara portal URL link.
E.g. 11111111 in below url screenshot is the Company ID.

- Save the Connector.

-
Go back to Administration ➔ Admin Hub ➔ Integrations and find the Tax service integration added in step 3. Click Edit and add the Primary Address.
-
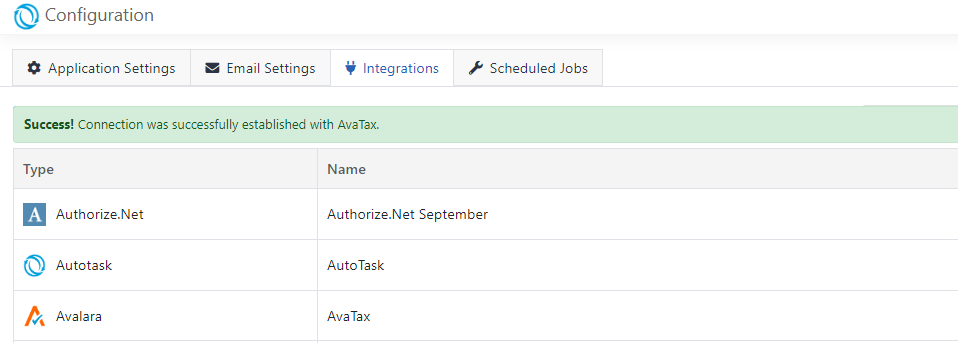
In Administration ➔ Admin Hub ➔ Integrations, locate the Tax service integration added in step 3:
- Click on the gear icon on the right.
- Choose Verify Connectivity to ensure a successful connection with the connector.
(Optional) Sync Tax Categories
The "Sync Tax Categories" option will sync all tax categories available in Avalara to Dynamics 365. However, the categories can also be created manually (Taxation ➔ Tax Categories). Creating tax categories manually is recommended when the number of categories in use is low.
Set Product Tax Category (Code)
-
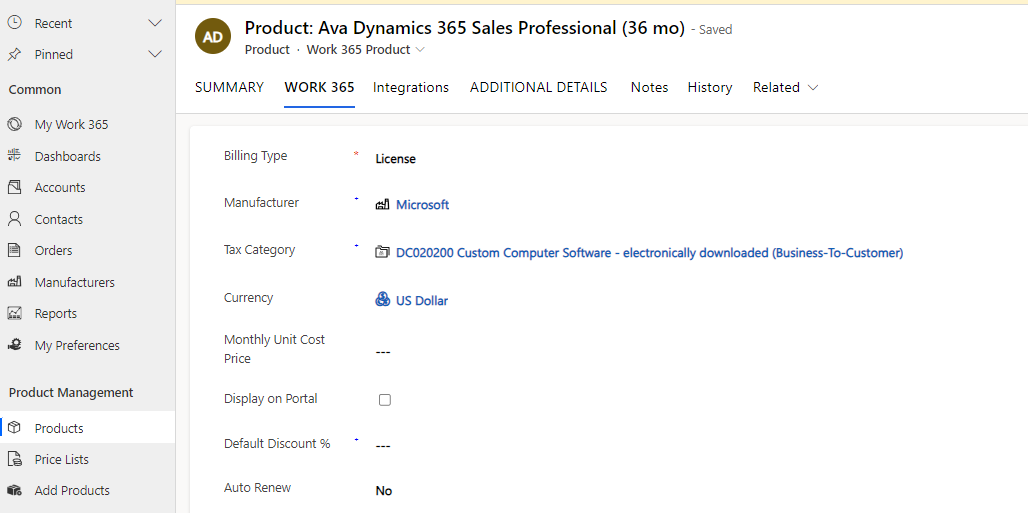
Go to the product and navigate to the Work365 tab. Set the Tax Category (code) that has been synced from or added for Avalara.
-
Tax calculations are based on the Tax code selected for the product.
If the Tax Category specification is missing on the product, the default tax code
P0000000will be applied for tax calculation.
Set Tax Service on Billing Contract
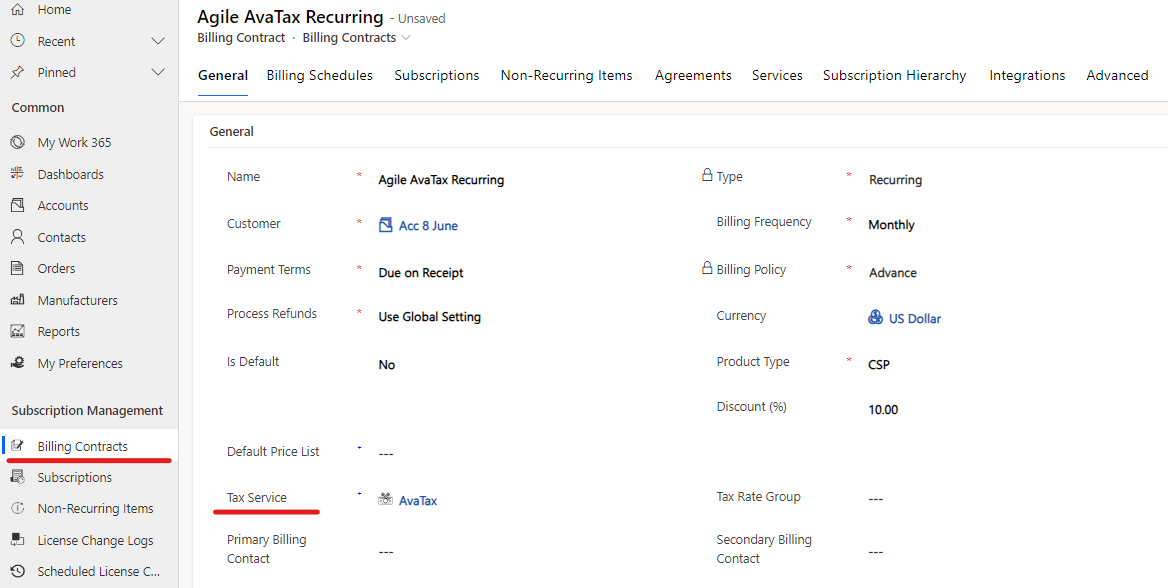
- On the Billing Contract, set the Tax Service as Avalara Tax Service (connector), which was added in the previous step- Add Connector for Avalara.
- When adding a subscription, ensure that the selected product for the subscription has the appropriate Tax category added.
Tax Service can also be setup globally using the Work 365 configuration page. This setting can be found under Administration ➔ Admin Hub ➔ Invoicing ➔ Default Tax Service. Specifying a tax service on the billing contract will override this default value.
Calculate Tax on Invoice
-
The 'Generate Invoice' function calculates taxes and creates a new transaction in Avalara, using the Customer code as the Account Name.
-
Recalculate Tax
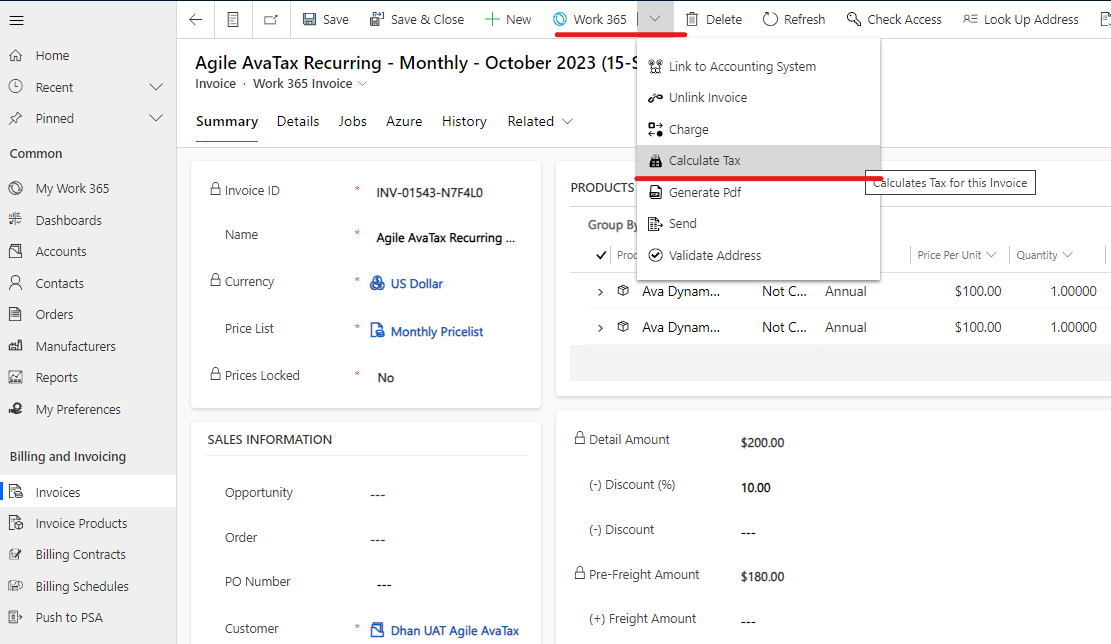
On Invoice form under Work 365 Dropdown ➔ Calculate Tax
It allows to re-calculate tax with Avalara. The existing transaction in Avalara will show as 'Adjustment'
-
The transaction type is Sales Invoice, in a committed state.
-
Each line item includes a Product Number for identification within the Avalara transaction.
-
The Ship from address used is retrieved from the connector.
-
The type of the transaction remains Sales Invoice in a committed state.
-
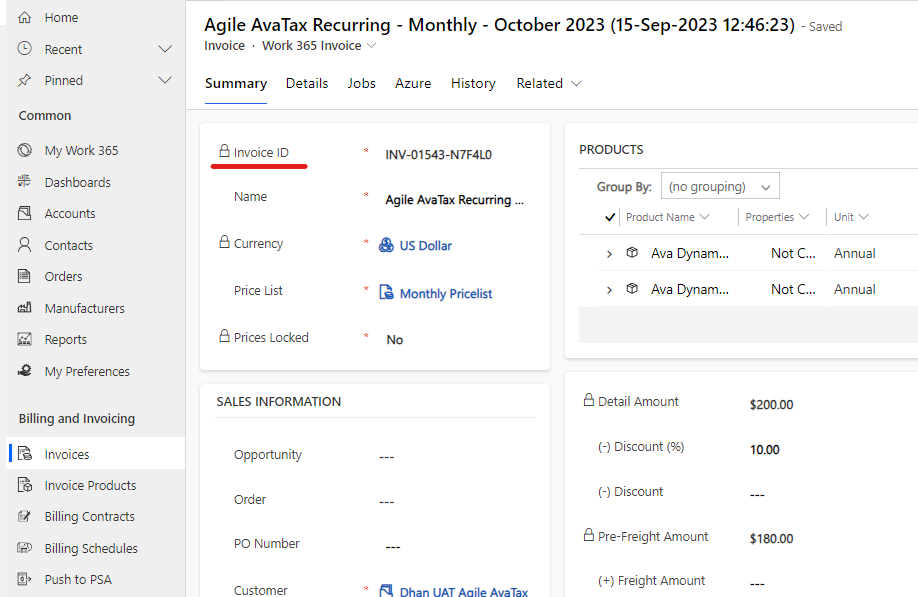
The transaction created in Avalara can be identified by its Work 365 Invoice ID on the invoice.
-
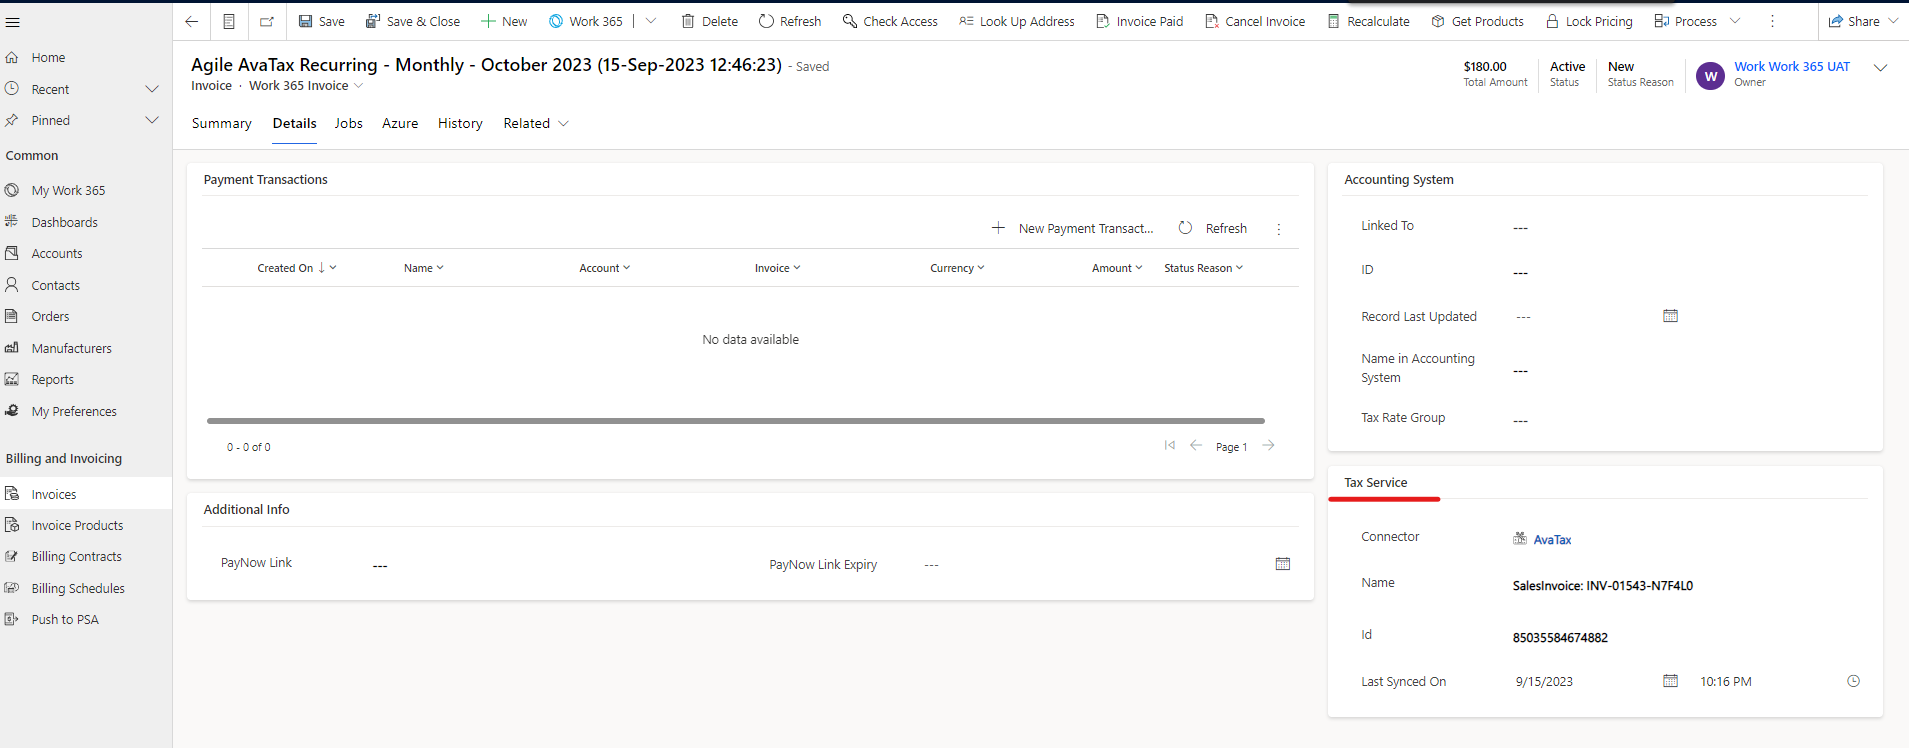
The Tax service reference for the Avalara transaction is added under the details section of the invoice.
-
Discounts
Discounts on the billing contract are distributed among all transaction line items. If a line item has a discount, it will reflect as a discounted amount; however, the discount will not be explicitly mentioned for each line item. The transaction line is recorded as the total amount and total quantity. For example, if the quantity is 8 and the price per unit is 10, the line item will be recorded as a total amount of 80 and a quantity of 8.
Cancel Invoice
To void an Avalara transaction, Cancel the invoice. Once the invoice is cancelled. This will trigger a job to void the Avalara transaction. The transaction is also voided, if the invoice is deleted in Work 365.
Validate Address for Tax Calculation
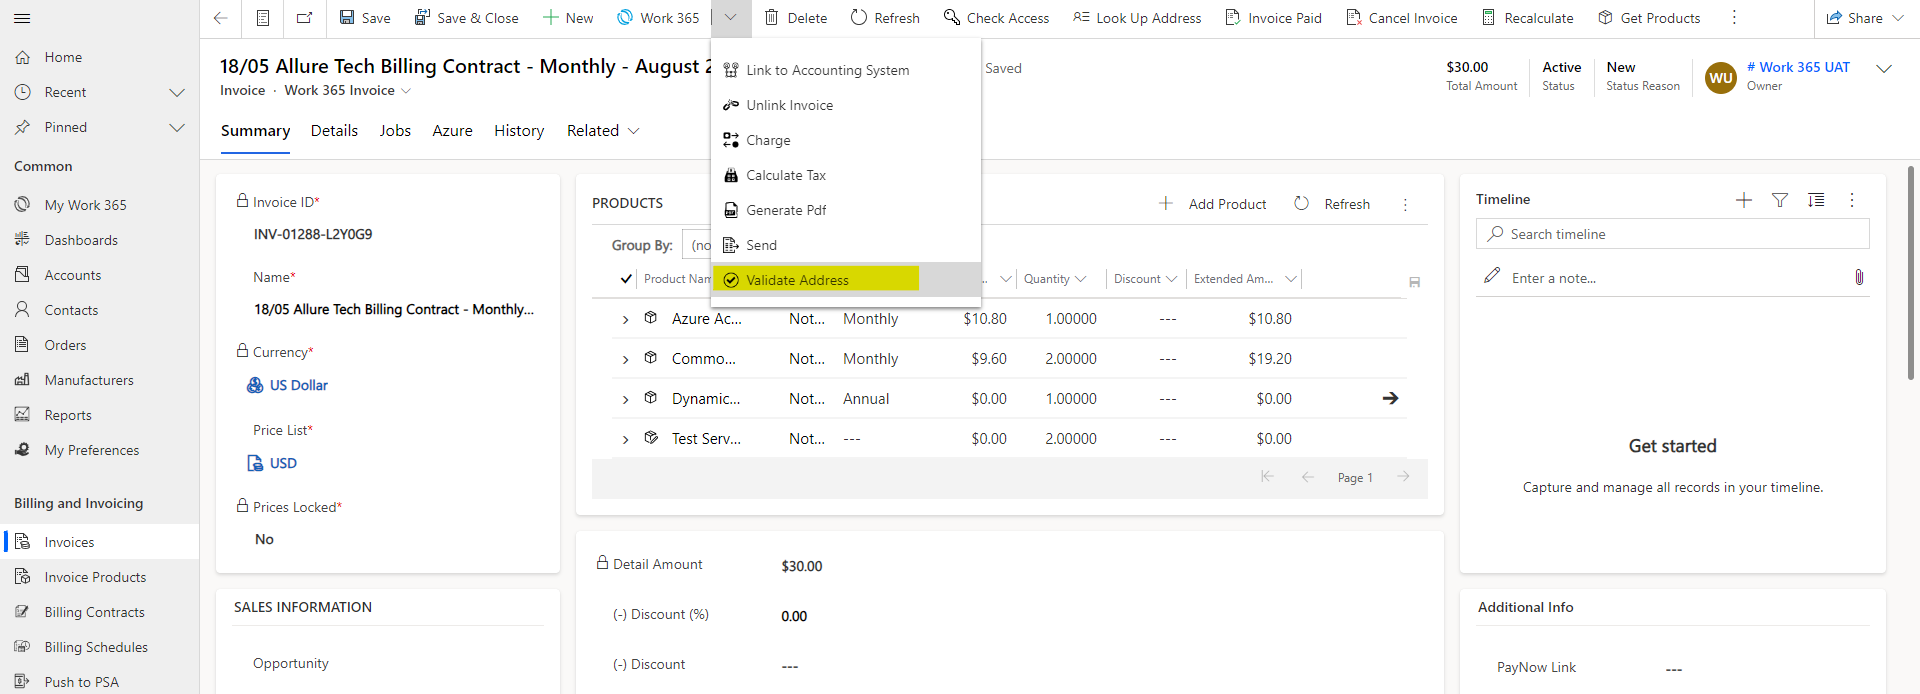
To link an invoice with Avalara for tax calculation, it is imperative that the customer's address is validated within the account. Users have the flexibility to validate the address either directly from the invoice or through the account. This validation process is crucial for accurate and compliant tax calculations.
- Validate Address on Invoice
- Validate Address on Account

Updated about 2 years ago
