
Link and Unlink Accounts and Invoices to Accounting Systems
This document details how to link CRM accounts and invoices to configured accounting systems, as well as how to unlink them.
Linking Accounts to an Accounting System
Go to the CRM Account ➤ Hit the Work 365 button ➤ Select Link to Accounting System
-
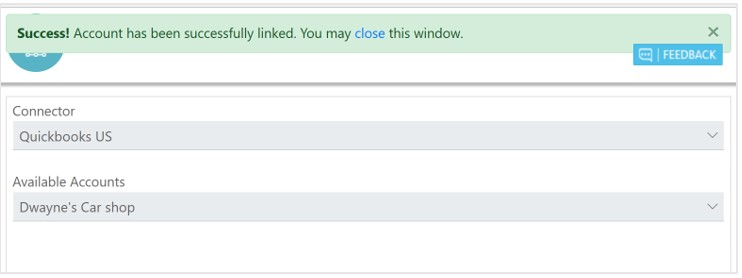
From the popup window
-
Select the connector.
-
Linked Account:
- If the CRM account has not yet been created in the accounting system leave the Available Accounts field to New Customer. After hitting save, the message “This will link ‘xyz customer’ to ‘New Customer’ in ‘x connector.’ Select Yes to confirm.
- The system will automatically create a new account record in the accounting system once synced.
-
For an existing customer, select the customer from the drop-down menu.
-
Hit Save
-
Once linked a success message will appear.
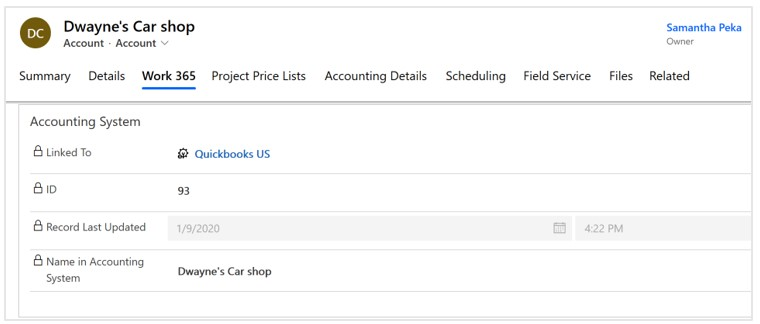
Details of the linked account will be available under the ‘Work 365’ tab of the account record.
To Unlink a CRM Account from an accounting system:
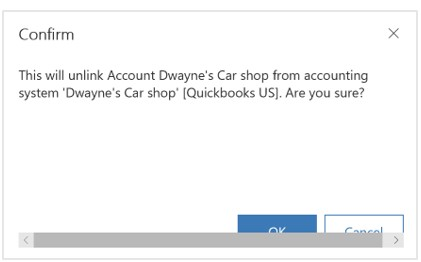
- Go to the CRM Account ➤ Hit the Work 365 button ➤ Select Unlink Account
- A confirmation popup will appear. Select okay to confirm
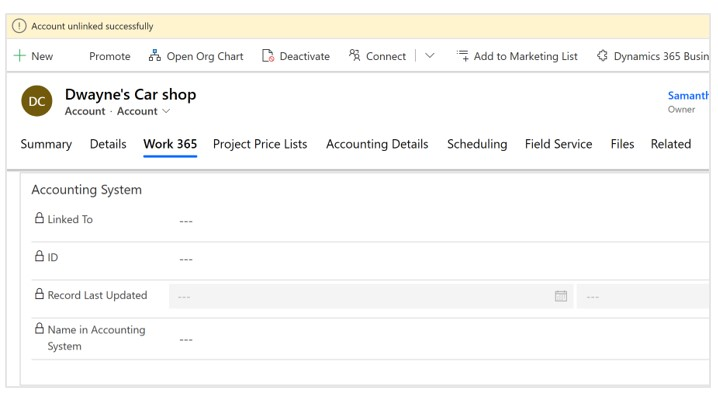
Once an account has been unlinked from the accounting system, the ‘Work 365’ tab with the accounting system data will be cleared, and a message will confirm the account has been unlinked.
Linking Invoices to an Accounting System
Go to the Work 365 Invoice ➤ Hit the Work 365 button ➤ Select Link to Accounting System
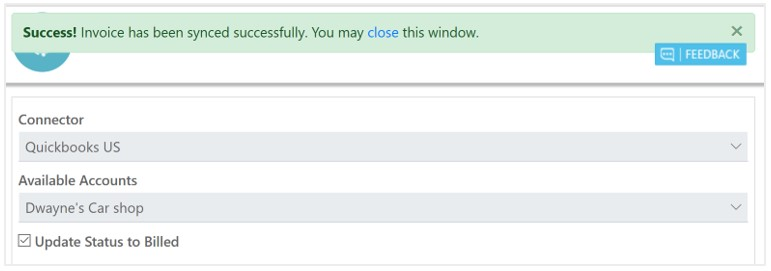
- From the popup window
- Select the connector.
- Linked Account:
- If the CRM account has not yet been created in the accounting system leave the Available Accounts field to New Customer. After hitting save, the message “This will link ‘xyz customer’ to ‘New Customer’ in ‘x connector.’ Select Yes to confirm.
- The system will automatically create a new account record in the accounting system once synced.
- For an existing customer, select the customer from the drop-down menu.
- Check off ‘Update Status to Billed’ for the invoice Status Reason to update to a ‘Billed’ Status once the invoice is synced.
- Hit Save
- A confirmation message will appear. Hit yes to confirm.
- Once linked a success message will appear.
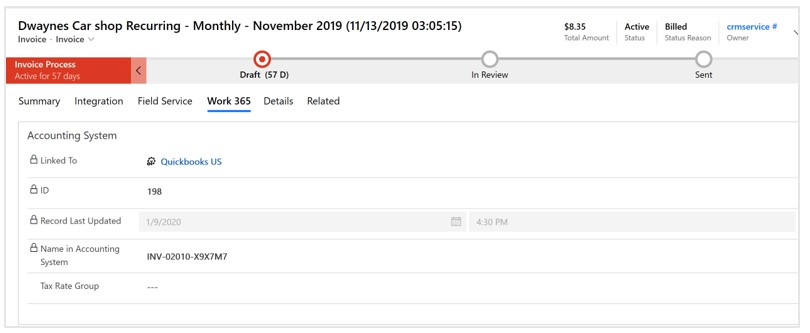
The Status Reason will update to ‘Billed’, and details of the linked invoice will be available under the ‘Work 365’ tab of the invoice record.
To Unlink a Work 365 Invoice from an accounting system:
Go to the CRM Account ➤ Hit the Work 365 button ➤ Select Unlink Invoice
A confirmation popup will appear. Select okay to confirm. Note, there is a checkbox to delete the invoice from the Accounting System as well.
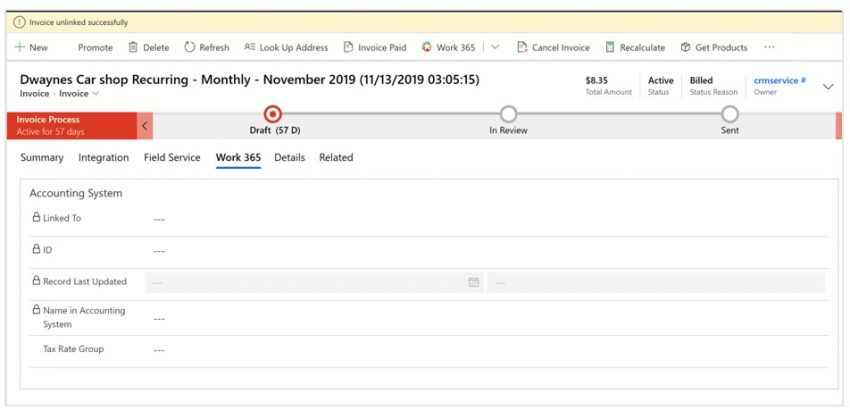
Once an invoice has been unlinked from the accounting system, the ‘Work 365’ tab with the accounting system data will be cleared, and a message will confirm the invoice has been unlinked.
After unlinking an invoice from an accounting system, the status reason of the invoice will remain ‘Billed.’
Invoices with a ‘Billed’ status are visible on the Work 365 self-service portal solution. To update, change the status reason back to ‘New’ manually.
Updated over 2 years ago