
Authorize.Net
Work 365 integrates with the payment processor Authorize.Net for payment management.
To set up the Payment Processor Authorize.Net
- Navigate to Work 365 → Admin Hub → Integration tab → Add New
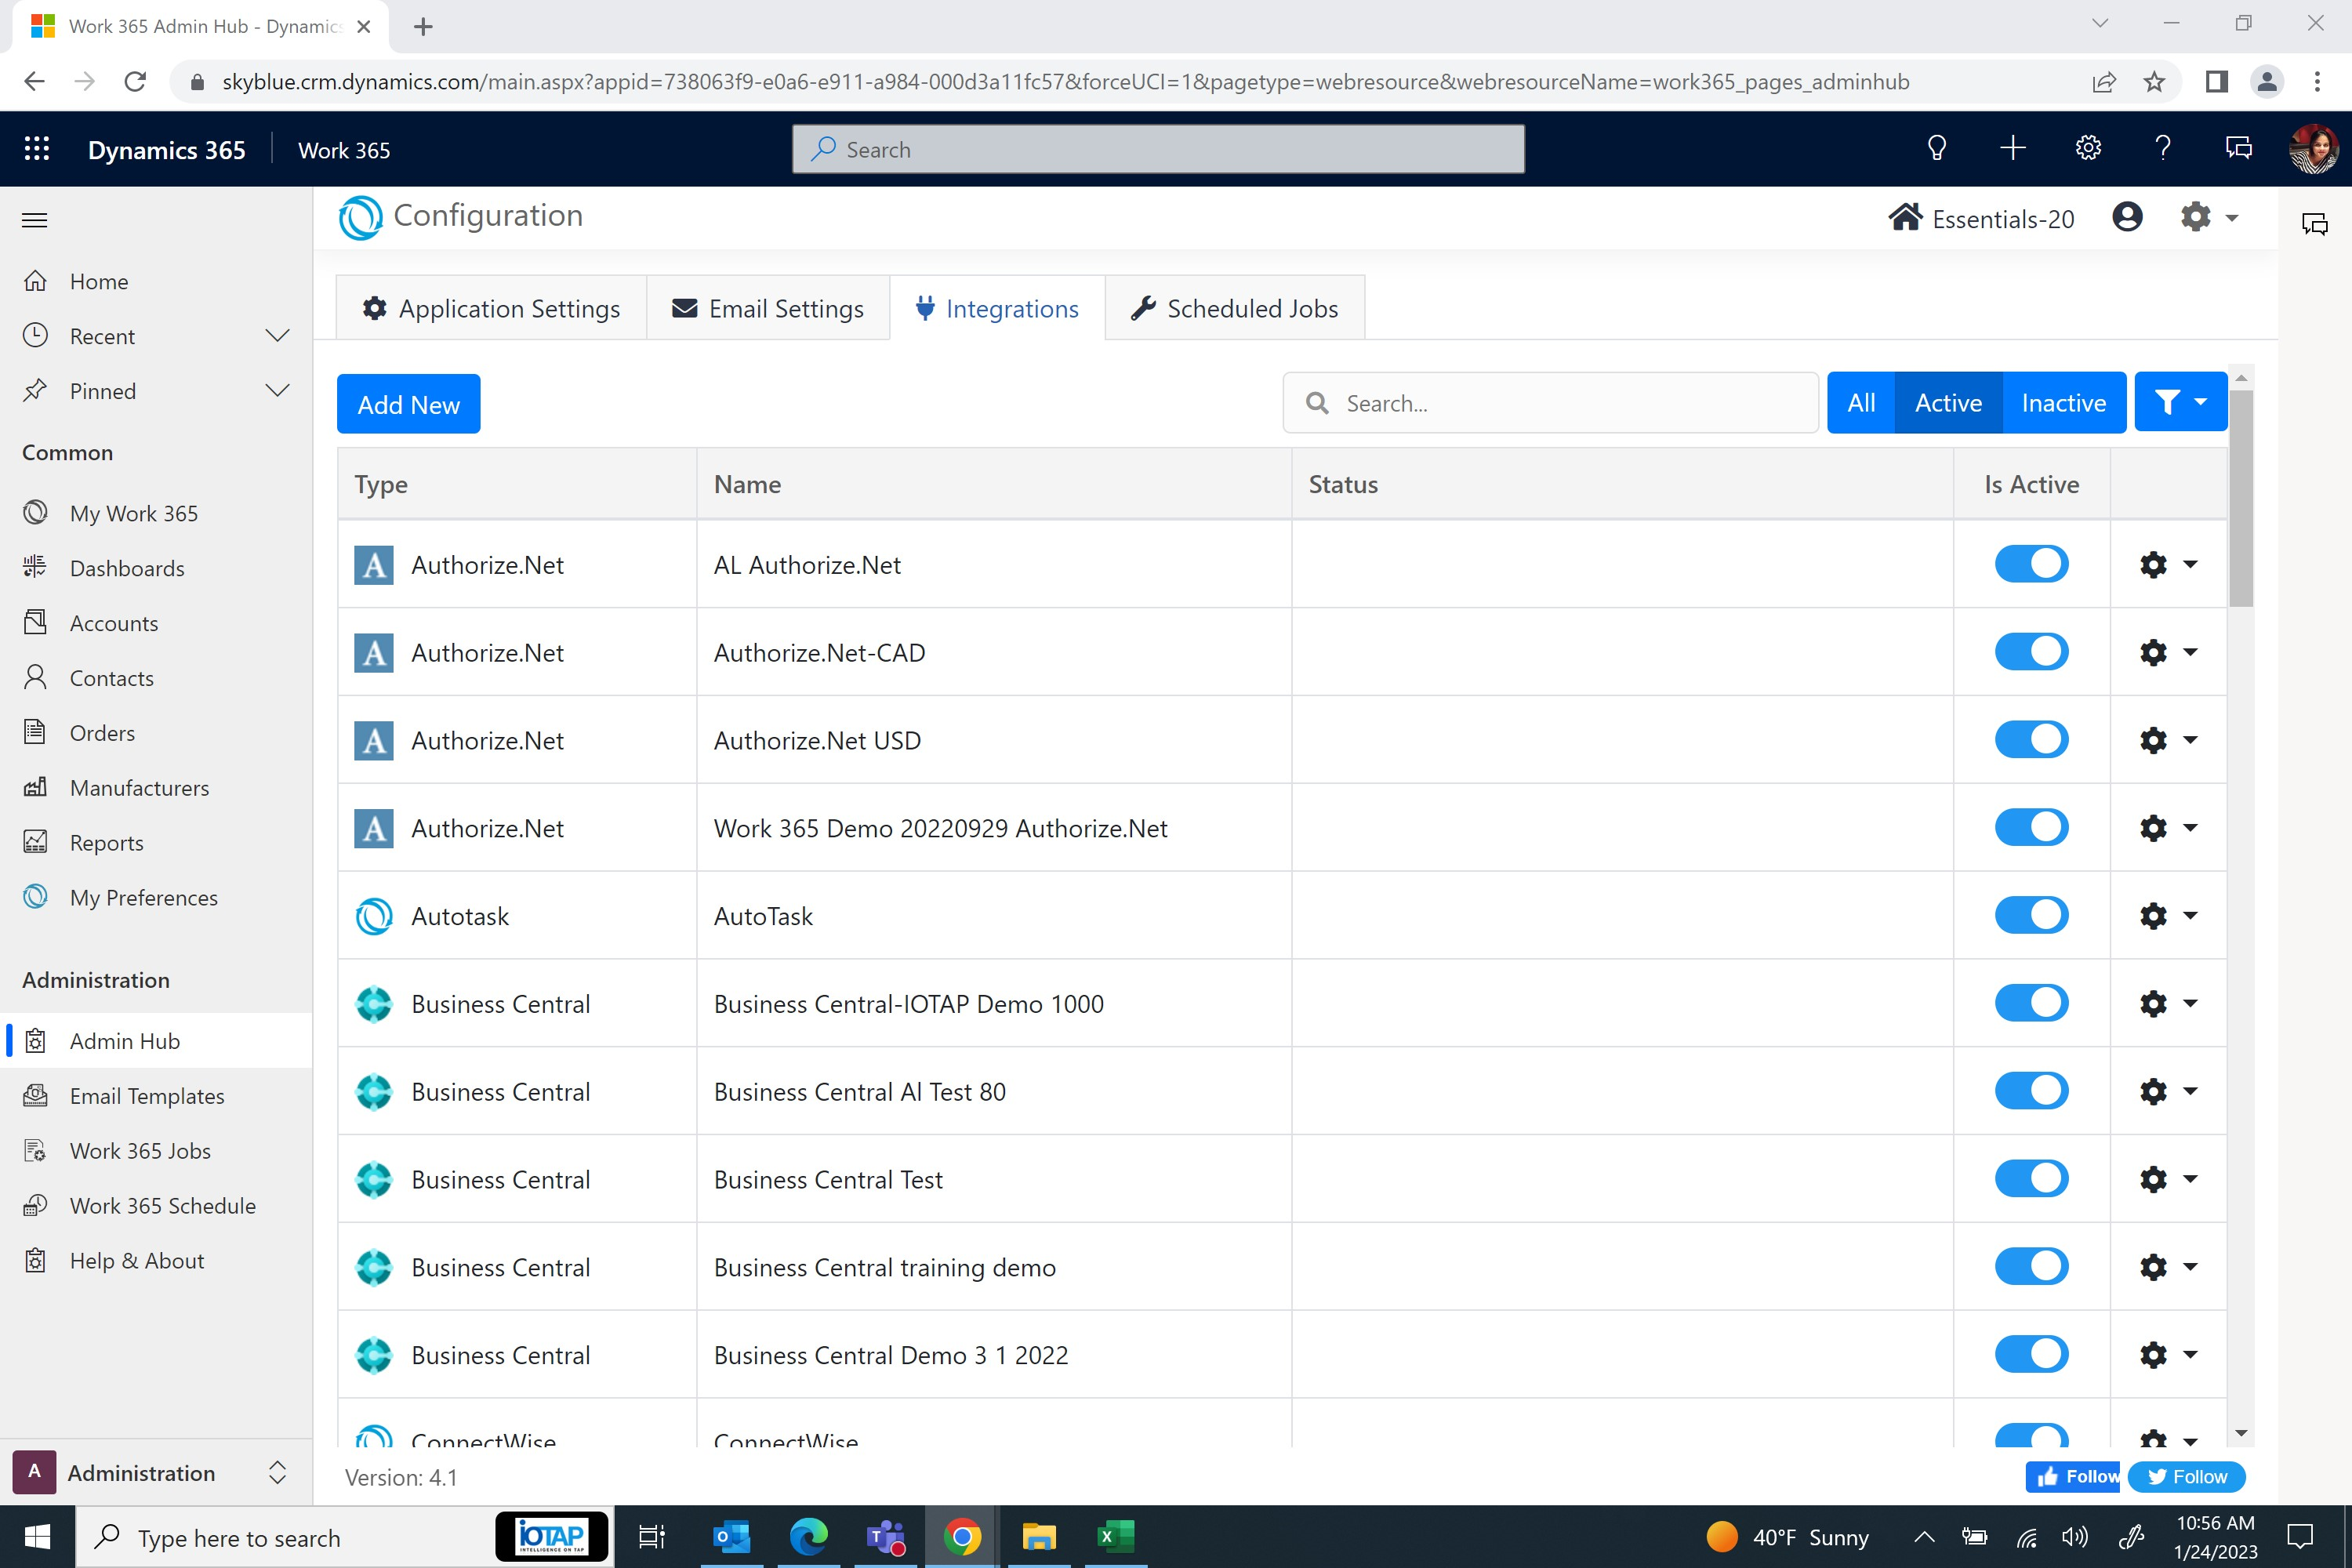
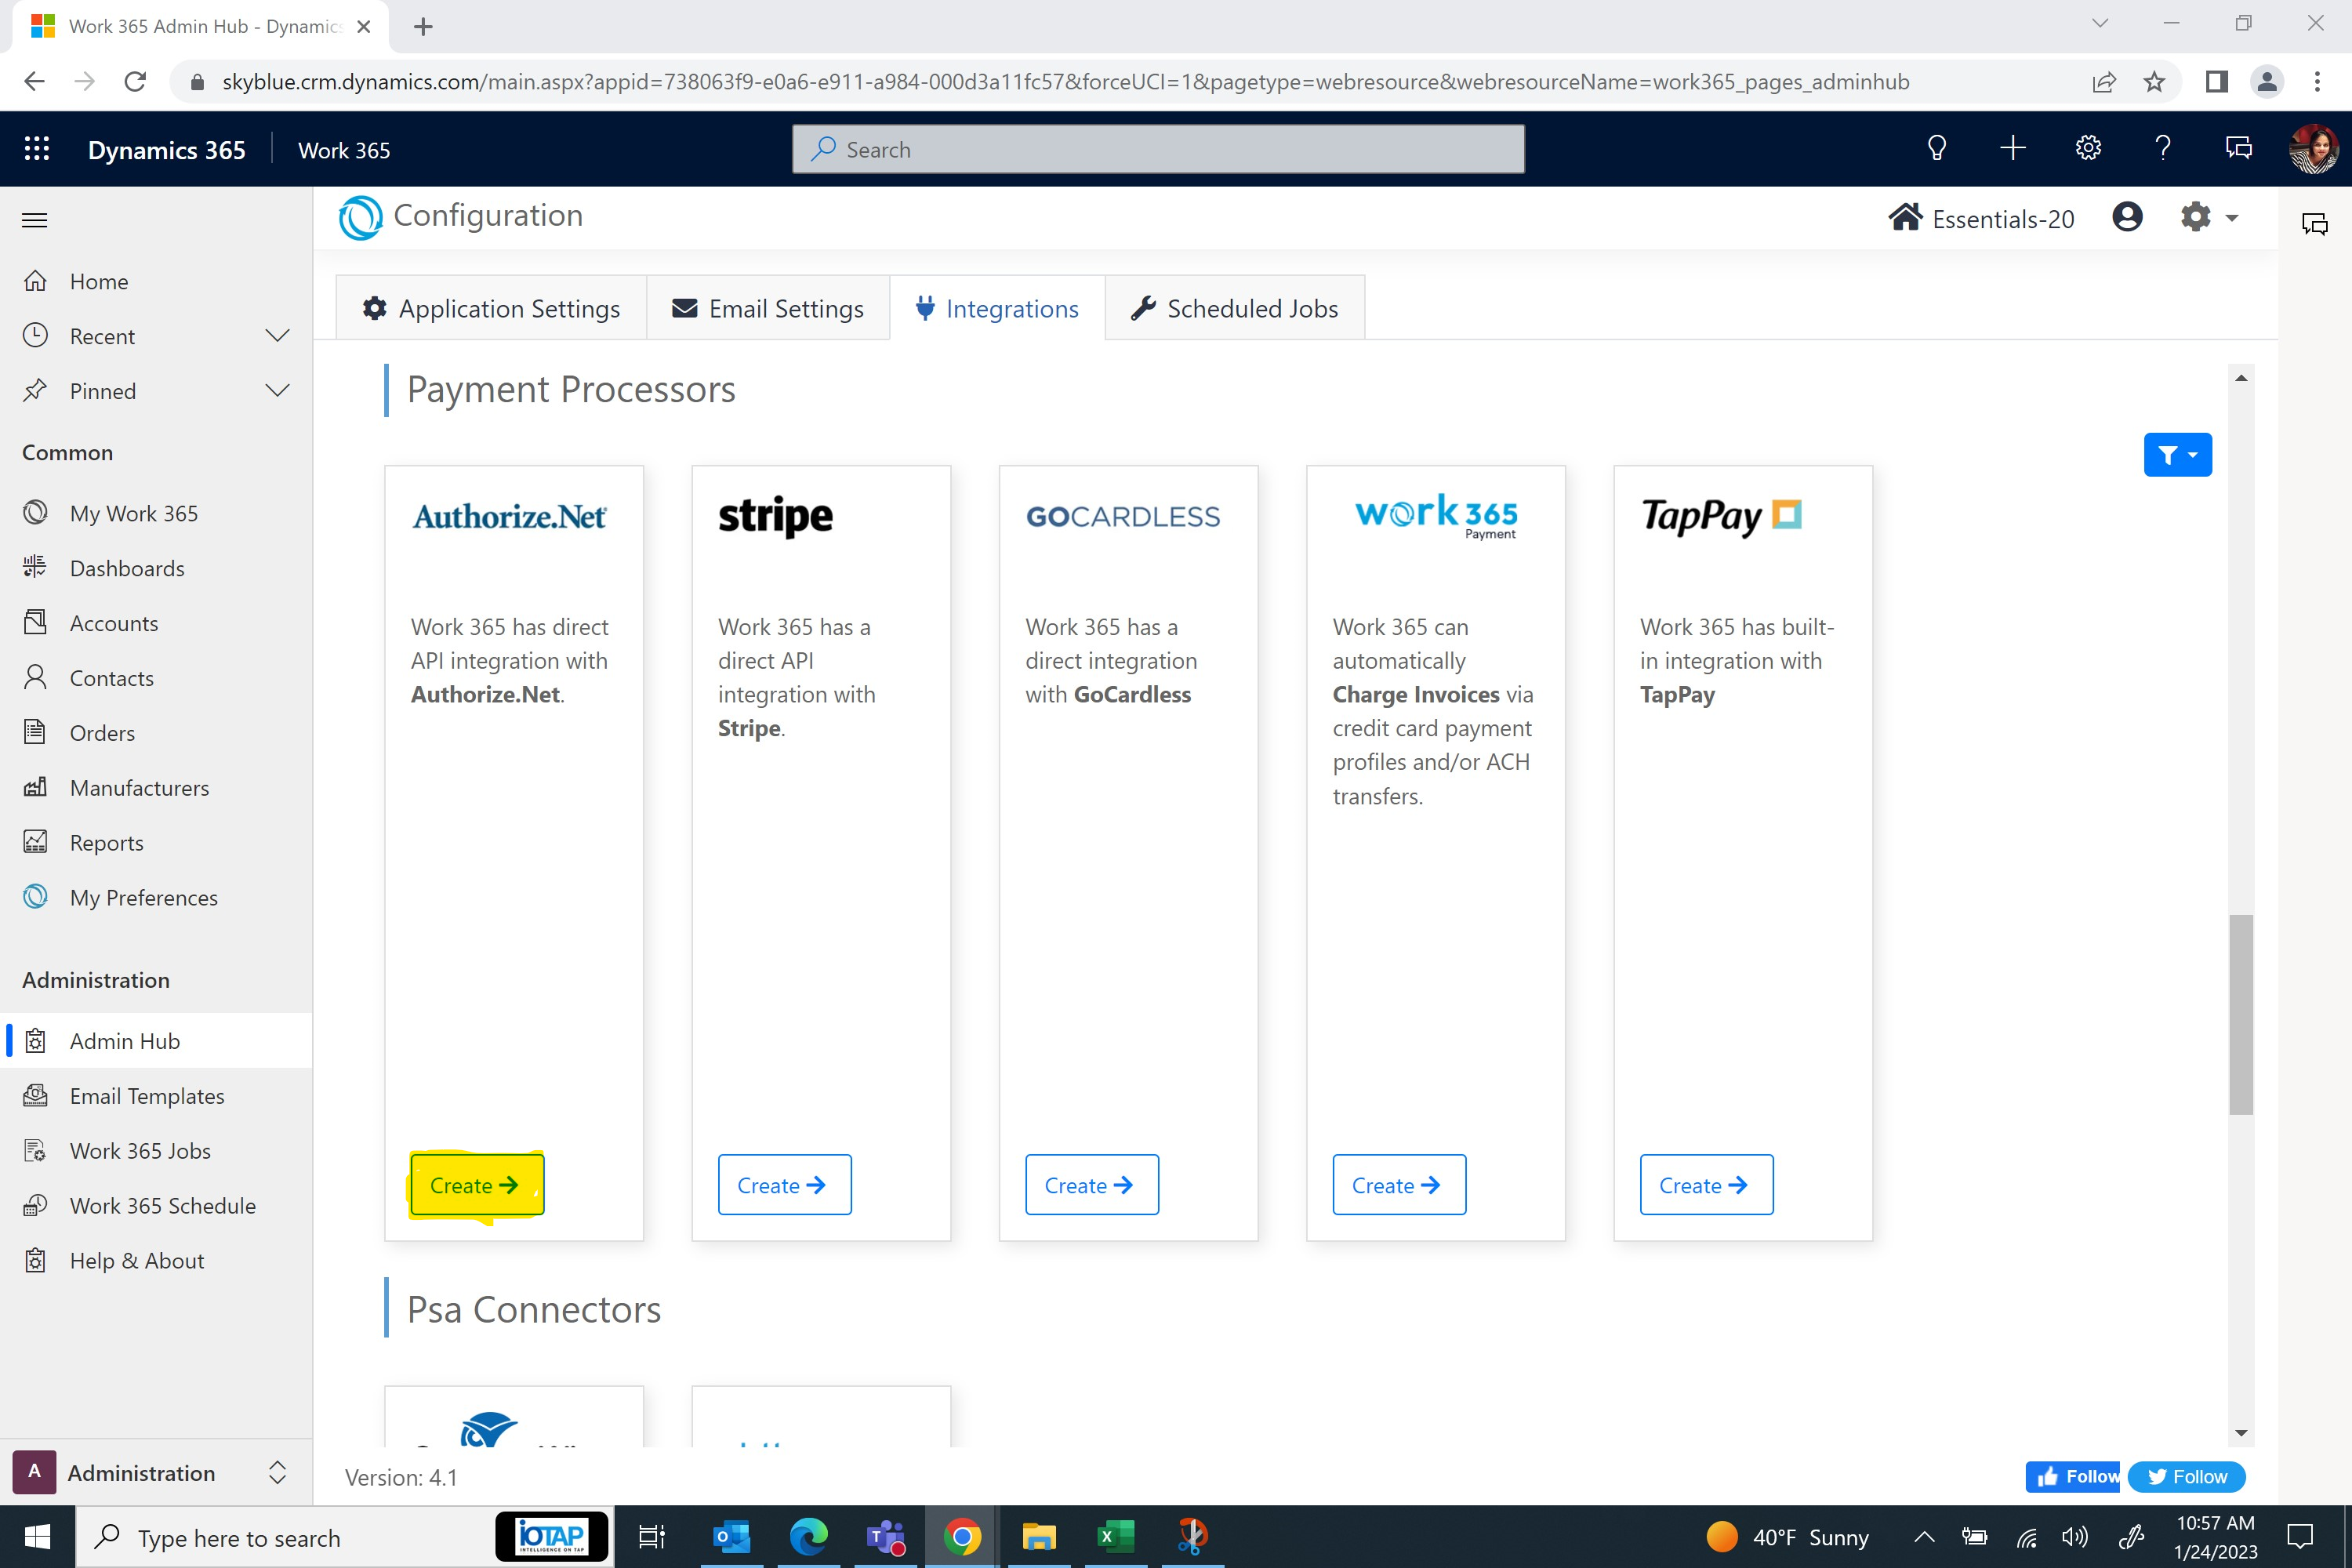
- Select Authorize.Net under Payment Processors
- Add the values to the fields.
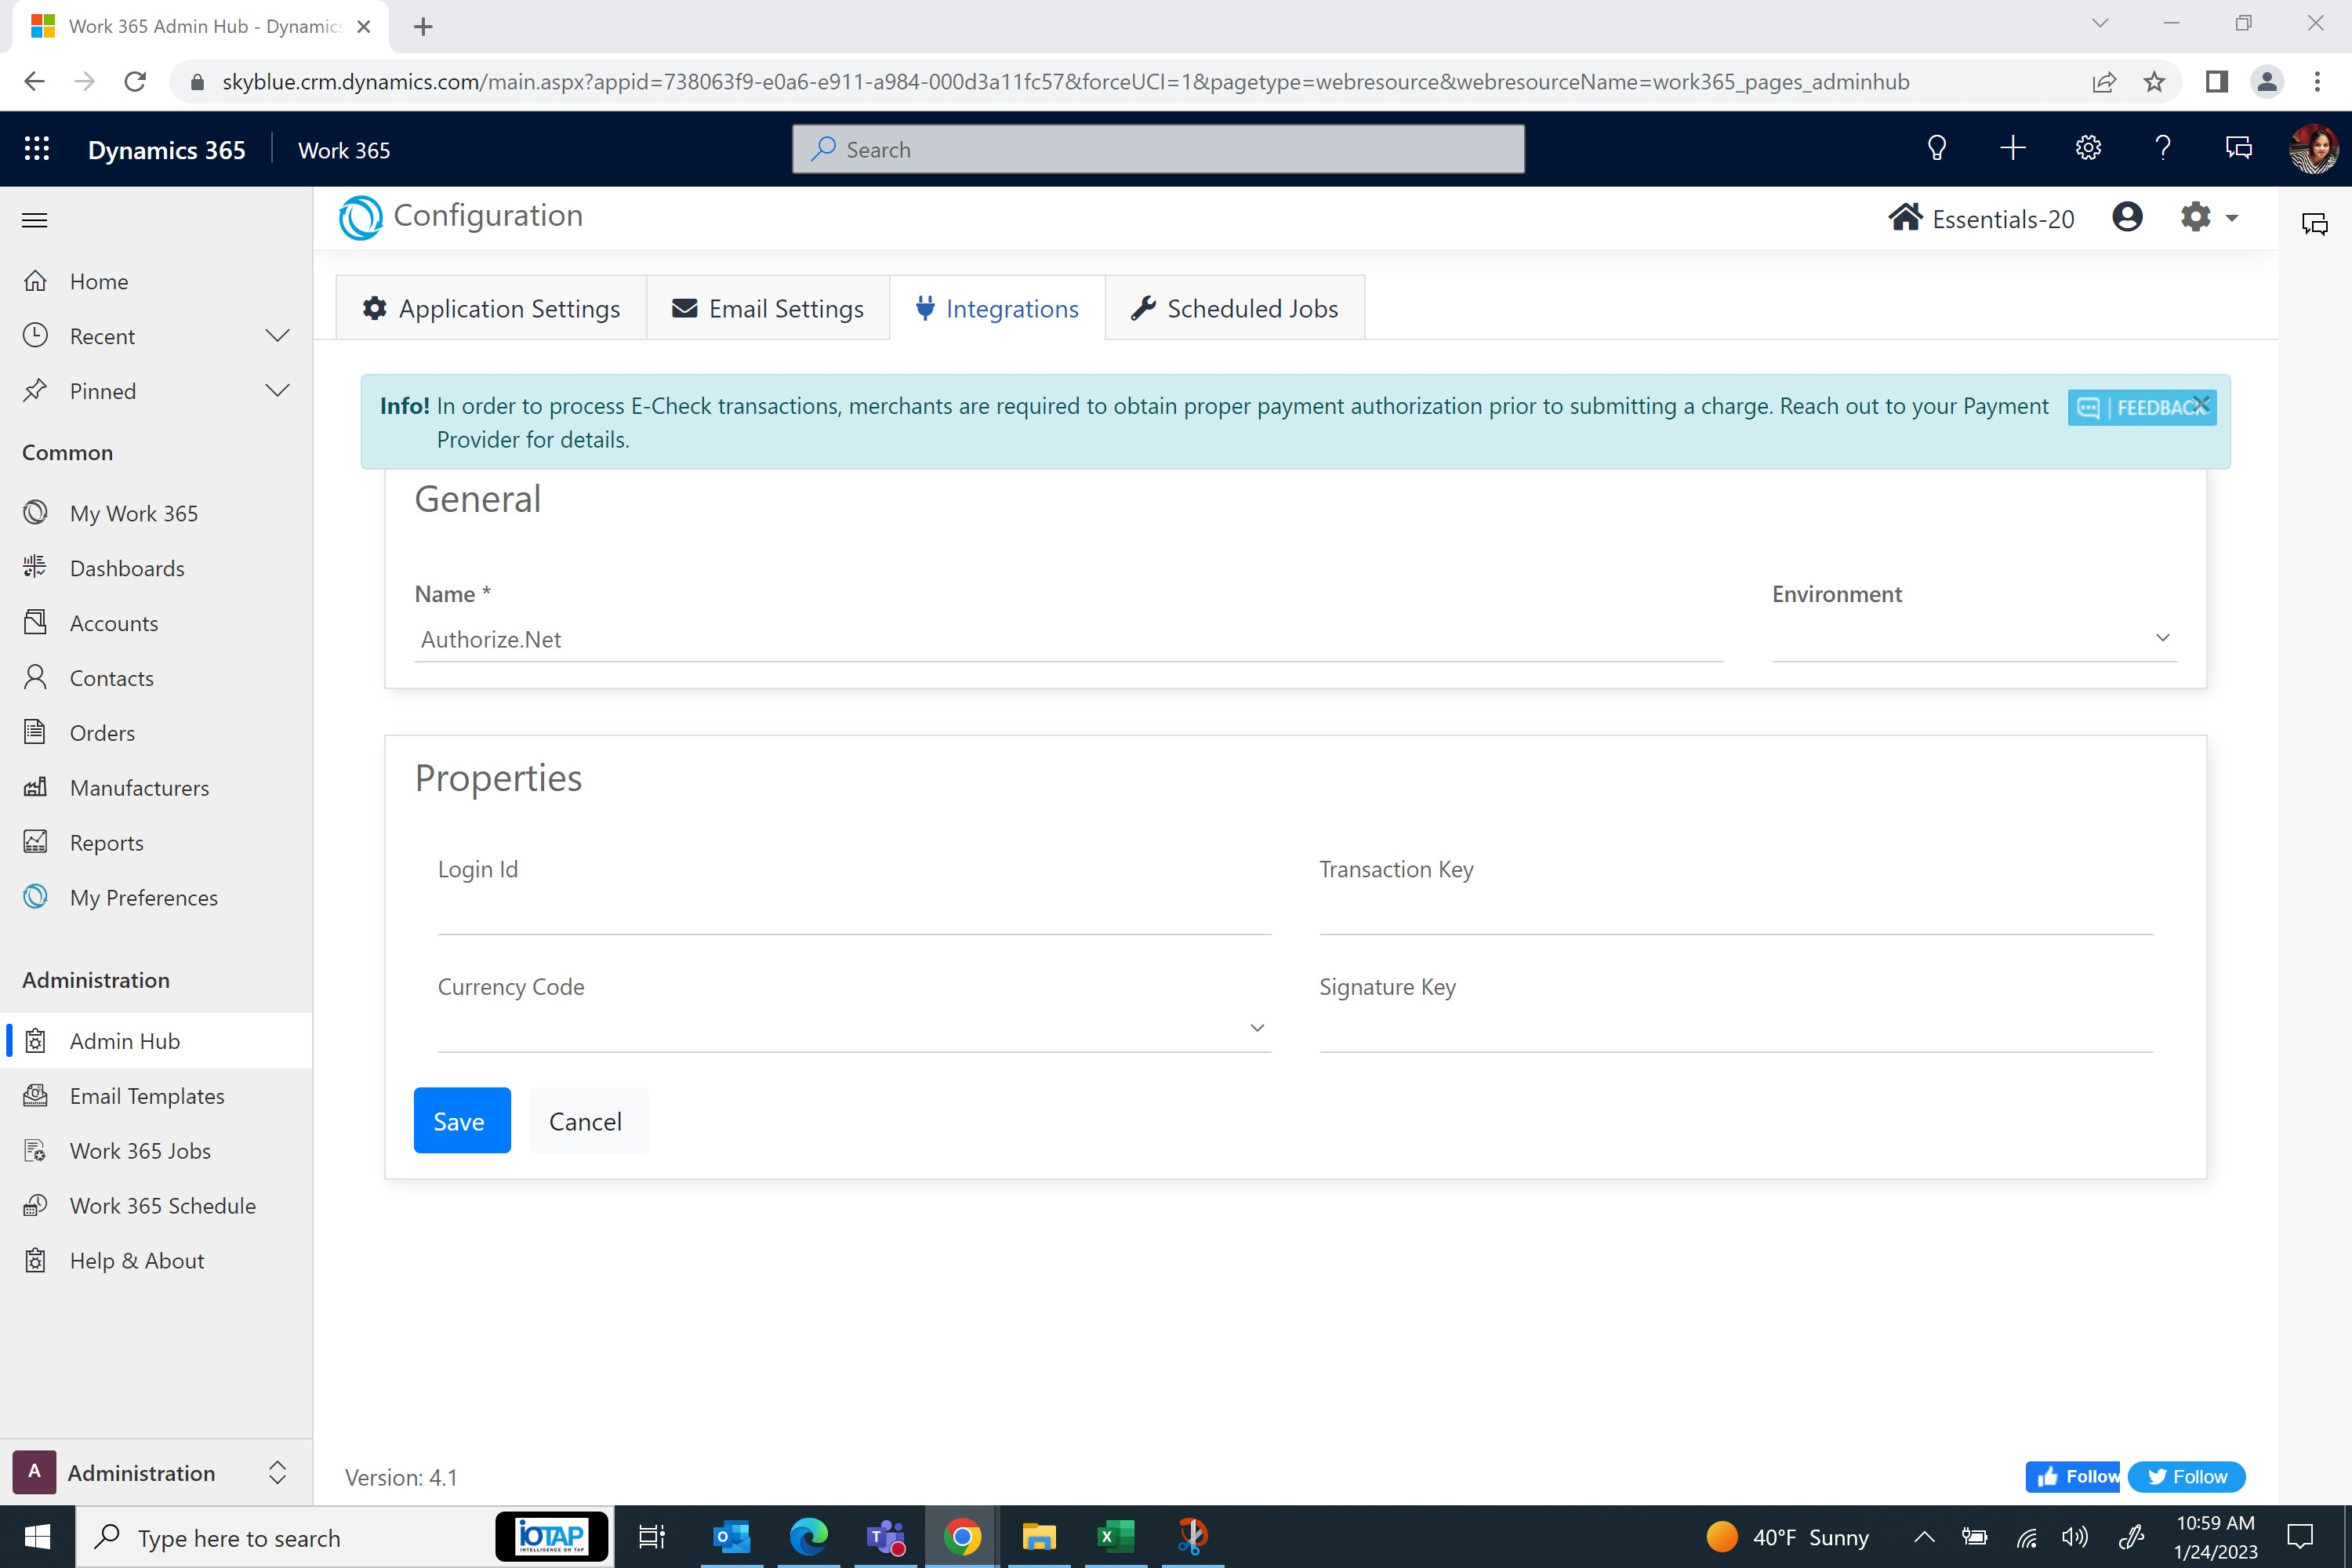
- Create a new payment processor record for Authorize.Net with the following details:
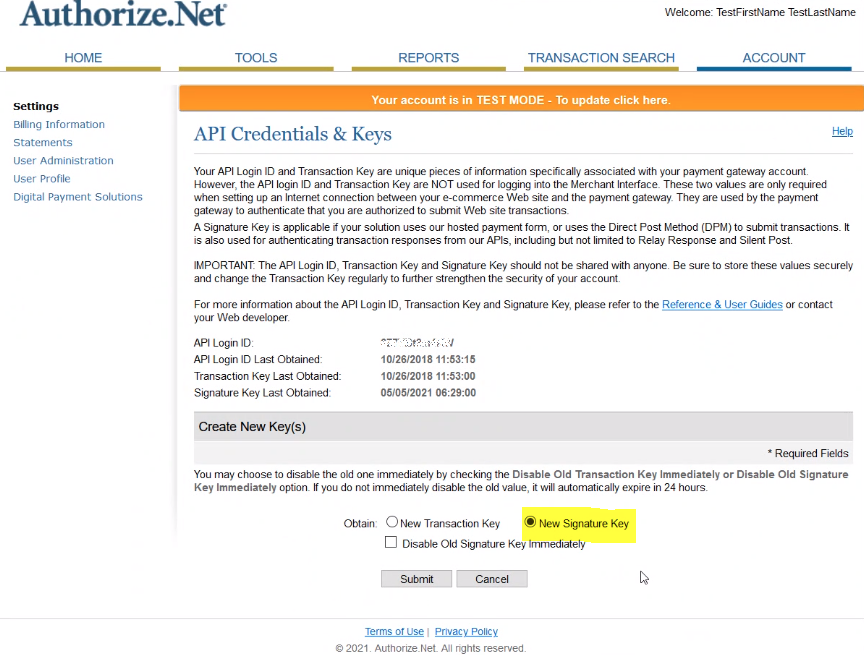
- Follow the Authorize.net instructions for finding the API Login ID and Transaction Key.
- For the Authorize.Net values: Login to Authorize.Net → Account → API Credentials and Keys
- Note: If a Transaction Key is already listed, copy the existing Key. If no transaction key is created, select “New Transaction Key.”
Save the transaction key for future reference in a secure location. - Note: If a Signature Key is already listed, copy the existing Key. If no signature key is created, select “New Signature Key.”
Save the signature key for future reference in a secure location.
- Note: If a Transaction Key is already listed, copy the existing Key. If no transaction key is created, select “New Transaction Key.”
Authorize.net provides a convenient
Copybutton when displaying the signature key. However, copying the signature in this manner causes an extra line to be added before the signature key.Copying this value directly into Work 365 will cause the integration to fail. The value first must be pasted into a plain text editor such as
Notepadand re-copied without including any spaces or extra lines.
| Field | Values |
|---|---|
| Name | Authorize.Net |
| Environment | Select Sandbox or Production |
| Login Id | Authorize.Net API Login ID |
| Transaction Key | Authorize.Net Transaction Key |
| Currency Code | Select Currency (Dropdown) |
| Signature Key | Authorize.Net Signature Key |
- Save the record.
Creating the Authorize.Net Webhook
The Work 365 connector should register a webhook with Authorize.net. This webhook provides a way for Authorize.net to notify Work 365 about relevant events such as a payment profile being created, or an ACH transaction being approved.
Once the connector is created, verify that the webhook is registered with Authorize.net. If not, follow the steps below to manually register the Authorize.net webhook for Work 365.
- Login to the Authorize.net portal.
- Click on the Accounts → Settings, from the left menu.
- On the Settings page, click on Business Settings → Notification Settings → Webhooks.
- Ensure that a Work 365 endpoint is registered. If the Work 365 endpoint is not present, register the webhook by clicking the
Add Endpointbutton. - Fill in the
Endpoint Infosection as follows.
| Field | Description |
|---|---|
| Name | A friendly name for your endpoint. Typically, this should be called 'Work 365' |
| Endpoint URL | https://api.work365apps.com/webhooks/payments/authorizenet |
| Status | Active |
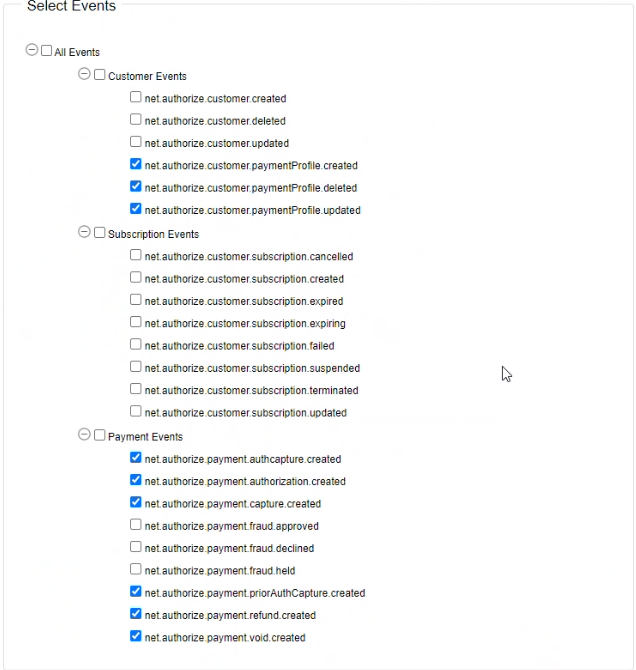
- Ensure that appropriate events are selected in the `Select Events' section. This section should look as follows.
- Click the
Savebutton. - Your Authorize.net webhook for Work 365 is now registered.
Updated over 1 year ago