
Branding (Manual Process)
This article provides the steps to complete the branding process for the Self-Service Portal
Pre-requisistes
Performing this cutomization will require the following:
- User with System Admin or System Customizer privieges on tenant
Time required
This branding process is expected to take 15 minutes
Additional Notes
The same steps applies if you want to change your Company Logo or Banner Image.
Remember it could take a few minutes to be displayed due to chache
This process works only if you have installed the Work 365 Self-Service Portal solution
Procedure
Banner
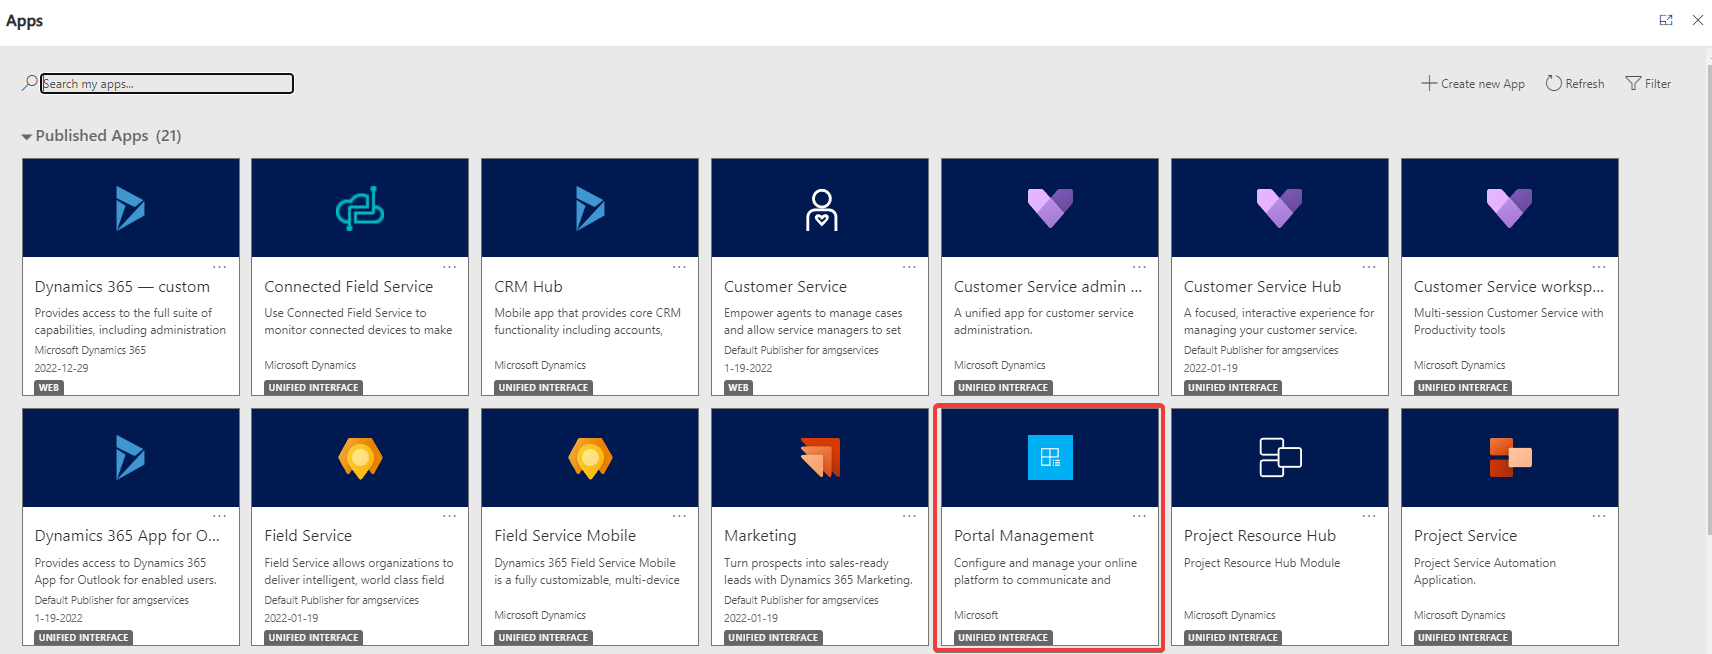
- Login into your Dynamics 365 environment and look at the top-left corner click o the 'App' besides Dynamics 365

- Click on 'Portal Management'
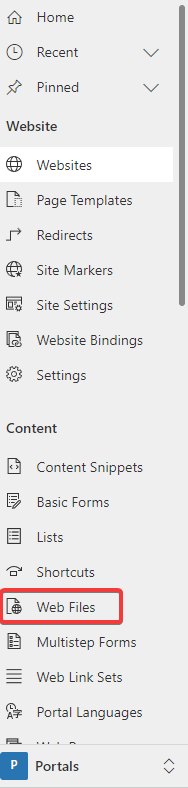
- On the left-handed menu click on 'Web Files'
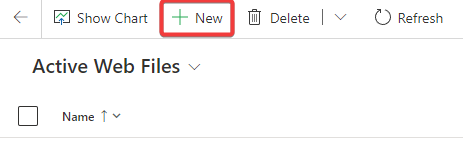
- Click on '+ New' to add a new web file
-
Fill the required information and save the file

-
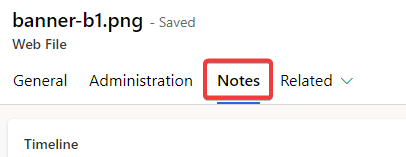
Enter again to the file you just created go to 'Notes'
-
Click on the Clipboard located at the right side of the page
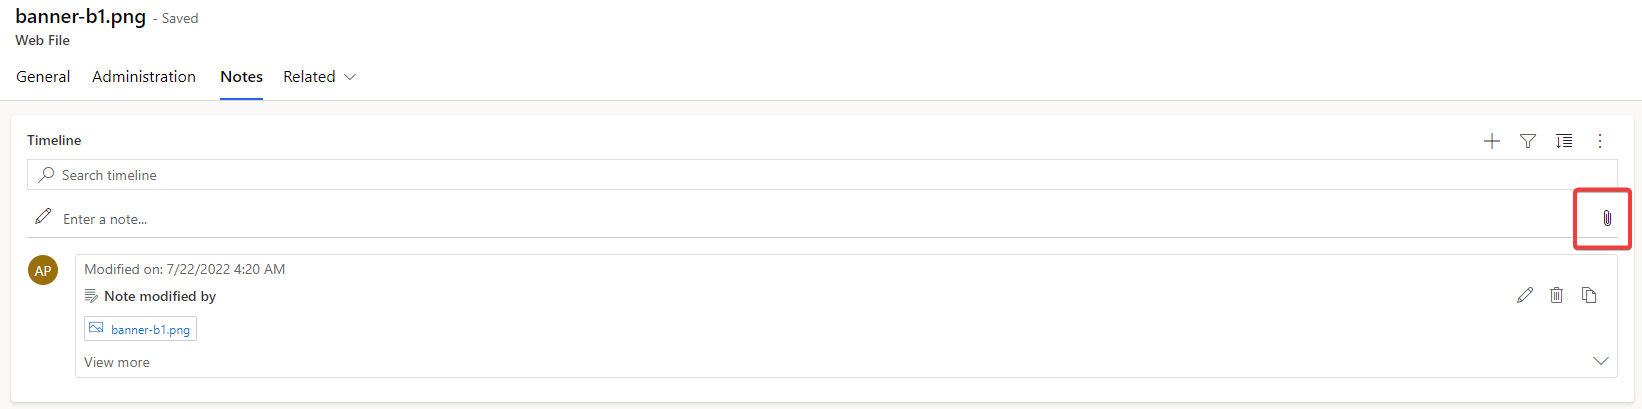
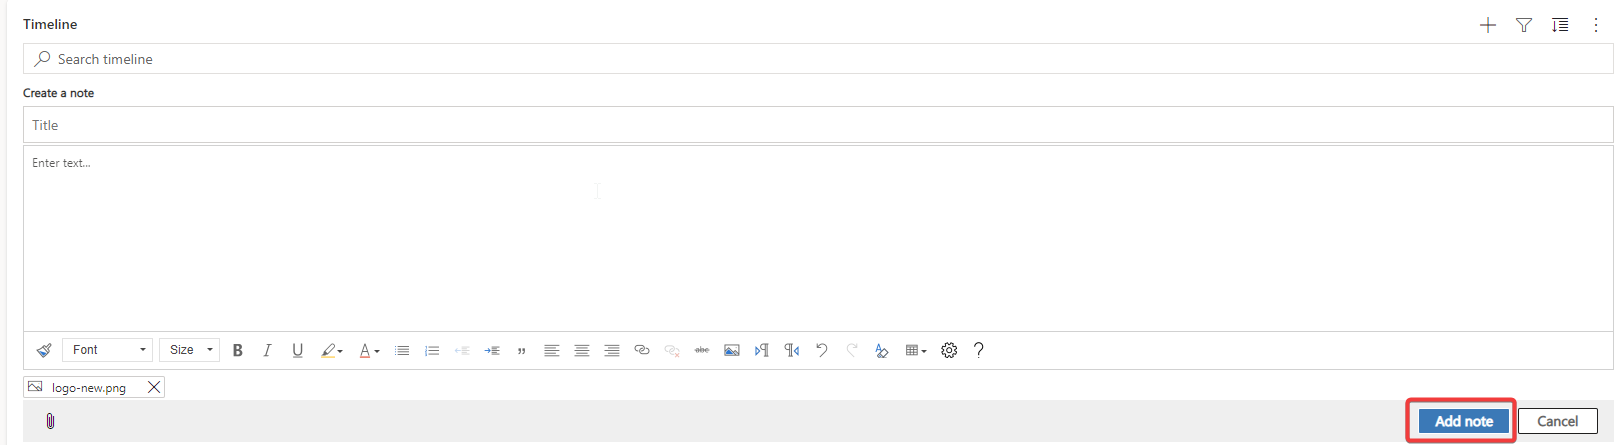
- A popup window will appear look for your banner file localted in your system directory and click 'Open'

- Click 'Add note' and save the file.
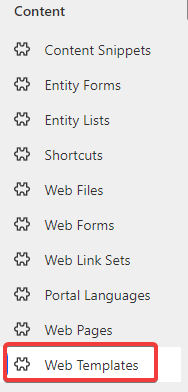
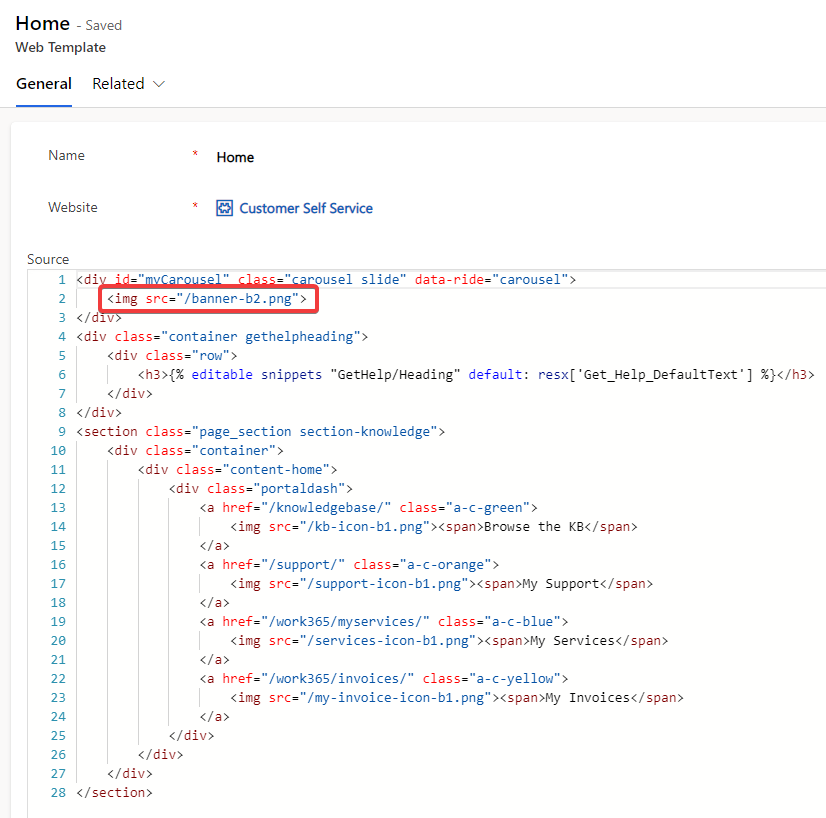
- On the left-handed menu click on 'Web Templates'
- Look for the 'Home' template and click on it
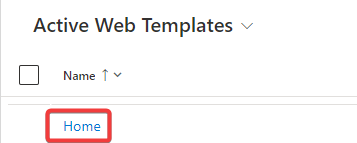
- On the displayed HTML code look fo the second line and replace it with your banner file name
E.g. <img src="/banner-b1.png>
- Save the file and wait a few minutes to be displayed in your Self-Service Portal
Your Banner has been successfully updated
Logo
- Repeat the banner steps from 1 to 9 for upload the logo
- On the left-hand menu click on 'Content Snippets'

- Look for the 'Navbar left' Snippet and click on it

- Enter to the value as 'HTML'
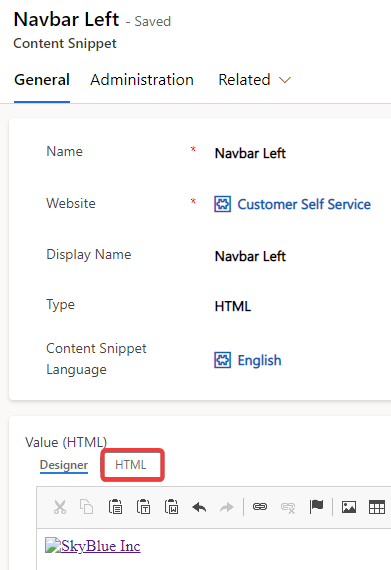
- On the displayed HTML code look for current logo name and replace it with your logo file name
E.g. <a href="/"><img alt="My Company Name" src="/my-logo-name.png"></a>

- Save the file and wait a few minutes to be displayed in your Self-Service Portal
Your Logo has been successfully updated
Updated about 1 year ago
Did this page help you?