
Office 365 Manage Licenses
This article provides the steps to configure your Self-Service Portal to work with your customer’s or partner’s Office 365 Manage Licenses
Pre-requisites
Performing this task will require the following:
- Portal Owner privileges
- Azure Admin privileges on the tenant
Time required
This configuration is expected to take approximately 15 minutes
Additional notes
These permissions enable customers to assign licenses to their users. When a Global Admin accesses the Manage License page in the portal and grants access, the app will be able to read and write on the customer's tenant, enabling them to manage their own licenses
Procedure
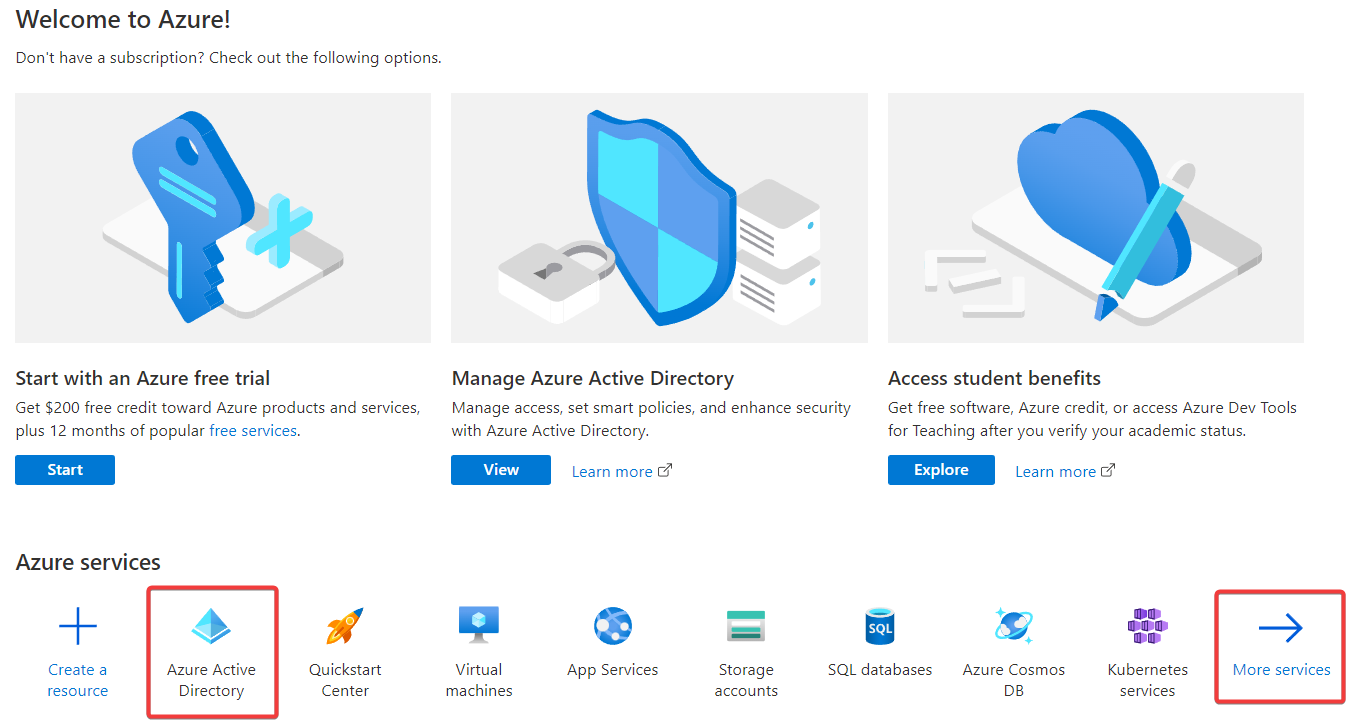
- Login to Azure Portal using the Global administrator account and click on the 'Azure Active Directory' icon within the Azure Services section. If you do not see the 'Azure Active Directory' icon, click on More Services
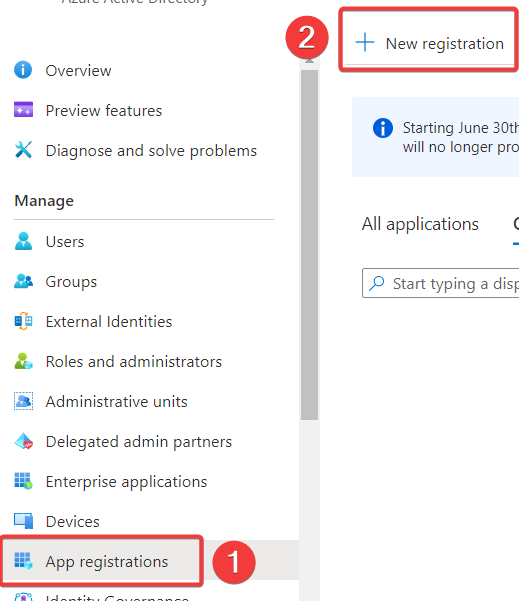
- Click on ‘App Registrations’ on the left-hand navigation menu and then click the ‘+ New Registration’ button on the right-side pane
-
Paste your Self-Service Portal URL:
-
Name Value Dynamics Portal URL
-
-
Copy the following URL:
-
Name Value Redirect URL
-
-
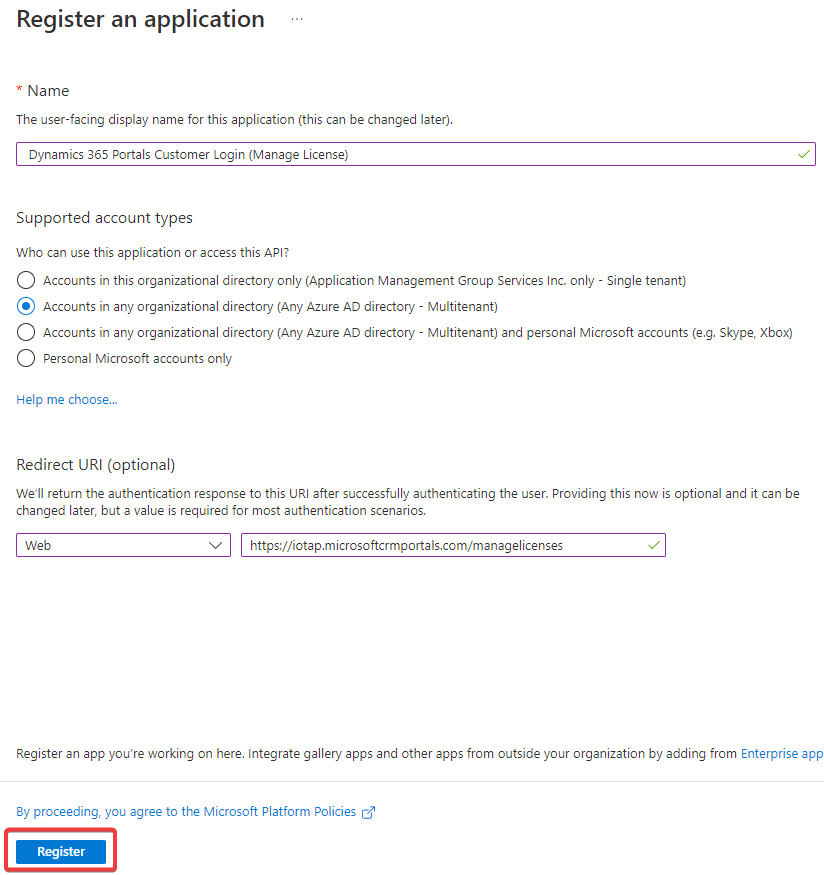
Make sure you have entered all required information and paste the Redirect URL from the previous step, then click the 'Register' button
- Within the newly created App click on ‘Authentication’ menu on the left-hand side navigation. On the right-hand pane tick the below checkboxes and hit ‘Save’.

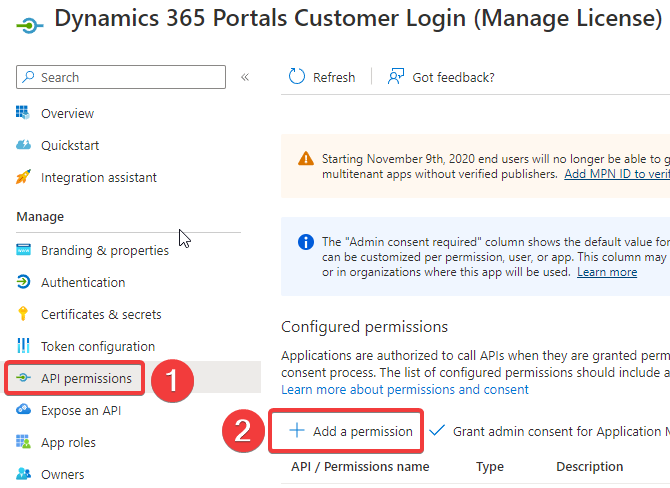
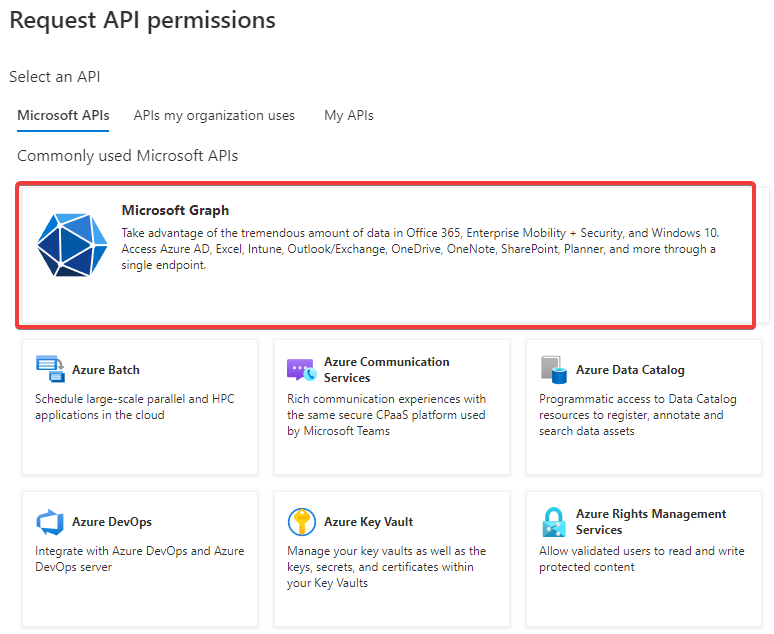
- Now Click on ‘API Permissions’ on the left-hand side navigation. Click the ‘Add a Permission’ button on the right-hand pane
- In the Window that pops up click on "Microsoft Graph"
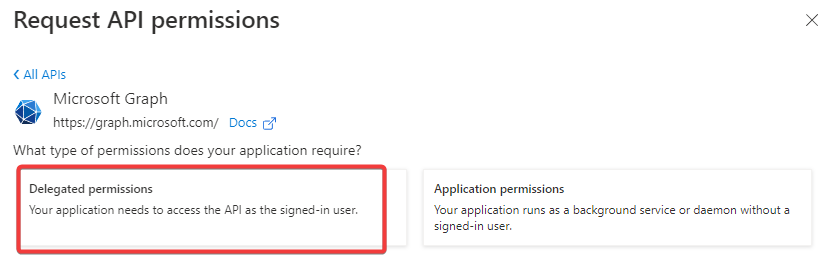
- In the next Screen chose 'Delegated Permissions'
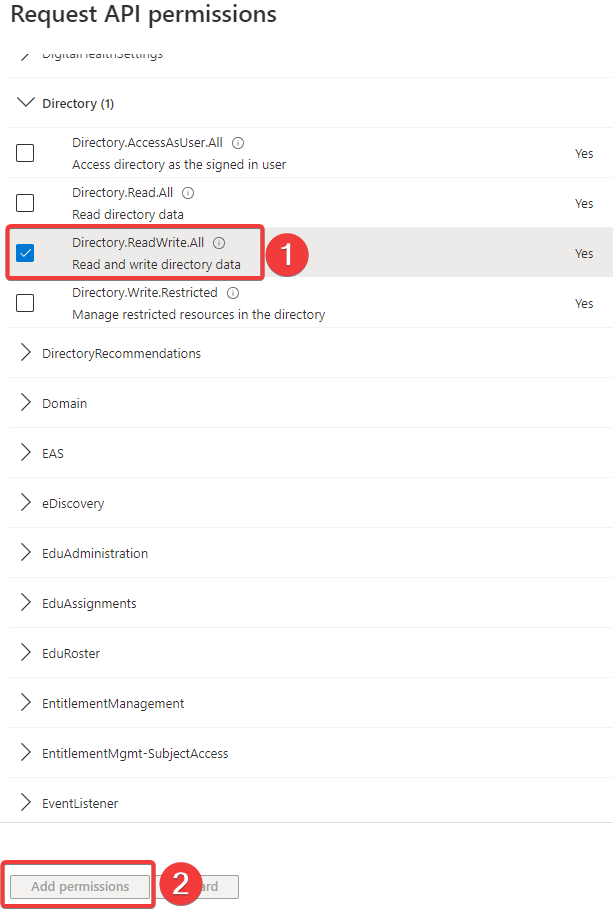
- In the section below, expand the ‘Directory’ area and select ‘Directory.ReadWrite.All’ and click the ‘Add Permission’ button.
-
This permission needs Admin consent. If the ‘Grand Admin Consent’ button looks disabled, try refreshing the screen. Once enabled, ensure to hit the ‘Grant admin Consent…’ button.
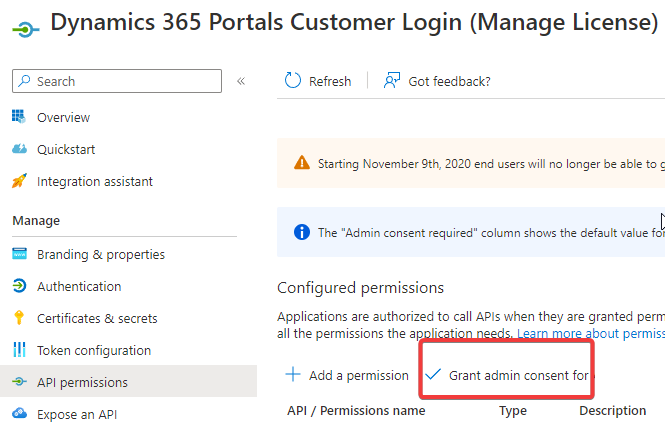
- To confirm check the ‘Status’ column in the table below which should now display ‘Granted..’

- Click on 'Overview' on the left-hand navigation menu and copy the 'Application (client) ID'
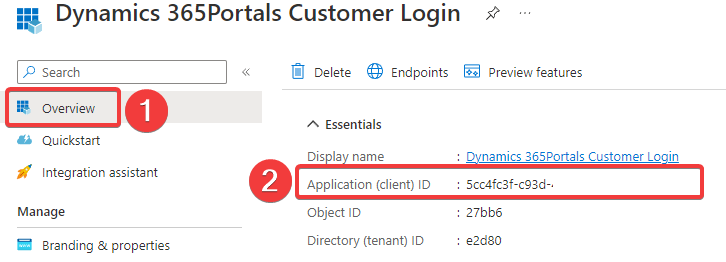
- Make sure to save or share with Work 365 Support team the 'Application (client) ID' as this will be required for further steps.
Your Azure AD is now configured to allow your customers to manage their licenses through your Self-Service Portal.
Updated over 1 year ago