
Provisioning
This article provides the steps to provision a Dynamics 365 Self-Service Portal
Pre-requisites
Performing this provisioning will require the following:
- A user with System Admin or System Customizer privileges on the tenant
Time required
The provisioning process is expected to take 1-3 hours
Additional Notes
Make sure you have access to the correct environment before proceeding with this setup. DO NOT use the 'Default' environment.
Procedure
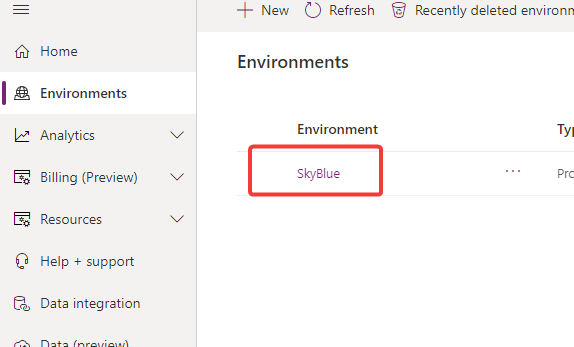
Go to https://admin.powerplatform.microsoft.com/environments
Click on your Production Environment (Where you have Installed Work 365)
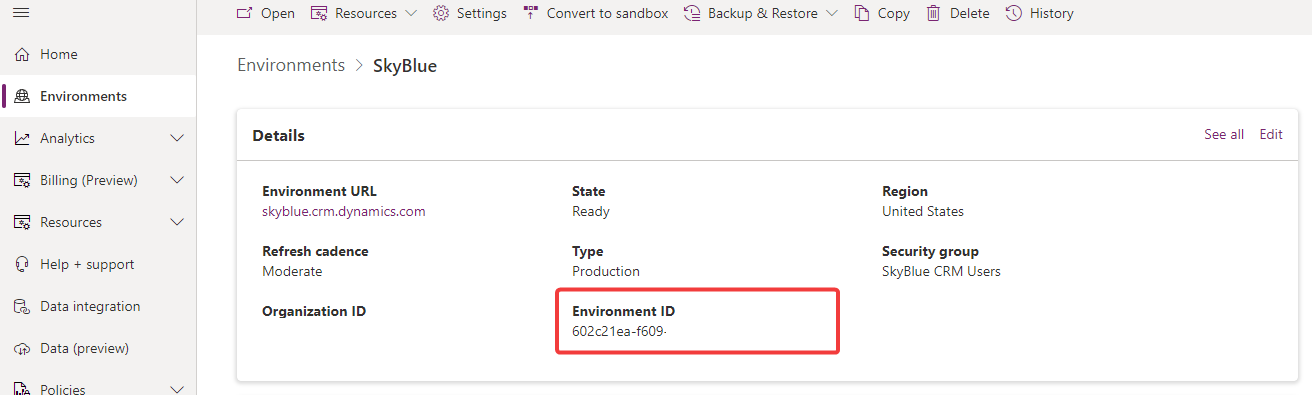
Copy the Environment ID
Paste the Environment ID in the textbox below:
| Name | Value |
|---|---|
| Environment ID |
Copy this URL and paste it in your browser:
| URL |
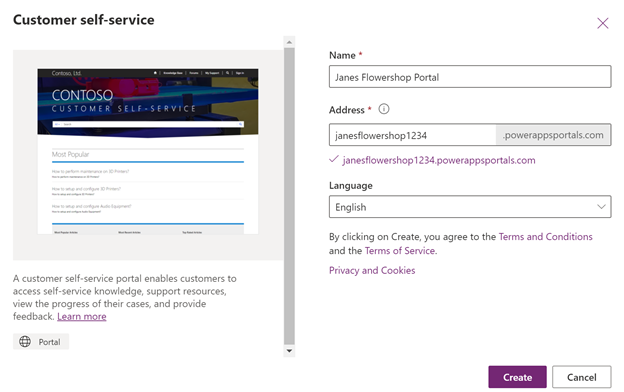
Inside this page select the Customer Self-Service portal

Give the portal a name and add the domain name of the portal. Select a language.
This will be only the based name it will not affect If you whish to use a custom Domain
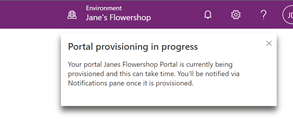
Navigate to admin.powerapps.microsoft.com. You will see the portal being configured
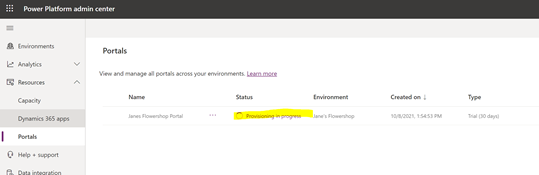
Refresh the page after about 2min and you should see it’s configured. Hit the ellipses and select manage

This is where all the portal details are maintained on the tenant. Copy the Base Portal URL for later use

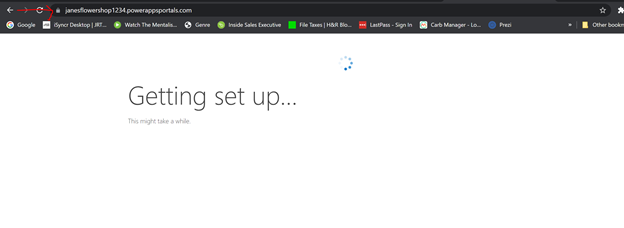
In a new tab on the same browser paste the portal url. Now Microsoft is finishing the setup of the portal within Dynamics 365.
This process can take up to 3 hours
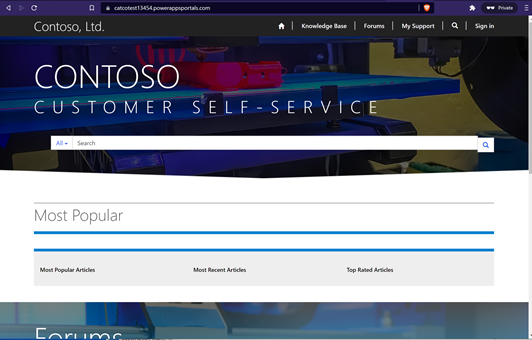
When a page like this loads, the portal is finished configuring in Dynamics 365.
Once the Portal is configured, go back to the previous tab and convert it from trial to production by changing the Type dropdown from 'Trial' to 'Live' and clicking the 'Convert' button
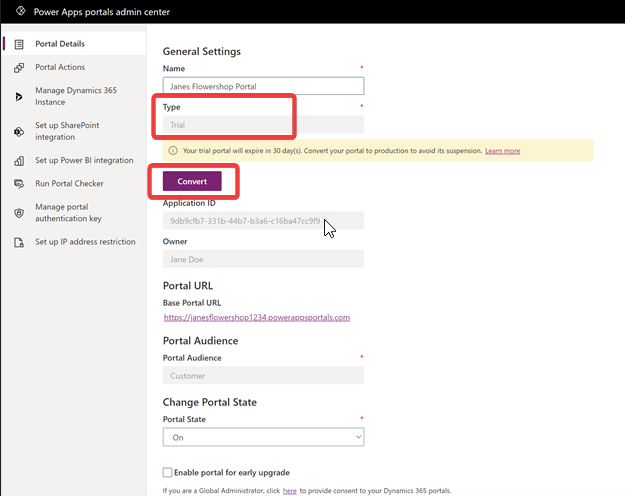
This process can take up to 2 hours
After this is completed the Work 365 Self-Service Portal solution can be installed in Dynamics 365.
Your Self-Service Portal has been successfully provisioned
Updated over 1 year ago