
Azure AD Integrated Login (Manual Process)
This article provides the steps to configure your Dynamics 365 portal to work with your customer’s or partner’s Azure AD without having to add them as guest users in your own Azure AD.
Pre-requisites
Performing this task will require the following:
- Portal Owner privileges
- Azure Admin privileges on the tenant
Time required
This configuration process is expected to take 15 minutes
Additional Notes
If you configure a custom domain and/or change your portal Base URL, these steps will need to be re-run, specifically step #3
Procedure
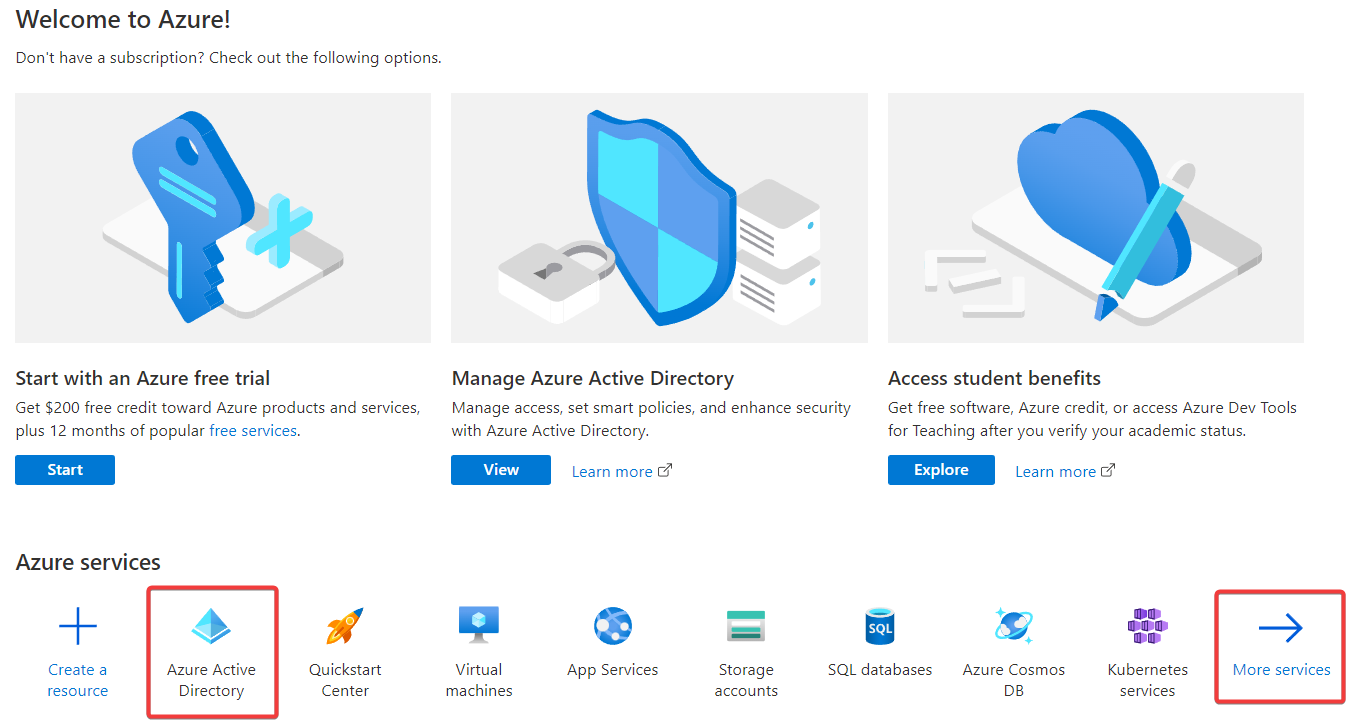
- Login to Azure Portal using the Global administrator account and click on the 'Azure Active Directory' icon within the Azure Services section. In case you don’t find the 'Azure Active Directory' icon click on More Services.
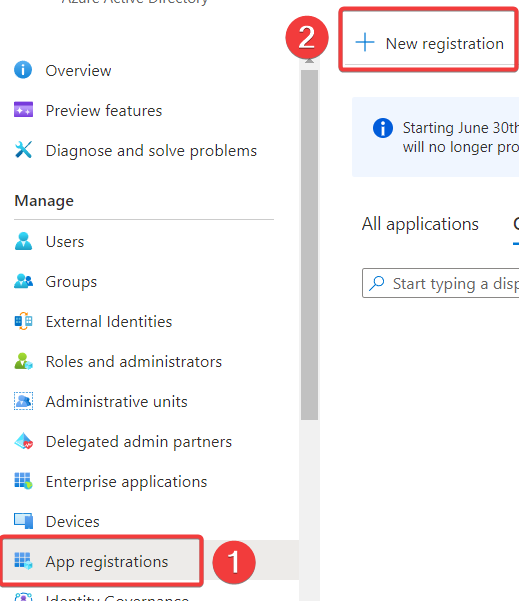
- Click on 'App Registrations' on the left-hand navigation menu and then click the ‘+ New Registration’ button on the right-side pane
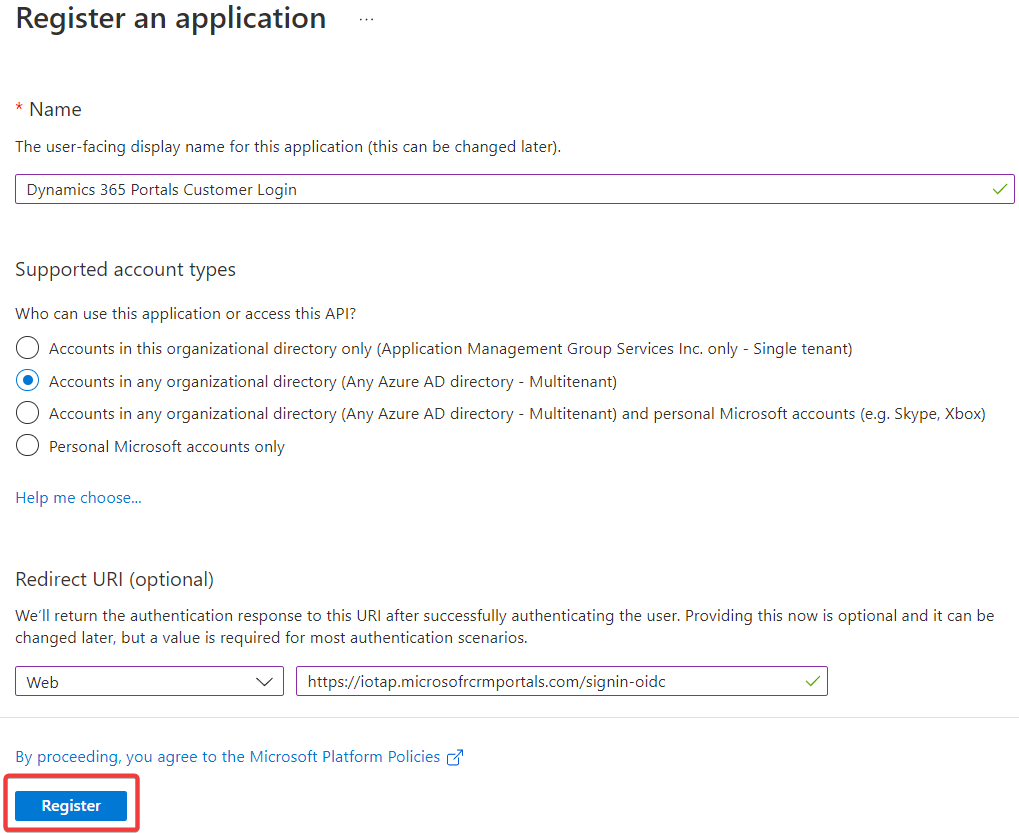
- Fill in the App Registration form with the details outlined below:
| Name: | Dynamics 365 Portals Customer Login |
| Supported Account Types: | Accounts in any organizational directory (Any Azure AD directory Multitenant) |
| Redirect URI: | Select ‘Web’ in the dropdown and enter your Portal base URL appended with ‘/signin-oidc’ in the text box |
| E.g. | If your portal URL is https://iotap.microsoftcrmportals.com/ then the URL to be entered would be https://iotap.microsoftcrmportals.com/signin-oidc |
- Make sure you have filled all required information and click on the ‘Register’ button
- Within the newly created App click on ‘Authentication’ menu on the left-hand side navigation. On the right-hand pane tick the below checkboxes and hit ‘Save’.

-
Click on 'Overview' on the left-hand navigation menu and copy the 'Application (client) ID'
[block:image]
{
"images": [
{
"image": [
"https://files.readme.io/997a607-image.png",
null,
null
],
"align": "center",
"border": true
}
]
}
[/block] -
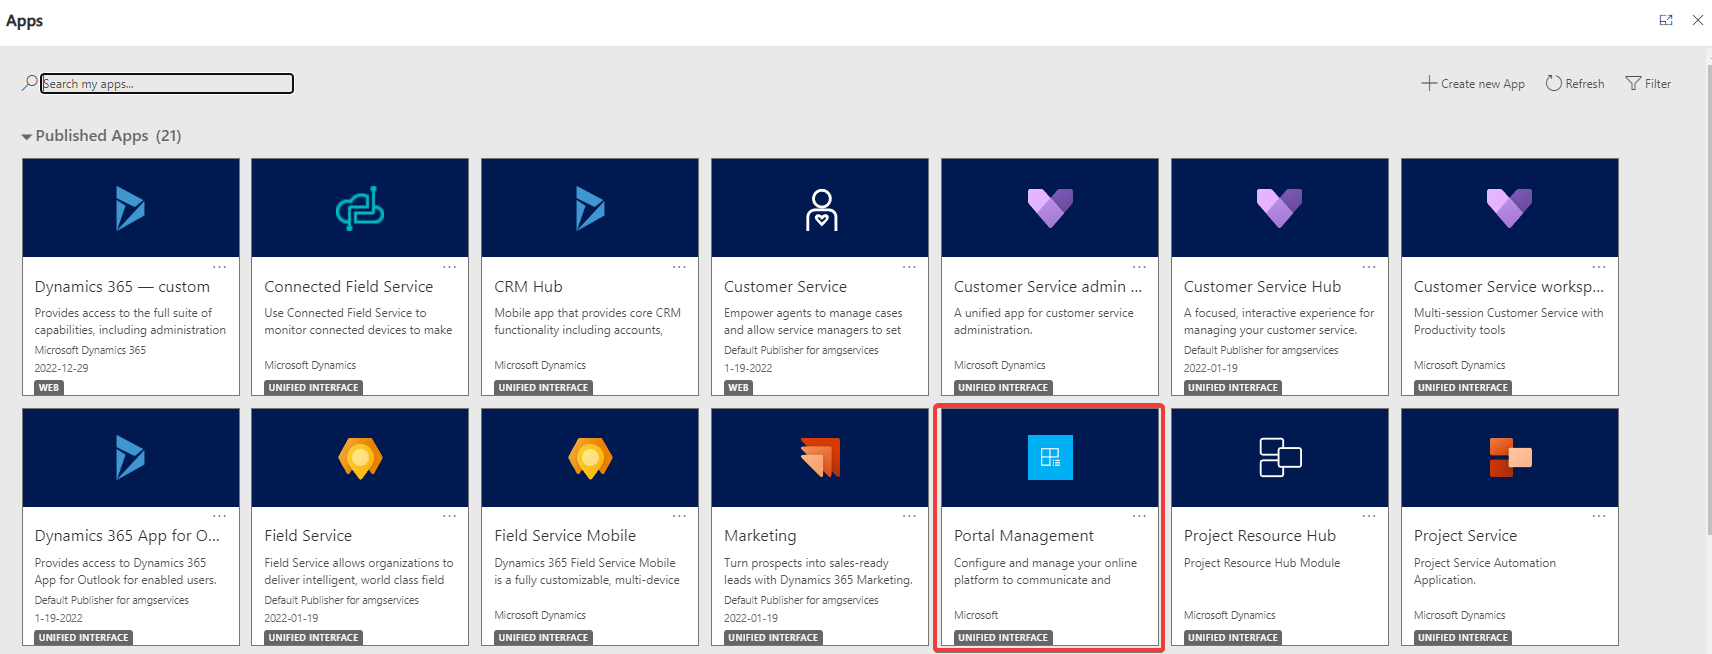
Go back to your CRM and click o the 'App' besides Dynamics 365 at the top-left corner

- Click on 'Portal Management'
- On the left-handed menu click on 'Site Settings'
- Create the following list of records one by one:
| Name | Value |
|---|---|
| Authentication/OpenIdConnect/CustomerAzureAD/Authority | https://login.windows.net/common |
| Authentication/OpenIdConnect/CustomerAzureAD/Caption | Customer Login |
| Authentication/OpenIdConnect/CustomerAzureAD/ClientId | [Use 'Application ID' noted in step 3] |
| Authentication/OpenIdConnect/CustomerAzureAD/ExternalLogoutEnabled | true |
| Authentication/OpenIdConnect/CustomerAzureAD/IssuerFilter | https://sts.windows.net/*/ |
| Authentication/OpenIdConnect/CustomerAzureAD/RedirectUri | ['Redirect URL' from Step #3] |
| Authentication/OpenIdConnect/CustomerAzureAD/ValidateIssuer | false |
| Authentication/Registration/AzureADLoginEnabled | false |
| Authentication/Registration/LocalLoginEnabled | false |
| Authentication/Registration/OpenRegistrationEnabled | false |
| Authentication/Registration/LoginButtonAuthenticationType | https://login.windows.net/common |
-
Make sure all parameters are configured correctly. Otherwise this will cause Self-Service Portal Malfunctioning
-
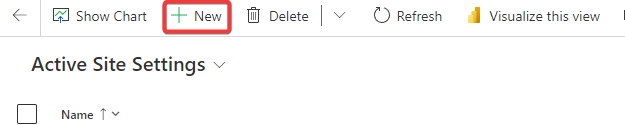
You can create the above described records by click on '+ New' located at the top-ribbon menu
- After filling the described information on the records click on 'Save & Close'. Repeat until you create all the records.

Your SSP Integrated login setup has been completed.
Updated about 1 year ago